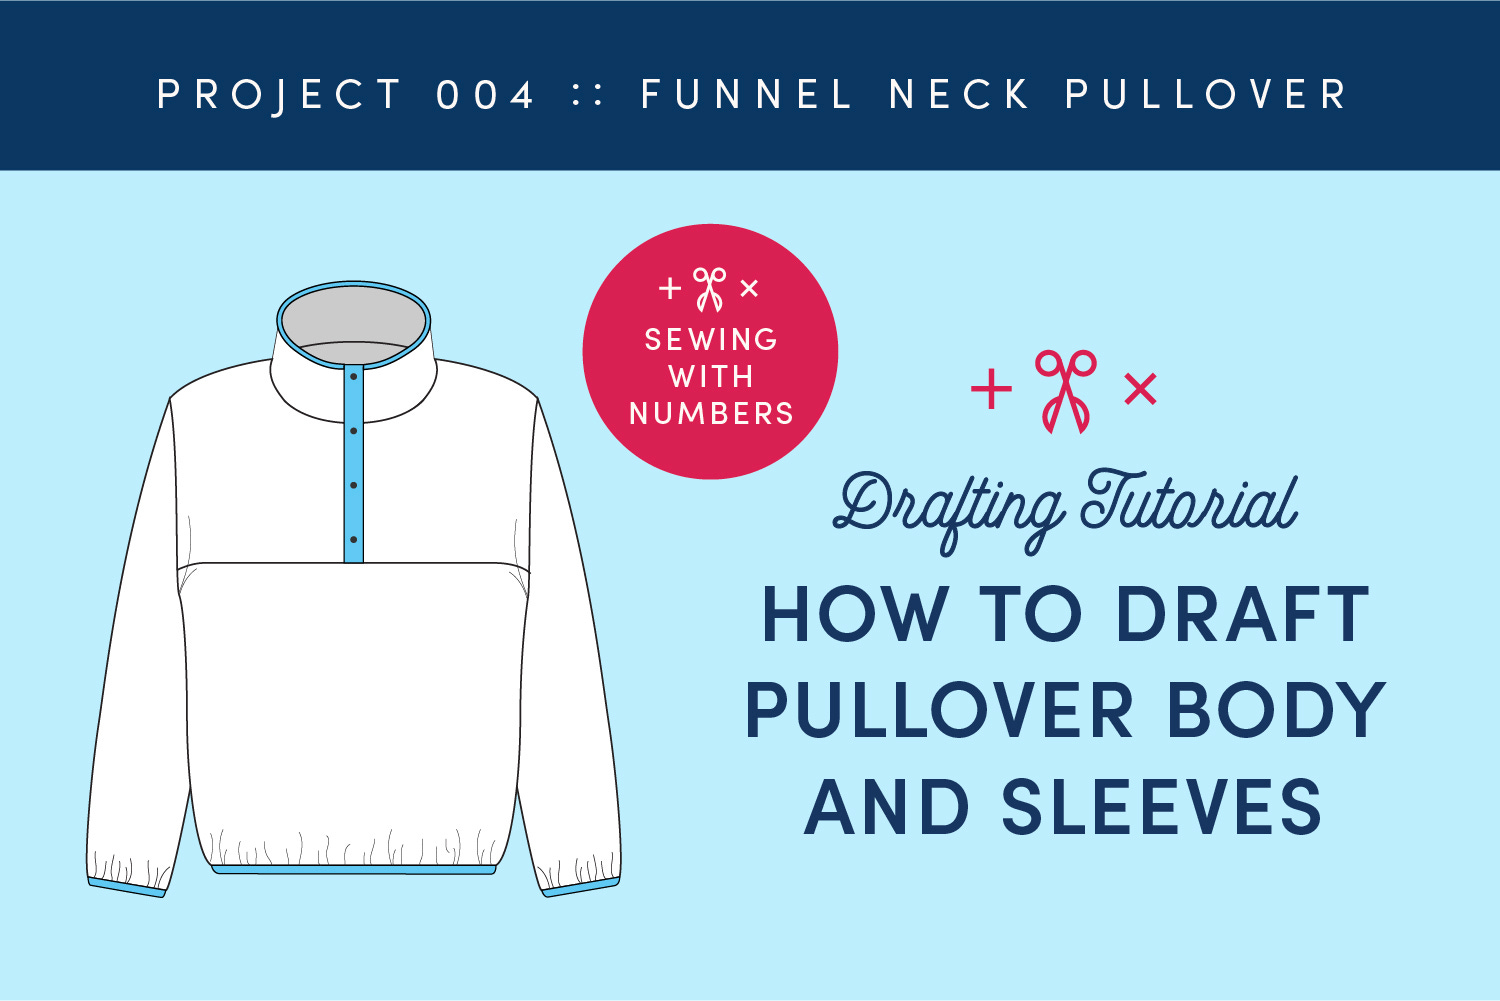
Drafting the Body and Sleeves of a Pullover
Today, we're drafting the body, yoke and sleeves of the Funnel Neck Pullover.
Welcome to Sewing With Numbers, a newsletter about sewing, math, design and how to draft your own sewing patterns. Through simple pattern drafting exercises, I'll show you how fun, useful and empowering math can be. ✂️ Every 6 to 8 weeks, I feature a different drafting project, with each lesson building upon the learnings from previous ones.
For this drafting exercise, we will start by drafting a basic tunic block with grown on sleeves (meaning the sleeve is attached to the body without a seam). We’ll then take that tunic block and cut it into our body and sleeve pattern pieces. This pattern is intentionally oversized and boxy in shape so it has a more forgiving fit than something that is form fitting.
If you missed it, catch up on the inspiration for this garment and the pattern pieces we’ll be drafting here:
Our approach to today's lesson
I've broken down the process into four sections.
Part 1: Gather information (Write down all the measurements, ease, seam allowance, etc.)
Part 2: Draft the Tunic Block
Part 3: Draft the Body and Yokes
Part 4: Draft the Sleeve
Part 5: Optional custom pattern adjustments
Part One: Gather Information
Because this garment is so oversized and boxy, I decided that it would be easier to work with FINISHED measurements than with body measurements. So, whenever I say "Finished" measurement that means it's your body measurement PLUS positive ease.
Ease is subjective and you may have personal ease preferences. Read through for more details and how I would personally determine these numbers. You can also use a pullover from your own closet to compare measurements and find a fit that you like.
A Center To Wrist Starting at the base of the neck and center of the torso, measure to the wrist, or where you want the sleeve to end. If you like long sleeves, you may want it to extend past the wrist bone.
B Finished Chest Circumference For this, measure the largest part of your chest and add ease. Personally, I like about 10" of positive ease in a boxy top. So, if you have 40" chest measurement, and want 10" of ease, the Finished Chest Circumference would be 50".
C Finished Shoulder Length Just like measurement A, this starts at the center of the torso and ends where the sleeve starts. Because this pattern has a drop shoulder, we want the shoulder seam to extend past the shoulder point on the body. I would add an inch or two past the body's shoulder. For example, if your body measures 8" from the center front to the shoulder point, I'd add 2" for a 10" Finished Shoulder Length.
D Finished Armhole Depth This is a flat measurement from the top of the armhole to the bottom and it determines how low the sleeve hangs at the underarm. We want a good amount of ease here so that we can move our arms comfortably. Personally, I like the fit of my inspiration sweatshirt which has about 4" of vertical ease.
Measurements E and F help us draw the opening for the neck. You may also want to measure your neck circumference for reference, or measure the opening of a top you like.
E Finished Neck Width Measure horizontally across the front of the neck and add a little ease, about .5 inch or more if you like a looser neck.
F Front Neck Depth Measure vertically down from the side of the neck to just below the collar bone.
G Finished Wrist Circumference The wrist hem is fitted with stretch binding that gathers the fabric to create a puffy blouson effect. So, the fabric hem is cut larger and it is tightened to fit the wrist more closely using the stretch binding. Measure your wrist and add anywhere from 4-6" of ease. You'll want to make sure that it's big enough for your hand to easily pass through the opening.
Personally, my wrist is just over 6" in circumference but my hand is about 8.5". Our inspo garment has a finished wrist of 10.5" which is big enough for wearing and it creates that puffy hem.
H Finished Length This is makers choice! If you are following the inspiration garment, the hem is finished with stretch binding so that the hem is fitted has a puffy, blouson look.
I Seam Allowance Maker's choice!
Part 2: Draft the Tunic Block
For this pattern, we’re going to start by drafting the body and sleeve together as a block. In some books, this is called a “Tunic” block. This block is used for both the front and back. We’ll then cut this block into pieces to make the pattern pieces.
STEP 1: First, draw a rectangle for the body. Draw a rectangle with width equal to 1/4 of B the Finished Chest Circumference (B/4) and length H Finished Body Length
STEP 2: Next, we’ll add a second rectangle for the sleeve. At the top right, draw a rectangle with width (A-B/4) and length D Finished Armhole Depth. The total width of the two rectangles is A Center To Wrist
STEP 3: Starting at the top right corner, measure C Finished Shoulder Length away from the center front. Then, draw a curved J-shaped line down tothe armpit.
NOTE: Make sure that the curved line is drawn with 90 degree angles at the edges. This will ensure that the seam lines are “trued” and you don’t have peaks or valleys at the seam lines. I shared examples of a “trued” seam in this post.
STEP 4: Cut along the line to separate the body and sleeve. Together, the second rectangle and upper left corner of the first rectangle are the Sleeve pattern piece. The right side (minus the curved section) is the body. Set aside the sleeve for now.
Part 3: Draft the Body and Yokes
Next, we’ll draft take the body pattern piece, cut it into sections for the yokes and draw in the neckline.
STEP 1: Draw a horizontal line where you would like the yoke to end and cut. To match our inspiration, this should be a few inches below the armhole. In our inspiration garment, the yoke is proportionally 5/12 the height of the body, or about 40% of the total length. If you’re making a cropped sweatshirt, you may want to change up the proportions.
The bottom part of the pattern piece will be cut on the fold and used for the Front and Back Body.
STEP 2: Make a copy of the top of the pattern, one copy will be used for the Front Yoke and one for the Back Yoke. Starting at the top right corner and moving to the left, mark half of E Finished Neck Width or (E/2).
STEP 3: Next, we’ll draw in the neckline. The front neck opening is deeper than the back. On the front yoke piece, mark F Front Neck Depth along the center front. Connect the two neck points using a curved line. Cut along the curved line.
On the back yoke piece, mark a depth of about .75” to 1” along the center back. Connect the two neck points using a curved line. Cut along the curved line.
NOTE: Make sure that the curved lines are drawn with 90 degree angles at the edges.
STEP 4: Add Seam Allowance I to edges that are joined to other pattern pieces, namely the neckline, armhole, side seams and yoke seams. Depending on construction, the center front may not actually need a seam allowance. But I included it here just in case.
Remember, pieces cut on the fold do not need a seam allowance on the folded edge. And, for this pattern the hem is finished with a visible stretch binding so I didn’t include a hem allowance.
Part 4: Draft the Sleeve
Next, we’ll finish the sleeve pattern piece. The block doesn’t have any shaping so we’re going to taper the pattern as it goes to the wrist.
STEP 1: Start with the sleeve from Part 1, including the curved section cut from the body. For reference, the Step 1 illustration shows where the first two rectangles we drew were joined.
Place a notch where this line ends at the underarm.
STEP 2: Draw a line down from the top left corner equal to half of G Finished Wrist Circumference, (G/2). Draw a line down to the armpit blending as you approach the notch. Cut along this line. (Be careful not to cut away anything to the right of the notch because this section needs to be sewn to the body.)
STEP 3: Add Seam Allowance I to the underarm and sleeve head seam lines. You can also add a notch at the center top of the sleeve to help when sewing to the body. The top edge of the pattern will be cut on the fold and the hem will be finished with stretch knit binding.
Part Five: Optional Custom Adjustments
For better or worse, this is a very basic, boxy pattern and it should work just fine for most people. That said, here are a couple of adjustments that you might want to make.
Shoulder Slope This pattern should work well for most shoulder shapes but especially for those with square shoulders (like mine!). Shoulder slope is an adjustment that I think is not talked about enough. If you start to study the angle of people’s shoulders, you’ll quickly realize that they vary a lot. A great tool for pattern adjustments is a shoulder template for your shoulder angle.
The Crooked Hem blog has a very thorough tutorial for how to make a shoulder template. If you know the slope of your shoulders, you can angle the shoulder line of the tunic pattern to match your shoulders.
If you want to learn more about the Sloped Shoulder Pattern Adjustment. I have a video tutorial on my other blog.
Forward Shoulder Adjustment If you often make a forward shoulder adjustment or have had issues with boxy tops creeping backwards, then you might want to add length to the back yoke.
This video tutorial from Jen at Grainline Studio does a good job of explaining this adjustment. (Skip to minute 6:00 for the adjustment.) See above for a quick illustration of this adjustment. Whatever length is added to the back yoke also needs to be added to the back side of the sleeve.
That’s it for today! Next, we’ll be drafting the funnel neck collar and the snap placket.
Let me know in the comments if you have any questions. And if you enjoyed this post, you can tap the "heart" at the top or bottom to help other people find it.
Happy mathing!
Beth
You can support this newsletter by subscribing and sharing or check out the links below.
Visit me elsewhere on the web:
Pattern Shop | Improv Quilting E-Course | Instagram | YouTube