
How to draft and sew a turtleneck collar
Learn how to hack any knit sewing pattern into a turtleneck.

Welcome to Sewing With Numbers, a newsletter about sewing, math, design and how to draft your own sewing patterns. Through simple pattern drafting exercises, I'll show you how fun, useful and empowering math can be. ✂️ Every 8 to 10 weeks, I feature a different drafting project, with each lesson building upon the learnings from previous ones. Posts older than 3 months are archived for paid subscribers. But is subscriptions aren’t your thing, I also have PDF Booklets for older projects are also available for purchase in my shop.
Hello my mathy-sewing friends! This week I was planning to share an essay but I started working on a turtleneck hack/pattern add-on for my Lou Box Top pattern and I thought it would be a fun drafting exercise to share here. Since moving to Seattle, I’ve really come to appreciate long sleeves and turtlenecks. I have a few in my wardrobe but could always use more warm layering pieces.
For this project, you’ll want a t-shirt, top or dress pattern that is designed for stretch knit fabric and has a rounded neckline. The turtleneck collar replaces the neck band, ribbing or facing and that finishes the raw edge of the neckline. It can be attached after sewing the shoulder seams and I think it’s actually easier to sew than a regular neck band finish. So, if you hate sewing neck bands or don’t want to topstitch, this is a good alternative.
Before diving in, below are a couple of posts that could be helpful to read before drafting your turtleneck.


The turtleneck collar is a just a rectangle folded in half with a seam at the center back. When finished, the turtleneck collar is two layers of fabric that can be worn up or folded down. The top edge of the turtleneck is a fold so that no finishing is required and it can be worn folded down without showing the wrong side of the fabric.
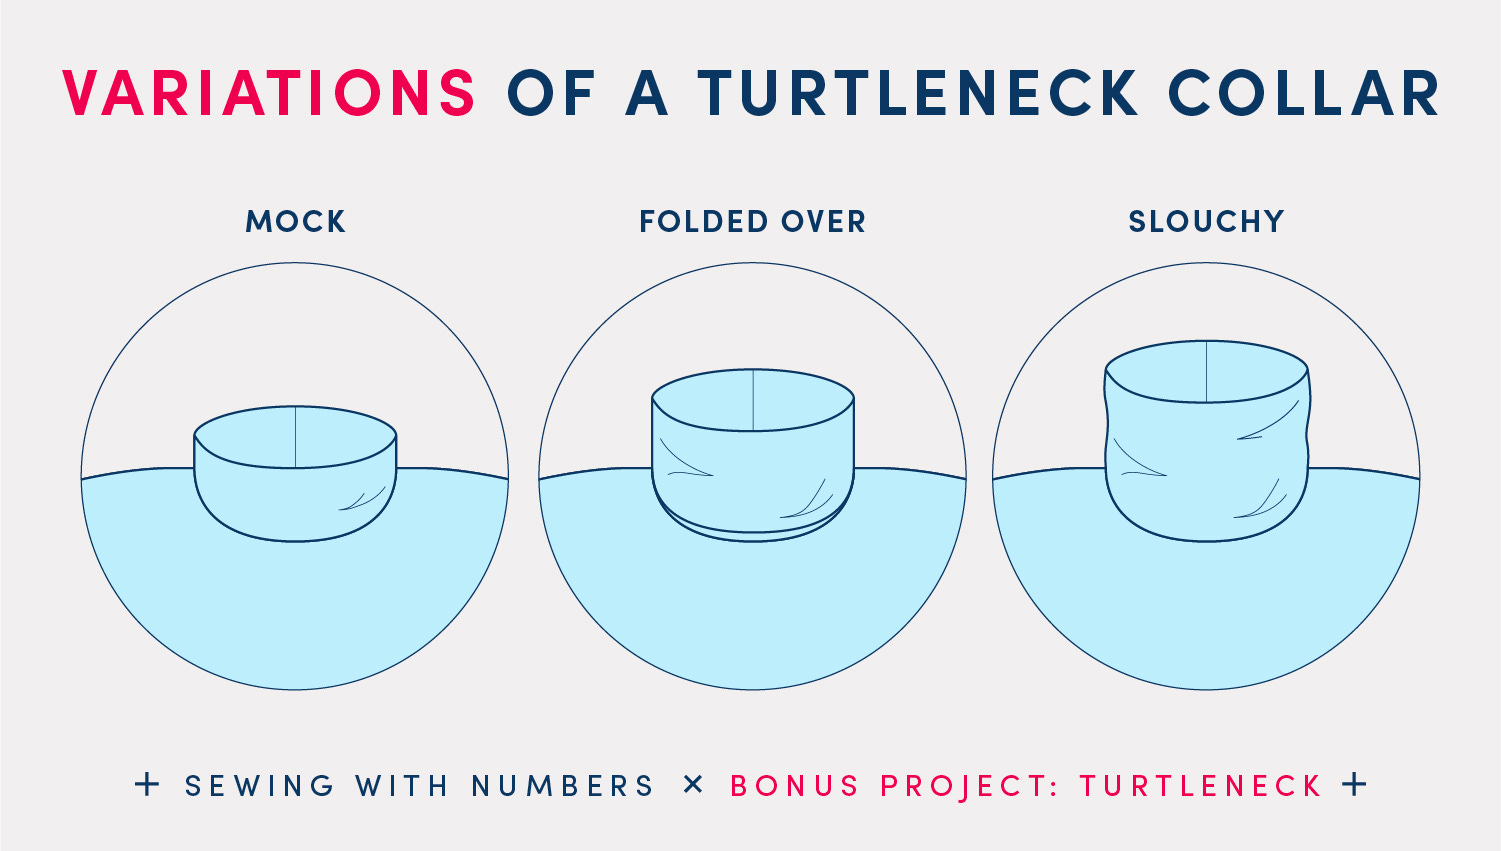
The biggest design decision we have for the turtleneck is how long to make it and how you plan to wear it. Above are a few design variations to consider. On the left, is a mock turtleneck, which is just a short collar that is not folded over when worn. If you don’t want a lot of fabric around your neck, this is a great option as there will only be two layers of fabric and it doesn’t have to go very high.
In the middle, is the classic folded over turtleneck. When selecting the Finished Turtleneck Length in the next section, you’ll want to decide how long the collar is when worn folded and then double it. When worn, you’ll have four layers of fabric at the neck.
The final version is my personal favorite. This style is a tall turtleneck that is worn unfolded for a slouchier look. In this style, there are two layers of fabric at the neck.
It should be noted that the fabric used to sew the collar will also determine how it holds its shape. A drapey fabric like lightweight jersey will be more slouchy than a thicker ponte fabric.
There are four parts to today’s tutorial. First we’ll gather information, then draft the turtleneck collar. In part 3 we’ll draft the turtleneck. And finally, we’ll sew the turtleneck.
Part 1: Collect Information
As usual, I’ve assigned a representative letter to each number we’ll need. I use these letters to write the drafting formulas. When drafting your turtleneck collar, you’ll replace the letters with your own numbers.
A Front Neck Seamline This is the TOTAL front neck seamline
B Back Neck Seamline This is the TOTAL back neck seamline
When measuring your pattern to find A and B, remember that the seam line is where the stitching is made and is not the same as the cutting line. On your pattern, you can use a ruler to mark where the seam line line is and then measure it with a flexible measuring tape.
In the graphic above, I’m using my Lou Box Top pattern as an example. This pattern is cut on the fold for the front and back. The neck seam is shown with a red dashed line. So, when I measure the seamline, I need to multiply by 2 to get the TOTAL neck seamline.
C Finished Turtleneck Length This is the length of the finished turtleneck collar before folding it down. See the variations above for help deciding on the finished length. You can also look at a turtleneck you have in your wardrobe and use its length as a guide.
D Seam Allowance I recommend using the same seam allowance that your top/dress pattern uses so that you don’t have to make any changes to the other pattern pieces.
Part 2: Draft the Turtleneck
We’re lucky that this pattern piece is a simple rectangle. For simpler drafting, we’ll draft it with the seam allowance added from the beginning. In the illustration, I’ve drawn the seam line with a dashed line for reference. You don’t need to draw the seam line on your pattern piece.
Step 1: Draw a rectangle that is A+B+2D wide by 2C+2D in length. The width is the total front and back neckline plus two times the seam allowance (for the seam at the center back). The length is two times the Finished Turtleneck Length C plus two times the Seam Allowance D. We multiply C by 2 because the turtleneck is made with two layers of fabric and a fold at the top.
Step 2: Mark the center fold line and shoulder points. The sides of the pattern piece are the center back seam so to find the shoulder points we will mark half the Back Neck Seamline B plus Seam Allowance D from each side. In math speak, the notches are B/2+D away from each side.
The notches are shown as a triangle in the graphic above. The measurements in blue along the top edge of the pattern, show how the neckline length is distributed along the width of the pattern piece.
SIDE NOTE/ADDITIONAL THOUGHT When drafting a neck band to finish the neck edge of a t-shirt, it’s usually a slightly smaller circumference than the neck opening. When sewn the neck band is stretched to fit. And ideally, the inside edge of the neck band, lays flat against the skin. I usually draft my neckbands at about 88% of the width of the neckline circumference.
So, if you want a turtleneck that hugs the neck more tightly, you might want to try making the circumference a little smaller than the neck opening. This would work best with stretchier fabrics.
Part 3 How to Sew the Turtleneck Collar
The turtleneck collar replaces a neck band, ribbing or facing and will finish the raw edge of the neckline. It can be attached after sewing most of the top. Remember that the fabric you use for the turtleneck collar will need to stretch enough for the collar to go over your head.
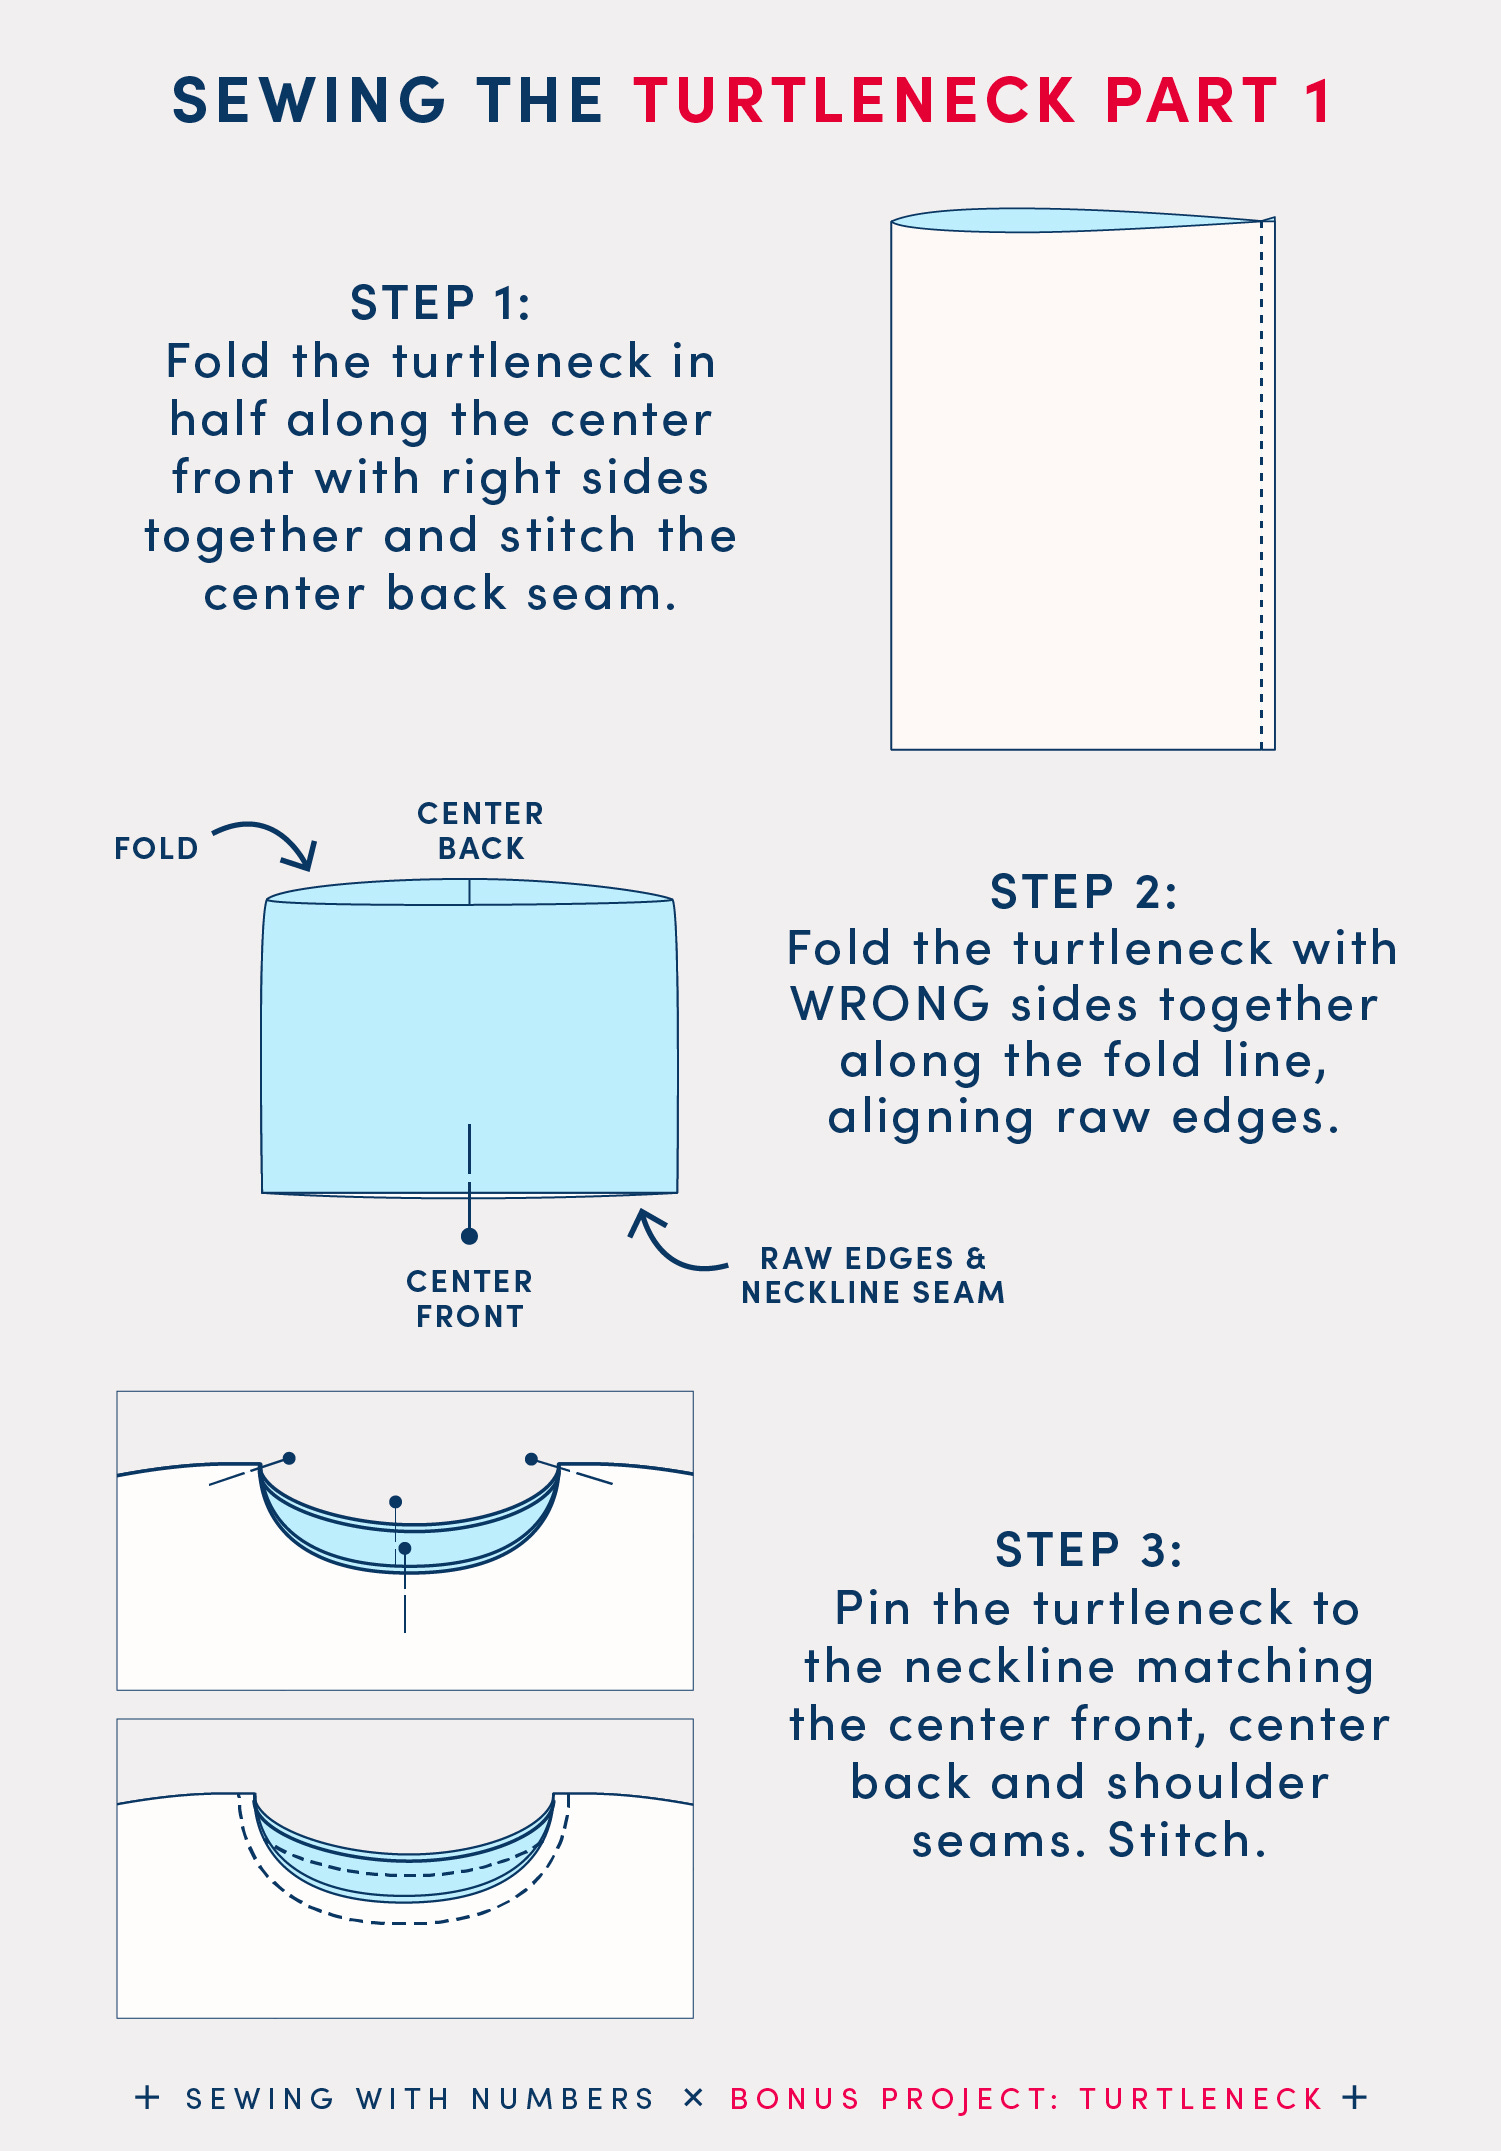
STEP 1: Fold the turtleneck in half along the center front with right sides together and stitch the center back seam.
STEP 2: Fold the turtleneck with WRONG sides together along the fold line, aligning raw edges. Place a pin at the center front. (This is also a good time to test that the fabric will stretch enough to comfortably go over your head.)
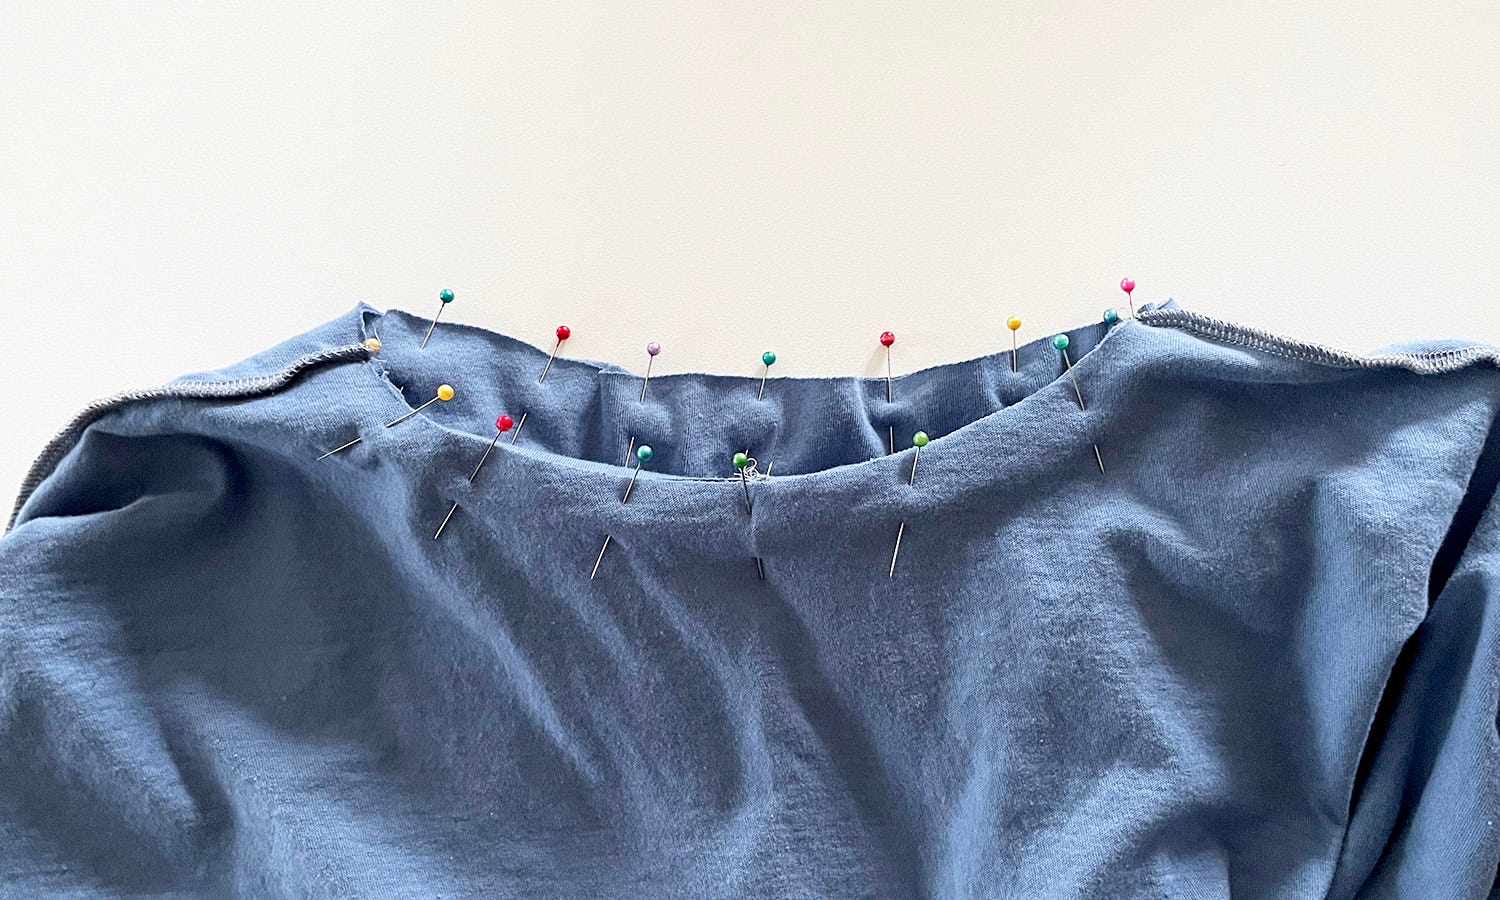
STEP 3: After sewing the shoulder seams of the top (or dress), mark the center back and center front of the neckline. With right sides together, pin the two raw edges of the turtleneck to the neckline matching the center front, center back and shoulder seams. See image above.
If you're nervous about having wrinkles when stitching, you can baste first. Then stitch through all layers.
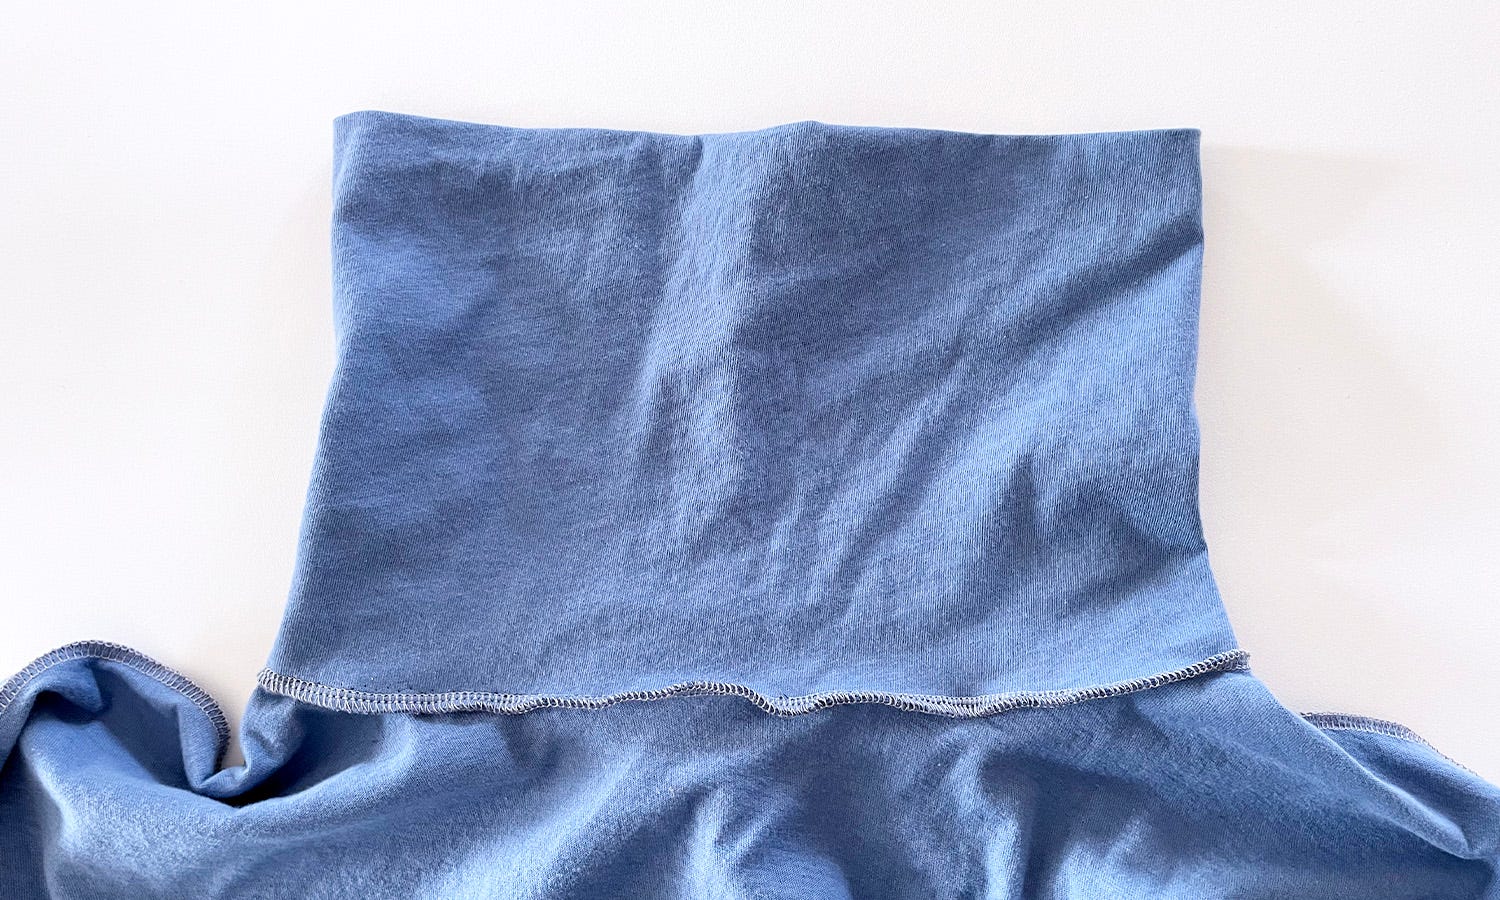
For my test version (shown above), I first stitched with a long, narrow zig zag stitch and then serged. Due to the nature of circles and seam allowance, the circumference of the turtleneck is probably longer than the cut edge of the neckline. But if drafted correctly it should equal the length of the stitching line. Because they’re the same length, it’s not too challenging to stitch and if you’re comfortable, basting isn’t necessary. (When I sew a neckband that needs to be stretched to fit the neckline, I prefer to baste it on first.)
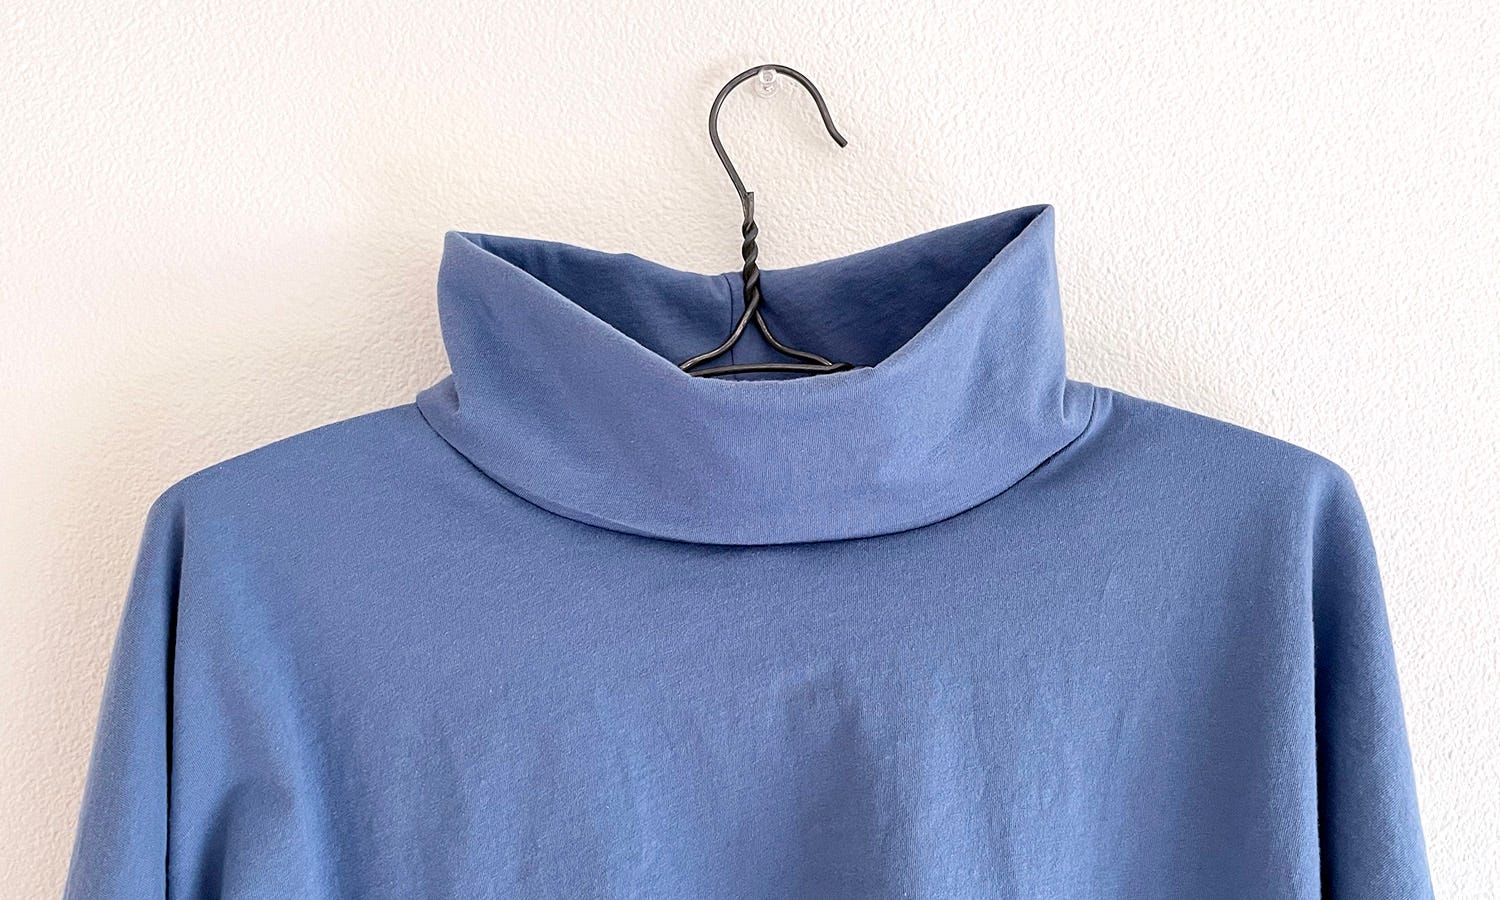
Here’s my finished turtleneck collar. I cut this 15” tall and used my Lou Box Top pattern crewneck as the basis. In the photo, the collar is folded down. This pattern has a relatively wide neck opening so I think it would actually work better with a heavier sweatshirt weight fabric.
That’s it for today! I hope that you enjoyed this bonus tutorial and found it useful. There are lots of ways to support this free content. You can tap the "heart" at the top or bottom, share or “restack” the post to help other people find it. Become a paid subscriber or, visit one of the links below.
Sewing With Numbers Drafting Manuals are now available for purchase
Pattern Shop | Improv Quilting E-Course | Ko-Fi | YouTube
Happy mathing!
Beth
<3 Love the skill building that I'm getting from your posts!
Super
Merciiii