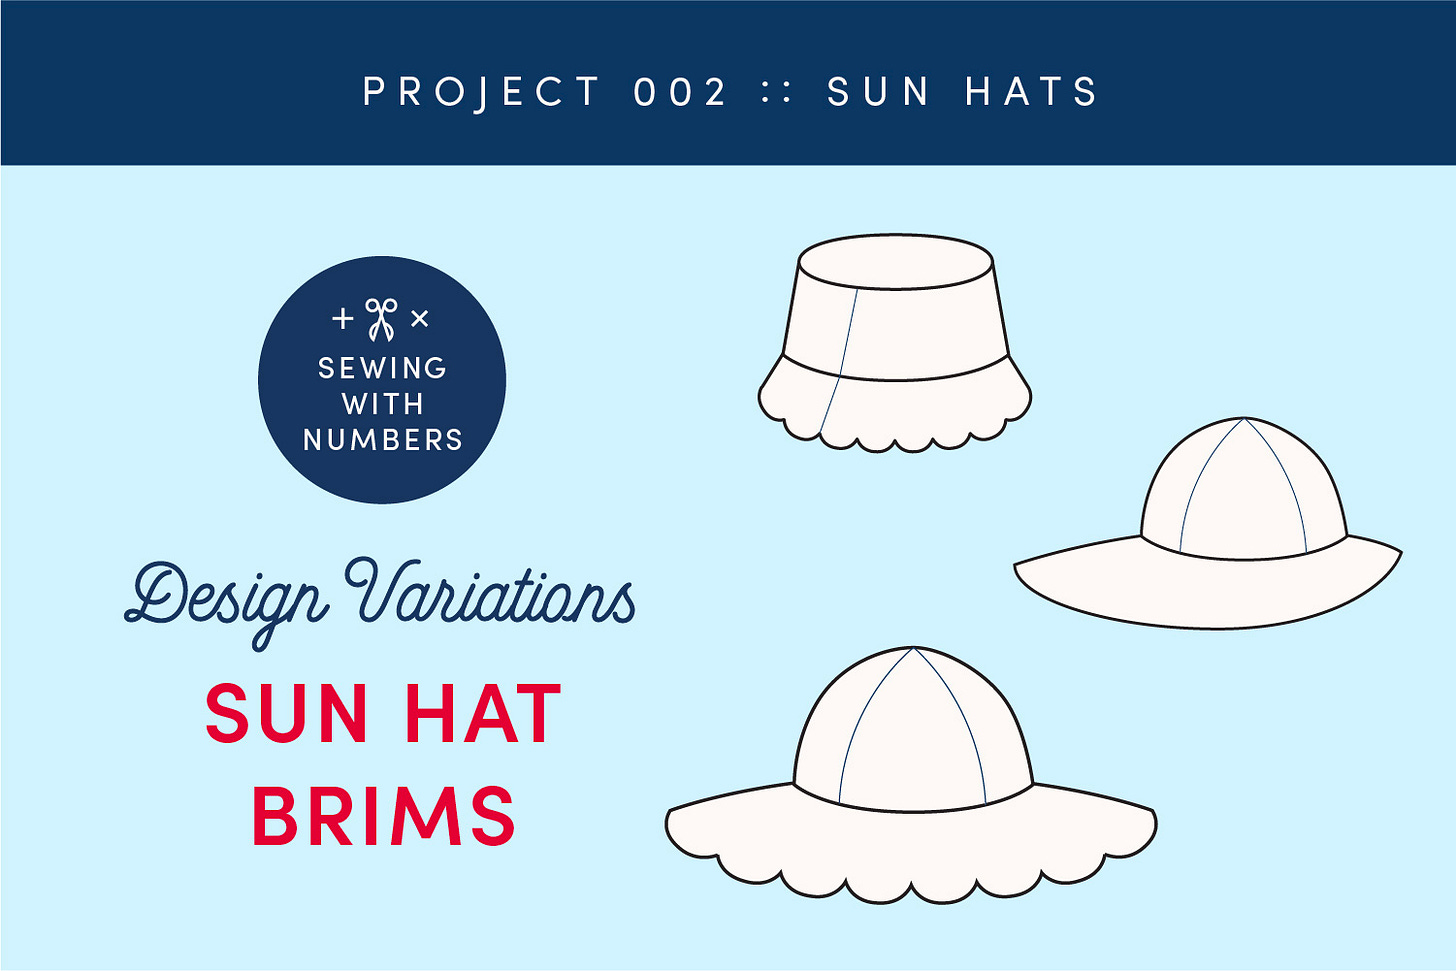
Project 002: Sun Hat Brim Variations
Let's explore how to change up the brim shape. You can apply these brim variations to the sun hat or the bucket hat design.
Hello sew-friends! I hope that you are doing well and that you've been enjoying this series on drafting sun hats. This week I'm going to share three ideas for different brim designs. As usual, this post builds on the lessons that came before it in this series.
Click here to catch up on the previous posts in this series.
In the previous posts, I focused on how to draft the brim and the angle of the brim. Now that we have that pattern piece done, we can play with it and add some features purely for fun. For today's lesson, you'll take the bucket hat or sun hat pattern and make some adjustments to the brim. You can choose whether you want the flat top crown or the rounded crown. Designer's choice!
The first two variations I’m sharing adjust the curve of the outer brim so that it is uneven from front to back or side to front/back. For the third variation, we will add a scalloped edge—which I think is just the cutest variation.
One side note that definitely deserves a full post before we dive in. Before you add a seam allowance to your pattern, you need to "true" the seam allowances. (This will become apparent when we remove one of the seam allowances from the brim.) A more descriptive term would be that you need to "square off" the corners of the patterns, anywhere that two pieces are joined together. Anywhere that two seams join, the corner needs to be at a 90 degree angle.
This "squaring off" will ensure that you have a smooth curve at the seam. This should be done at side seams, center back seams, the crotch and even this brim.
In the graphic above, you can see what a pattern looks like before "trueing" and afterwards. (You can imagine these examples are side seams and the top examples are under the arm and the bottom are at the hem.)
You can see on the right that the curve continues seamlessly from one side to the other and does not have a peak or valley. You can test that the trueing worked by putting the pattern pieces together and looking to see if the curve is smooth. For the brim, you should also double check that the length of the inside brim is still correct after trueing.
Variation One: Longer Front Brim
For this variation, we will make the brim longer in the front and shorter in the back, a little like a visor style. We'll also make the brim one pattern piece with the seam at the center back.
The only measurement you need is the new Brim Radius for the Back of the Hat. Let's call it the Back Brim Radius.
How to Draft a Longer Front Brim Hat
STEP 1: Start with your sun hat brim pattern piece WITHOUT the seam allowance. Choose one edge to be the Back. Mark the new Back Brim Radius, starting from the inner brim.
STEP 2: Use a curved ruler or freehand draw the new outer brim curve, starting from the bottom of the back rim and connecting somewhere around 10 to 11 o'clock.
STEP 3: To make this a single pattern piece with no seam in the center front, reflect the pattern piece across the Front Brim seam. Remove that seam line and double check that corners are "trued" (aka "squared off"). Add the seam allowance.
I think this variation would be really cute with ties under the chin. I've even seen removable cloth ties that are attached with buttons.
Variation Two: Longer Front Brim
This design is inspired by a hat that I saw in a museum in Helsinki, Finland in 2019. I neglected to take any photos of the signage but as I recall, it is a design by the Finnish company Marimekko.
I was immediately taken by the unusual design of this sunhat. The crown is rounded (like the one we drafted a couple weeks ago) but the brim has an uneven shape that is shorter on the sides and longer in the front and back. I don't know how practical this design is but I thought it was really fun and unique and I was curious how to draft it. (The photo seems rather unremarkable but for whatever reason this hat has been stuck in my memory for 5 years!)
For this brim variation, you'll need to decide a new brim radius for the Side of the hat. Let's call it the Side Brim Radius.
How to Draft a Brim with Short Sides
STEP 1: I recommend drawing a vertical guideline and aligning the points of the inner brim with the guideline. Then label the Front, Back and Side of the Brim. I put these at the top, bottom and side, respectively.
Next, mark the center of the outer side brim and draw a line from it to the guide line. Mark the new Side Brim Radius, measuring from the inside brim towards the outer brim.
STEP 2: Use a curved ruler to redraw the curved of the outer brim. I think this shape looks a little like a fried egg or a curved hourglass. If you want the same curve front to back, fold the paper in half to compare or if you're working digitally, reflect the shape vertically and use your favorite curve.
STEP 3: Finally, let's make this one single pattern piece, so that there is only one seam in the brim. Reflect the pattern piece across the Front Brim seam. Remove that seam line and double check that corners are "trued" (aka "squared off"). Add the seam allowance.
Variation Three: Scalloped Edge Brim
Scallops are such a cute, sweet design detail and I've been seeing them a lot lately in fashion and in graphic design. I first drafted and sewed scallops about 20 years ago. (Isn't it funny trends come back around?) I adapted a princess seam, flared skirt to have a scallop hem. It was made in a blue linen and so pretty. Construction-wise, the hem was finished with a facing, as it's just too challenging to turn under a scalloped edge. (By the way, I love facings and I think they are an under appreciated workhorse of garment making.)
For this hat variation, we will make a scalloped edge on the brim. The edge will be finished with the lining. The key to have great looking scallops is getting them evenly spaced. (It was a big challenge when I made that princess seam skirt!)
Initially, I was planning to use a half circle rotated around the edge of the brim. BUT, aesthetically, I prefer using a semi-circle as opposed to a half circle. A half circle creates a deeper curve and sharper point whereas the semi-circle is more gentle and doesn’t have as steep of an angle. (I believe the semi-circle would also be easier to sew because the angle is more gentle.)
You might need to experiment to find the semi-circle that works for you. Take a look at the comparison graphic above and see what appeals to you. You might prefer the half circle shape. And that’s ok too. :)
The tricky thing about drafting a scalloped edge is that you want to have the scallops evenly spaced with each peak and valley of the scallop equal all around the garment.
I looked at a few ways to draft this and I think the easiest way is to use draft using paper. (If we were using a perfectly circular brim, drafting digitally would be a lot easier. You should see my working document. It’s wild!)
This approach reminded me of cutting snowflakes. You’ll fold up the brim and cut a semi circle at the outside edge. When it’s unfolded, you have a beautiful scalloped edge. It’s almost magic. I wish there was more math involved but I will always support the approach that works the best and is the most “user friendly”.
How to Draft a Scalloped Brim
NOTE: This method maintains the same brim radius of the original pattern piece when measured to the peak of the scallop.
STEP 1: Trace a copy of the sun hat brim without the seam allowance onto tracing paper or other thin, easy to fold paper. Fold in half 4 times, matching the straight short ends, to create 16 segments.
NOTE: Here’s our moment for a little math. :) Folding 4 times will create 16 total scallops on the finished hat. If you want fewer scallops, fold fewer times. If you want more scallops, fold more times. Each additional fold doubles the number of segments. For example, 5 folds will give you 32 segments. And 6 folds produces 64 segments.
1 Fold = 2 Segments
2 Folds = 4 Segments
3 Folds = 8 Segments
4 Folds = 16 Segments
5 Folds = 32 Segments
STEP 2: Draw a curved line with the peak at the single folded edge. Cut along the curved line. Unfold. (You may want to adjust this curve. Just refold and recut until you find a curve that you like.)
STEP 3: Let's make this one single pattern piece, so that there is only one seam in the brim. Reflect the pattern piece across the Front Brim seam. Remove that seam line.
I recommend checking that the curves at the ends of the pattern piece are the same as elsewhere in the pattern. Sometimes they can get a little off and you’ll be able to see a difference in the “valley” of the scallop at the seam. Finally, add the seam allowance.
Ideas for customizing your hat brim
If you don’t want to draft scallops but want a scalloped edging, you could add jumbo rick-rack to the edge of the hat. I think it would look really cute and you’d get the scalloped look without a lot of extra fuss.
Another great way to add design detail is with top stitching. Did you notice the many many rows of topstitching in the Marimekko hat shown above? Use a contrasting thread or threads to really let the topstitching shine.
Do you have any other variation or customization ideas? I’d love to hear them.
Thank you so much for following along with this project. I hope that you enjoyed this post! Next week I’m planning to share my own hats and then we will start a new project. Please let me know in the comments if you have any questions or feedback.
Happy mathing!
Beth
You can support this newsletter by subscribing, restacking and sharing. Or check out one of my links below.
Visit me elsewhere on the web:
Pattern Shop | Improv Quilting E-Course | Instagram | YouTube
LOVE the visorish version! This is exactly what I've been wanting! Thank you! xoxo