

Project Journal: Drafting and Sewing a Gathered Skirt with a Yoke
In today’s post, I’ll share the details on drafting and sewing my fitted woven skirt with a V-shaped yoke and long gathered skirt.

Welcome to Sewing With Numbers, a newsletter about sewing, math, design and how to draft your own sewing patterns. Through simple pattern drafting exercises, I'll show you how fun, useful and empowering math can be. ✂️ Posts older than 3 months are archived for paid subscribers. But if subscriptions aren’t your thing, I also have PDF Booklets for older projects in my shop.
Hello my mathy-sewist friends! Today, I'm sharing my own variation of a Fitted Woven Skirt. This is the final post for Project 009—Fitted Woven Skirts (if you missed any of the posts, click that link!). This has been a fun series for me to see how many different ways we can adapt a simple skirt block. I kind of wish that I had done this project earlier on because it’s so much easier to fit (compared to things like trousers or busts).

DESIGN
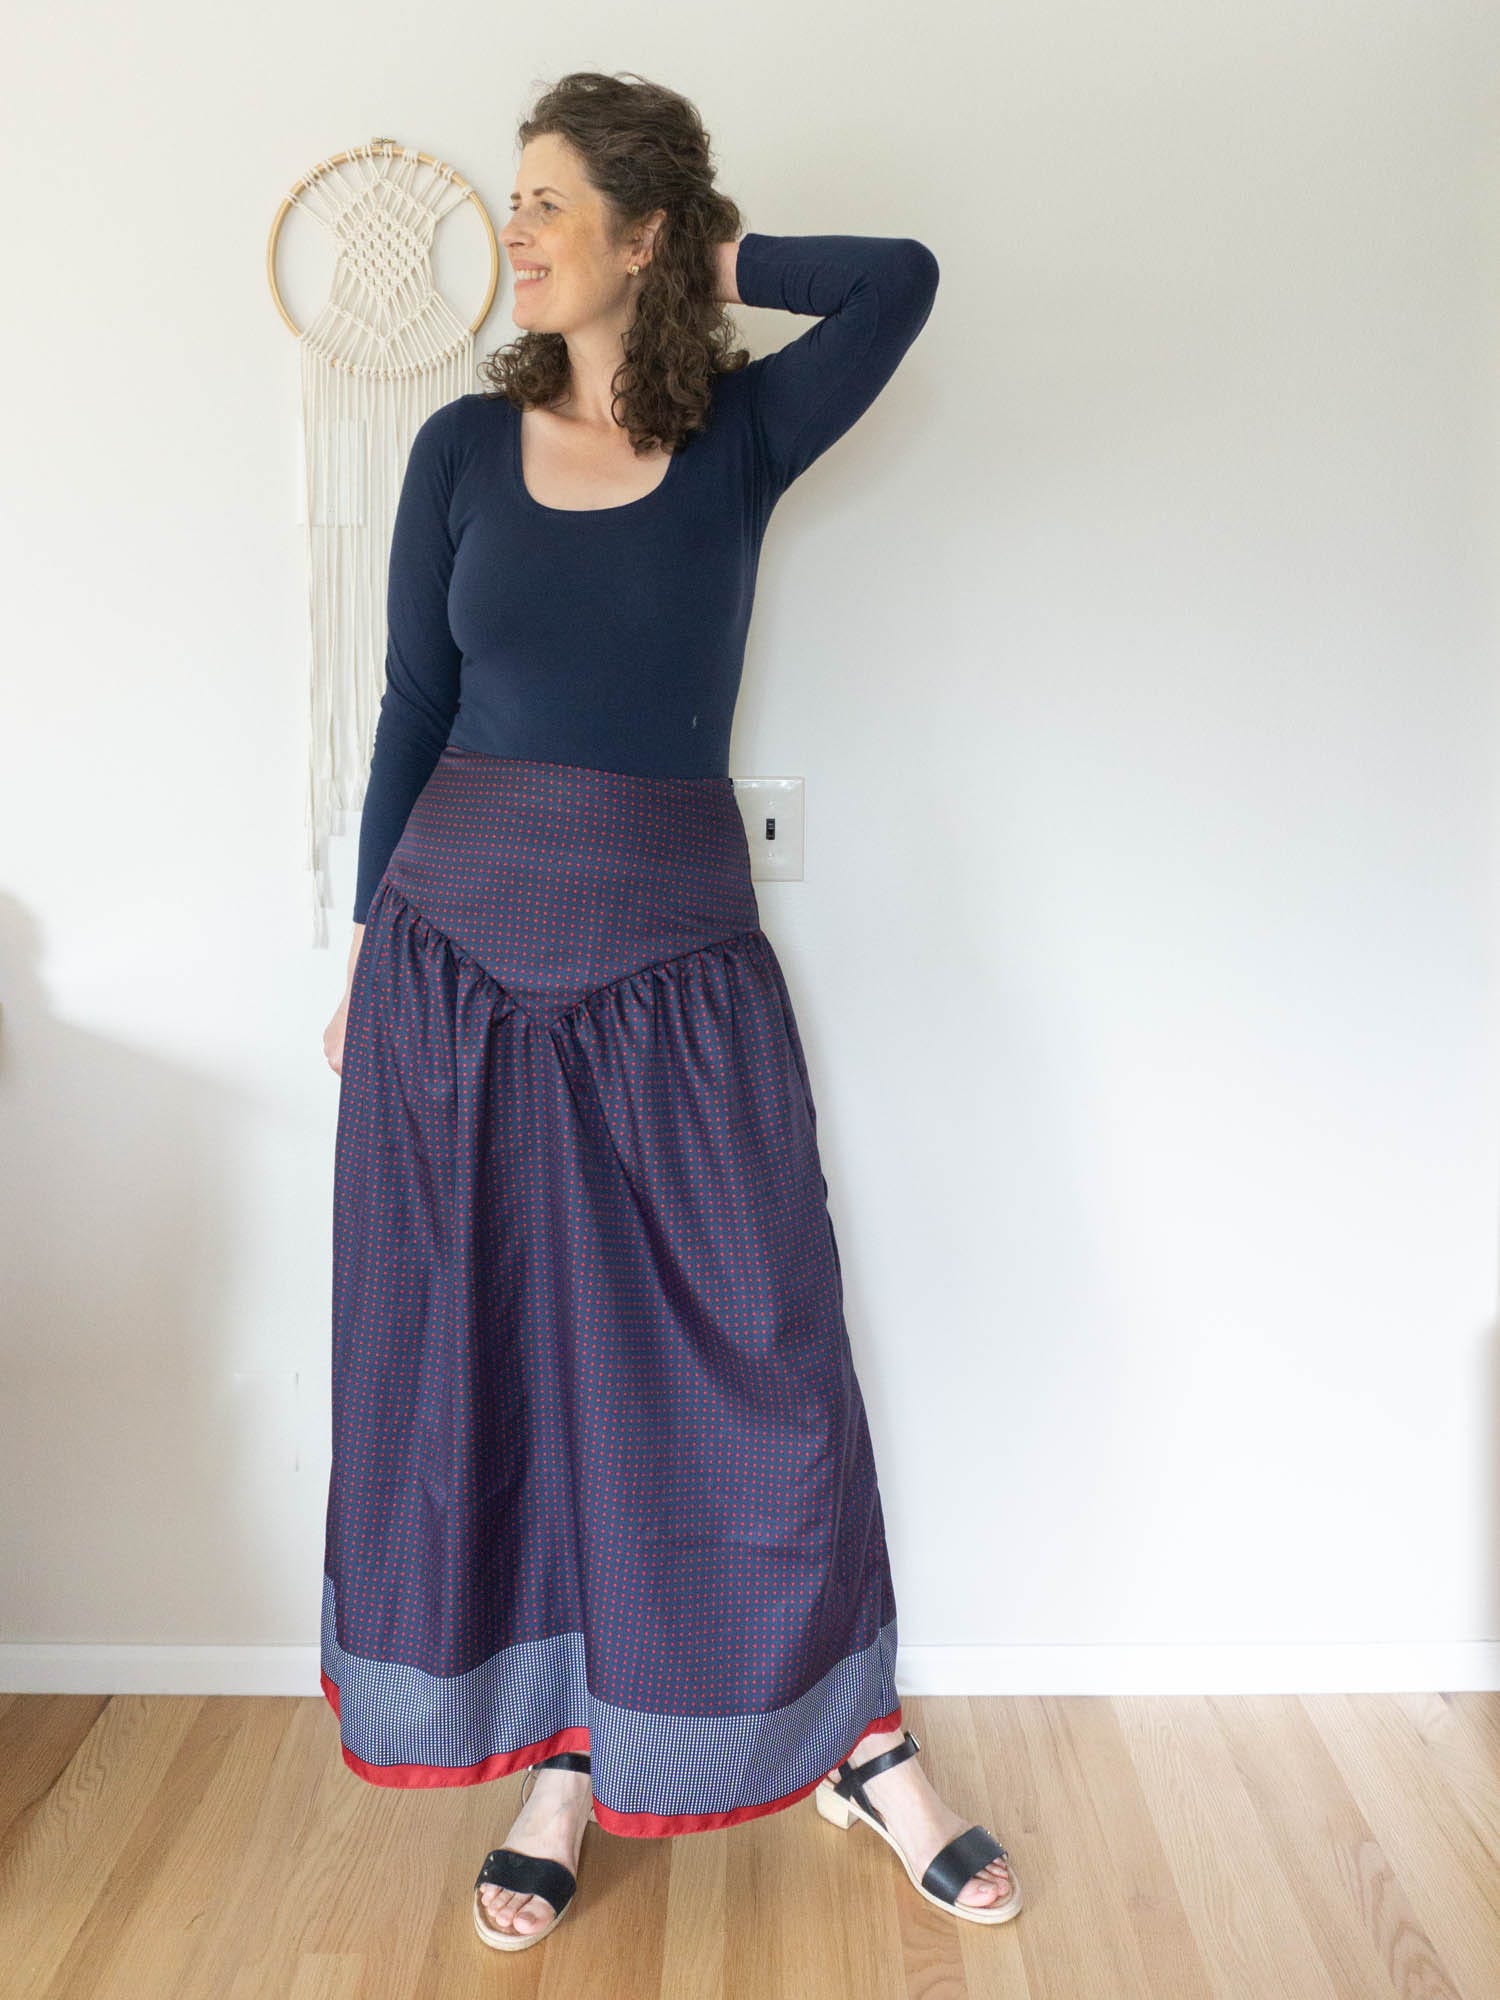
For my own variation of the woven skirt, I decided to make a skirt that is fitted at the waist and hips with a V-shaped yoke. The body of the skirt is gathered into the yoke and has a maxi length.
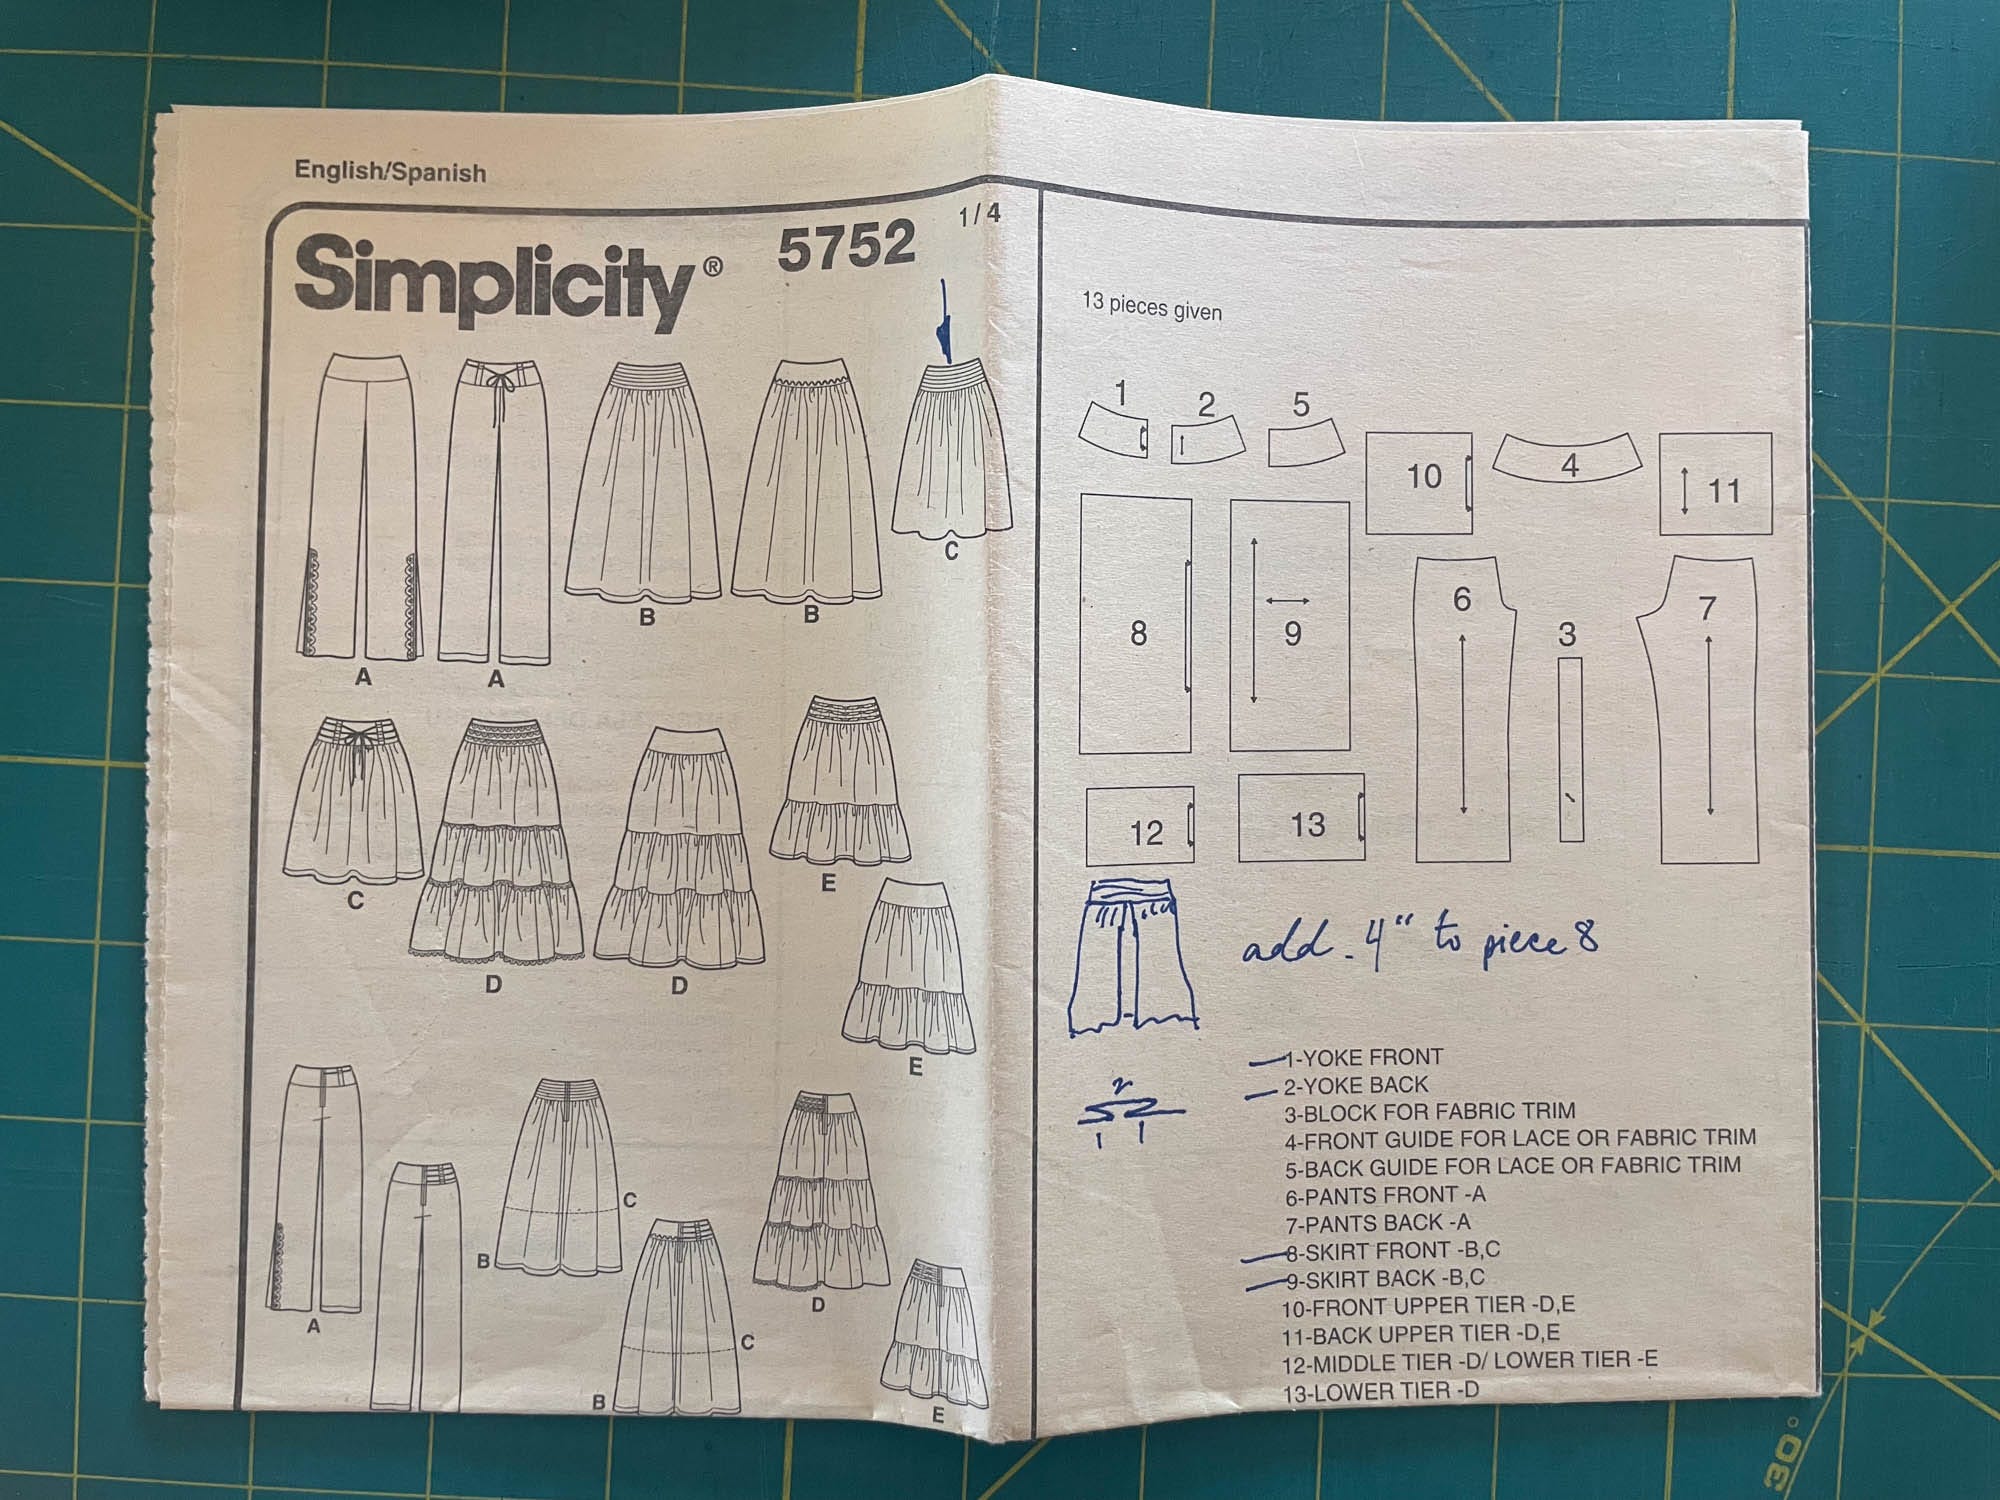
The design is similar to a pattern that I sewed over 20 years ago, Simplicity 5752. I still have the pattern in my collection but I’m missing the second page of instructions. In the photo of the instructions above, you can see my notes for how I changed View C to have a big pleat at the center front. Note how the skirt pieces are just rectangles. I love when things are simple like that.
I also love how many variations come with this pattern and am shocked/thrilled? that the fashion feels so current to today. I guess that 20 year cycle on fashion is true. Also, how fun are those pants?
DRAFTING
First, I fit my skirt block to my body. To draft this project, I used a skirt block that I drafted a number of years ago. Using Illustrator, I started by adjusting the pattern to my measurements and desired ease. I estimated that I wanted the yoke to be 6” long at the side seam and drew the yoke onto the block. Finally, I added 3/4” of seam allowance and printed it off.
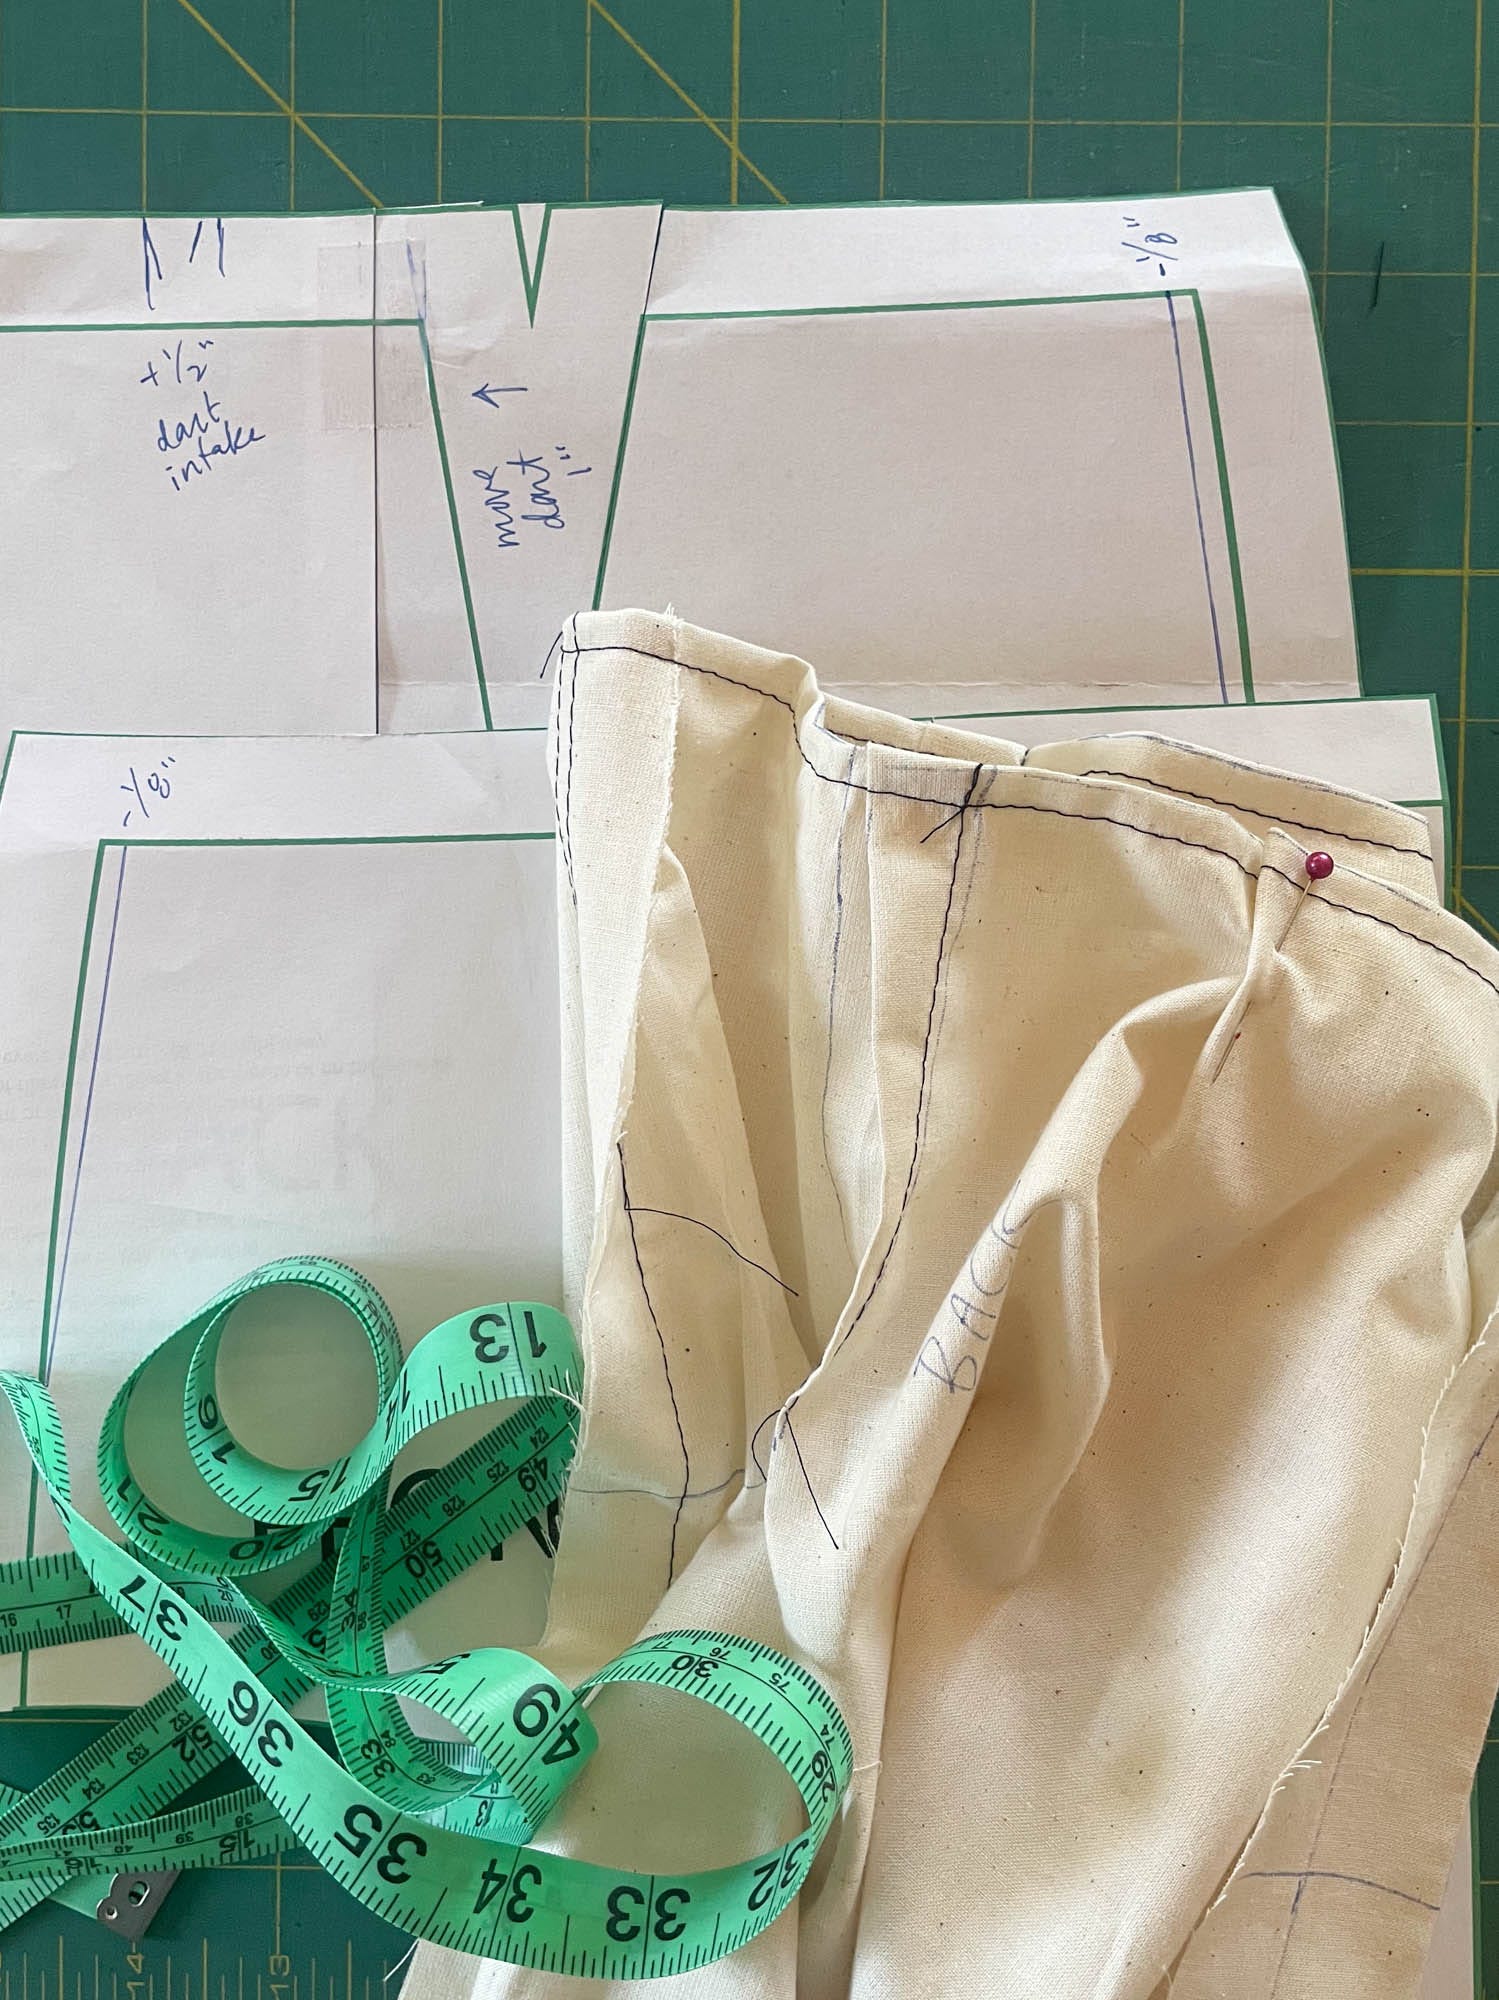
I cut out a straight skirt using muslin and proceeded to tweak the darts and side seams to get a fit that I liked. I then transferred those fit adjustments to my block. Working with pins and basting stitches, it was fairly quick to make the adjustments and play around.
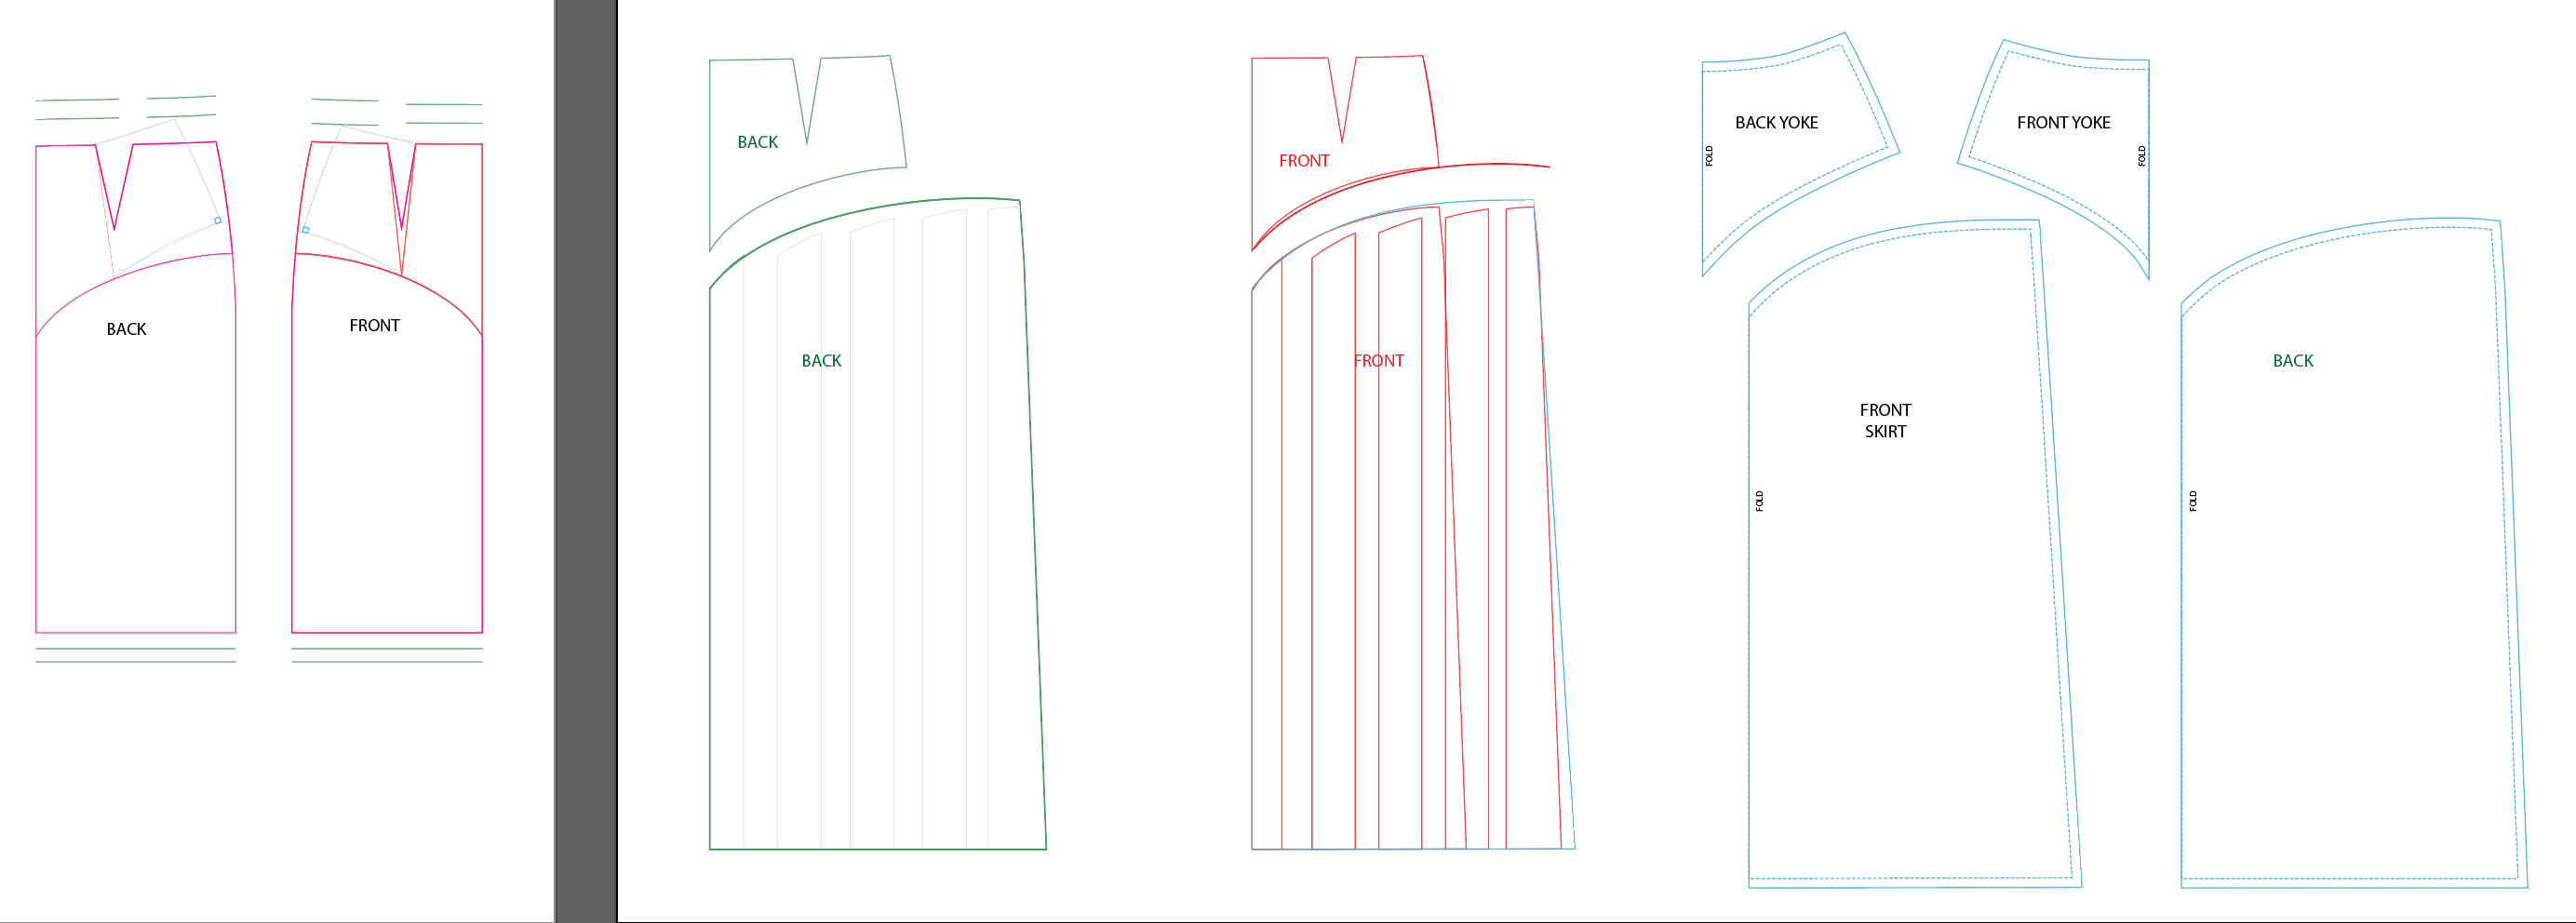
Second, I altered the block to create this design. I started by cutting the yokes from the skirt block. Then I rotated out the darts so that the yoke would be smooth. (Left side of screenshot above) Finally, I did a slash and spread on the skirt to create the gathers (center of screenshot above). Then I added the seam allowance and printed out the pattern.
FABRIC & NOTIONS
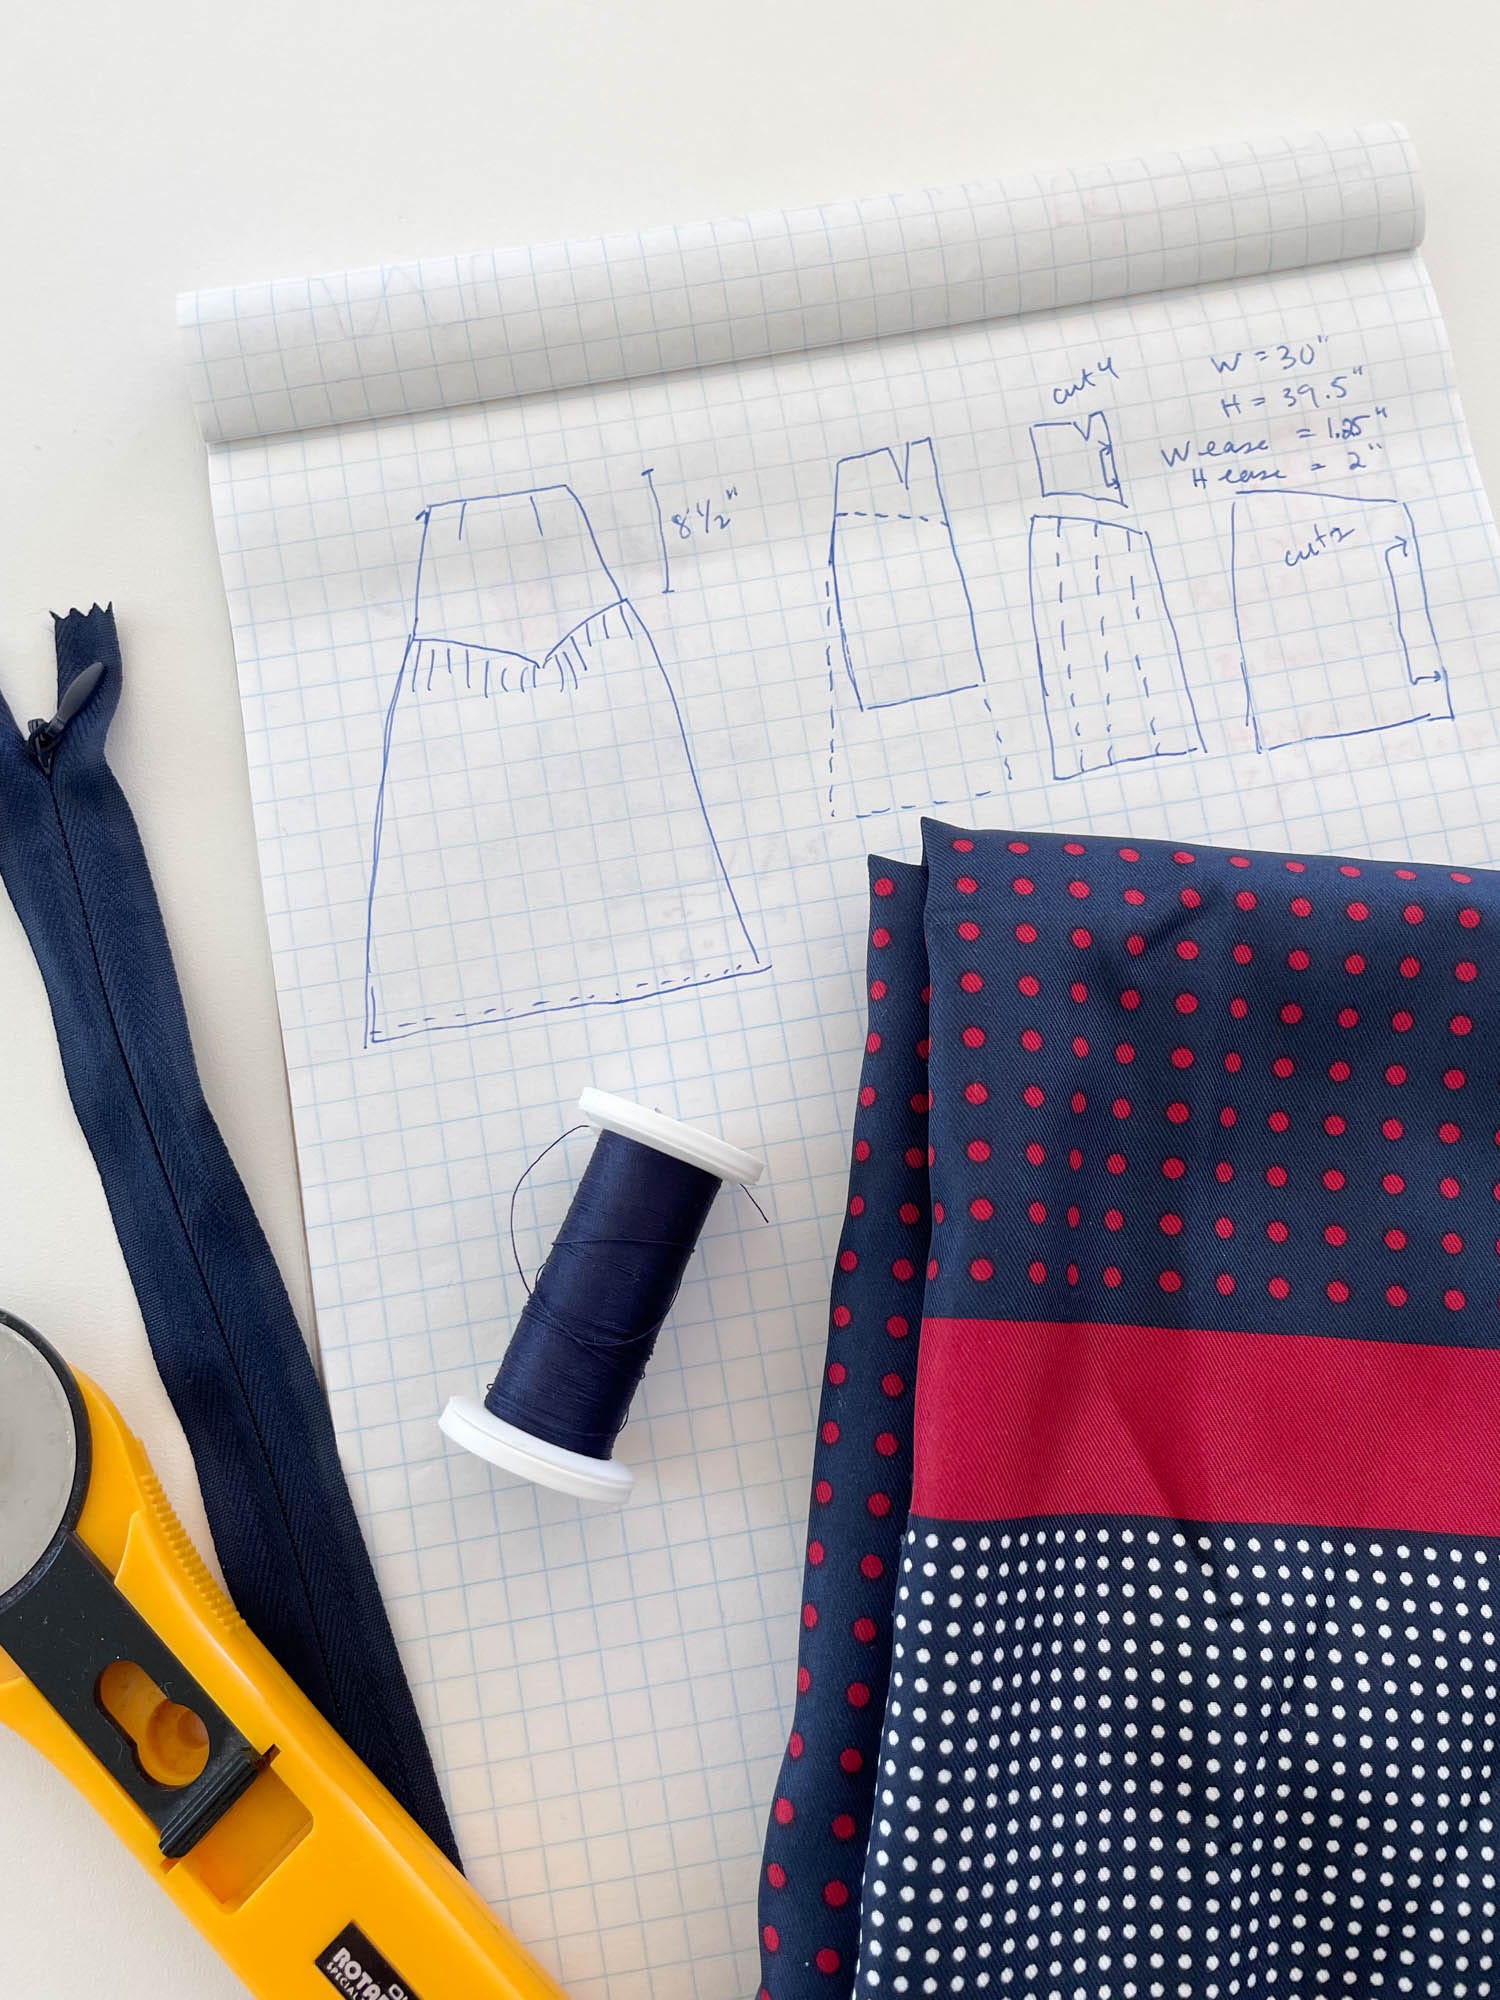
The fabric is printed silk that I’ve had in my stash for years. The fabric was a gift from The Fabric Store when they had a shop in LA (and I was living there). The fabric is mostly navy with red polka dots but about every 40” it has a border printed, running from selvage to selvage. I started by cutting out the skirt pieces so that the border would be at the hem. Then from the leftovers, I cut out the yokes.
For the Yoke Facing, I used a medium weight navy fabric that was leftover from a pair of pants I made. I really didn’t want to apply interfacing to the silk so I decided to just use this heavier facing fabric and not use interfacing. I do wonder if the yoke would look better if it had interfacing applied. (I wish I had the second page of instructions from the Simplicity pattern to see how they did it!)
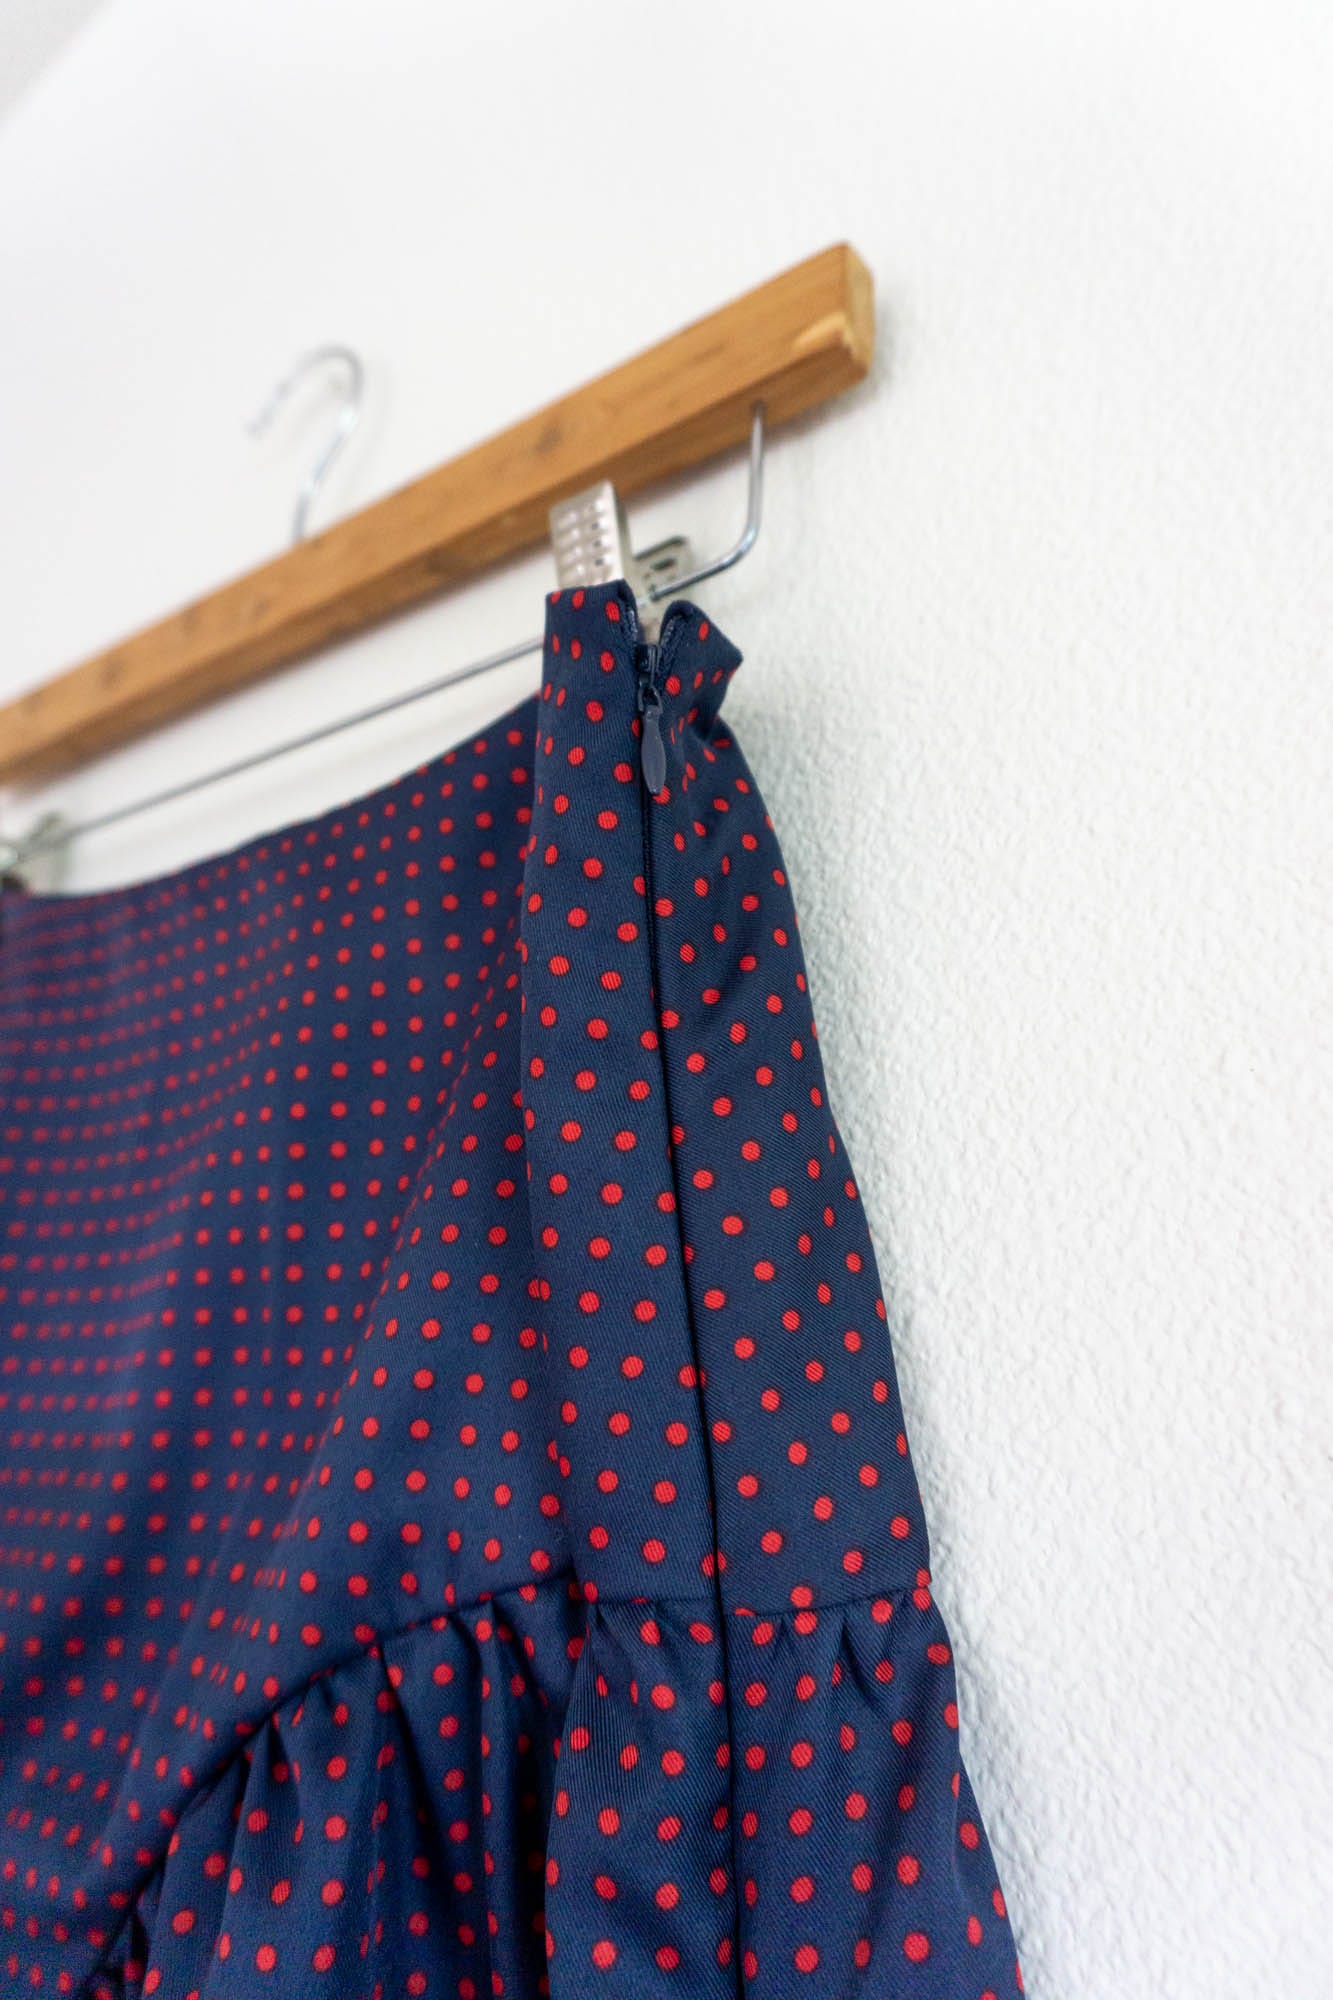
For the closure, I used a navy invisible zipper. I only had an extra long one, so I had to cut it shorter for this skirt.
It’s worth noting that I found a Microtex needle to work the best with this fabric. If you are working with a delicate fabric and the universal needle is causing the threads in the fabric to shift (or run, or pull) out of place, I recommend giving a Microtex a try.
CONSTRUCTION
This is a fairly straightforward skirt to sew, especially if you use a fabric that is easy to handle. Generally, if I’m sewing with a cotton or linen fabric, I’ll finish the seams with a serger and it’s very quick. But because this fabric is silk, I decided to make French seams. (The extra punctures from the serger can damage some fabrics. Overall, this was a little tricky to sew but just because I had to take extra care with the fabric.
Here’s a rough run down of my construction process. If I sew this 2 or 3 more times, I’m sure I’d find things I want to change.
STEP 0: Adhere interfacing to yokes and seams where the zipper will be attached. Stay stitch curved parts of yoke and waistline.
STEP 1: Stitch the skirt side seams. On the left side of the skirt, stop below where the zipper will stop.
STEP 2: Stitch the right side seam of the Yoke Front and Yoke Back. Repeat for the Yoke facing pieces.
STEP 3: Stitch the waistline edge of the Yoke to the Yoke Facing. Understitch.
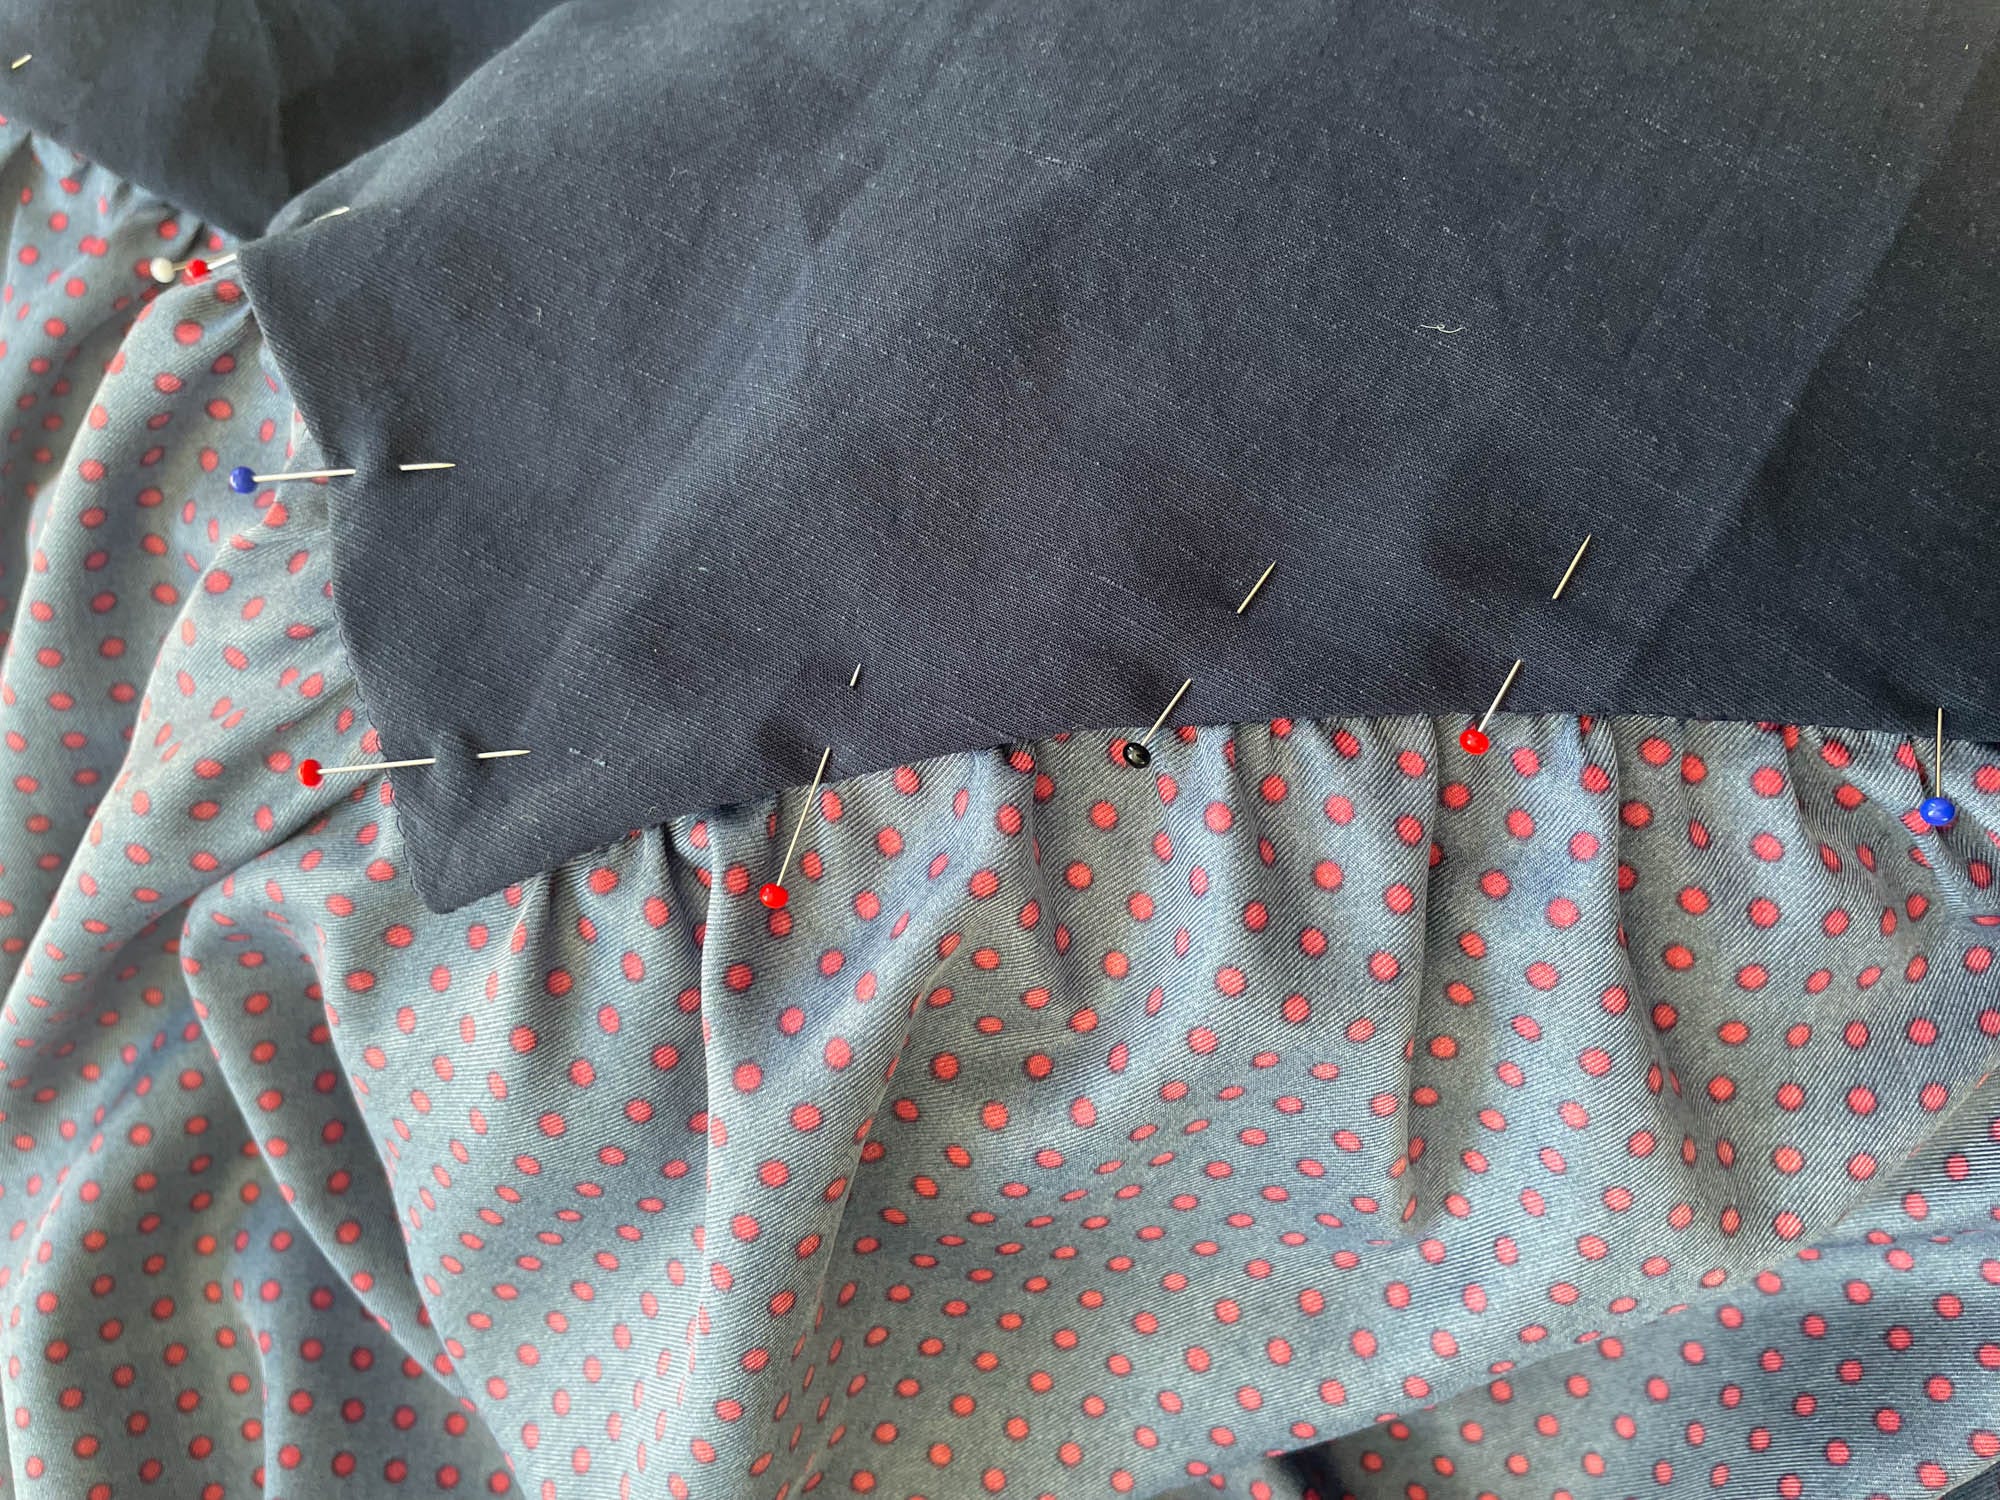
STEP 4: Stitch rows of basting along the top of the skirt. (I only did one row because of the fabric. Generally, I’d do two.)
STEP 5: Gather the skirt and pin to the yoke. Stitch. If you want to learn more about sewing gathers, I have a tutorial on my other blog.
This step was tricky, and I could have done a better job. I also think that adding interfacing to the yoke pieces would help.
STEP 6: Attach the invisible zipper. This was tricky to do with the French seams. I recommend checking out this post. You might also find this video from Threads helpful.
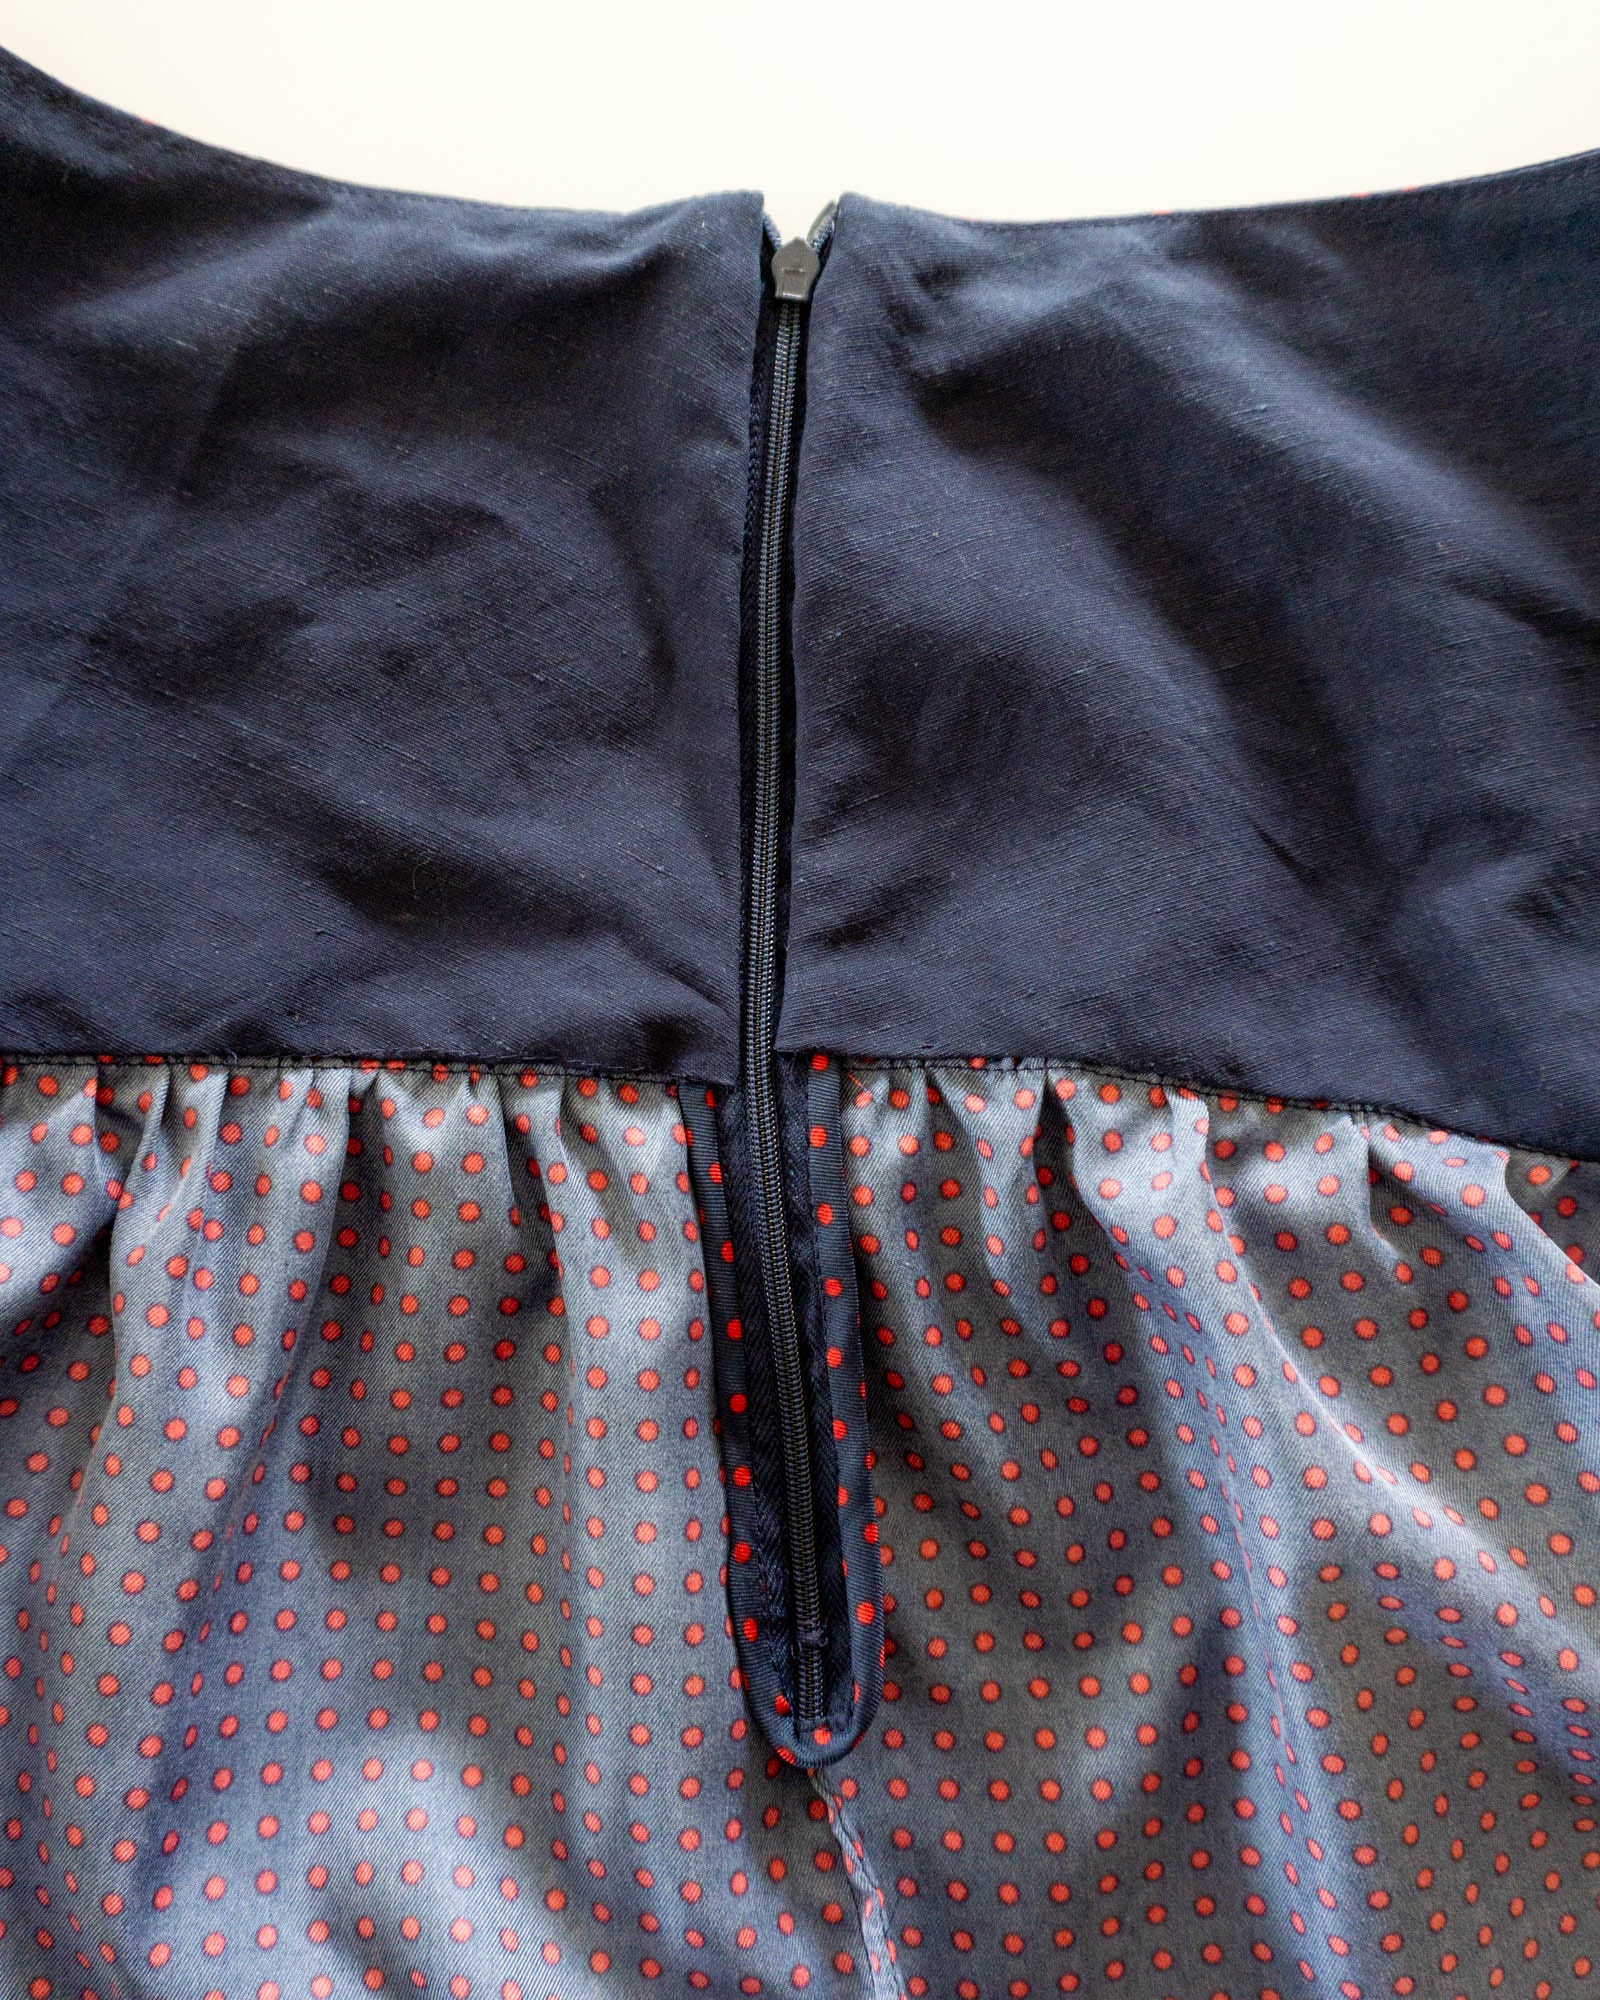
I also finished the raw edges of the skirt that are attached to the zipper with bias strips from the skirt fabric. It took me three times as long as it should have because of a couple silly mistakes. BUT, I love how it turned out.
STEP 7: Stitch the yoke facing to the zipper tape. Fold in the raw edge of the facing and hand stitch to the seam allowance of the skirt.
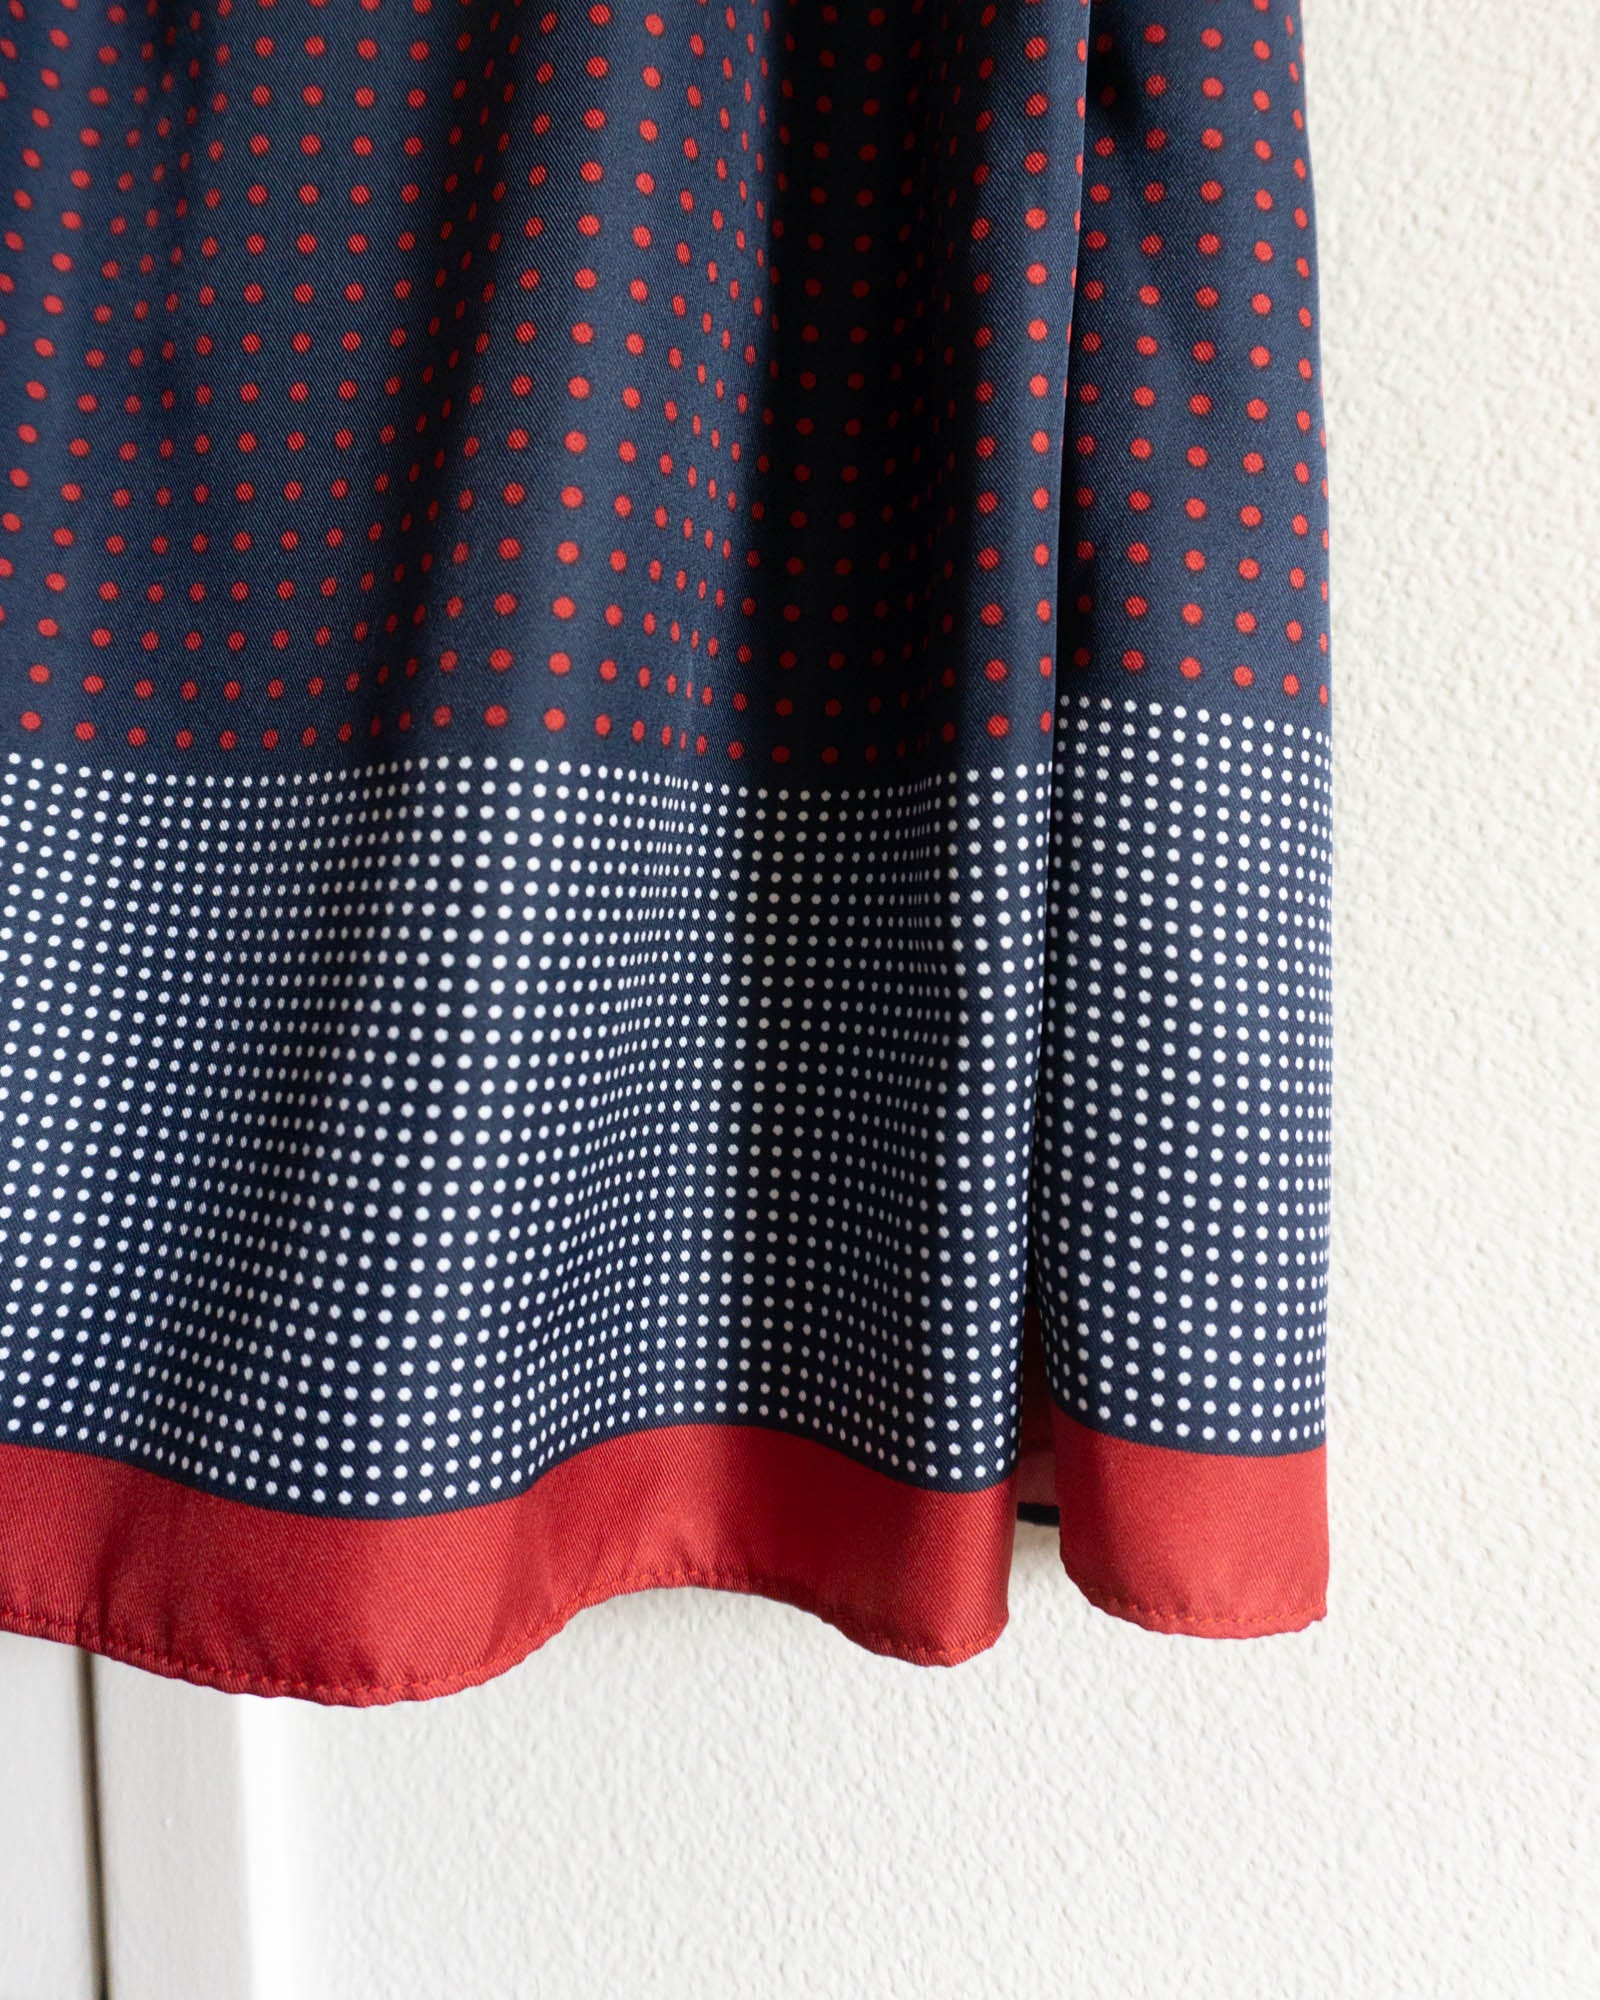
STEP 8: Hem the skirt. I used a Rolled Hem foot for this. I have a tutorial for How to Use a Rolled Hem Foot on my other blog.
FINAL THOUGHTS
I’m very pleased with how this skirt turned out. I was VERY gentle with the fabric during sewing and pressing and I think it would look a little better if it was pressed more intensely. But I’m also scared to press it more. In retrospect, I would also try putting interfacing on the yoke (not the yoke facing). I think interfacing would help keep the yoke smooth during wearing and prevent it from warping during sewing.

I think this is such a fun design and it could make a really cool pattern to share. Plus, there are so many different variations that can be done with the yoke. Such as a point in front and a curve in the back. Next time, I’ll definitely use a friendly cotton fabric.
I don’t really think I’ll wear this skirt a lot. I’m seeing it more as a practice skirt. But, I really enjoyed making it and I’m thrilled that I was able to use fabric that’s been sitting in my stash for almost a decade (!?).
If you want to sew something similar but don’t want to draft your own pattern, Itch to Stitch patterns just released the Irazu Skirt. The V shape of the yoke has less of a point than mine which probably makes it a LOT easier to sew. I haven’t sewn one of her patterns in a long time, but I believe they are good quality and a good size range.
I hope that you enjoyed this series. Please let me know if you have questions or if you’ve sewn something similar.
There are lots of ways to support this free content. You can tap the "heart" at the top or bottom, share or “restack” the post to help other people find it. Become a paid subscriber or, visit one of the links below.
Sewing With Numbers Drafting Manuals are now available for purchase
Pattern Shop | Improv Quilting E-Course | Ko-Fi | YouTube
Happy mathing!
Beth
This design was a favourite of mine from years ago when they were last in fashion. The tips from your experience are a wonderful guide, thanks Beth.
Nice skirt. But at the beginning you said you would write about sewing your own underwear. I am very interested in that, since I sew most of my own. Will you write about it?