Project Journal Sun Hats
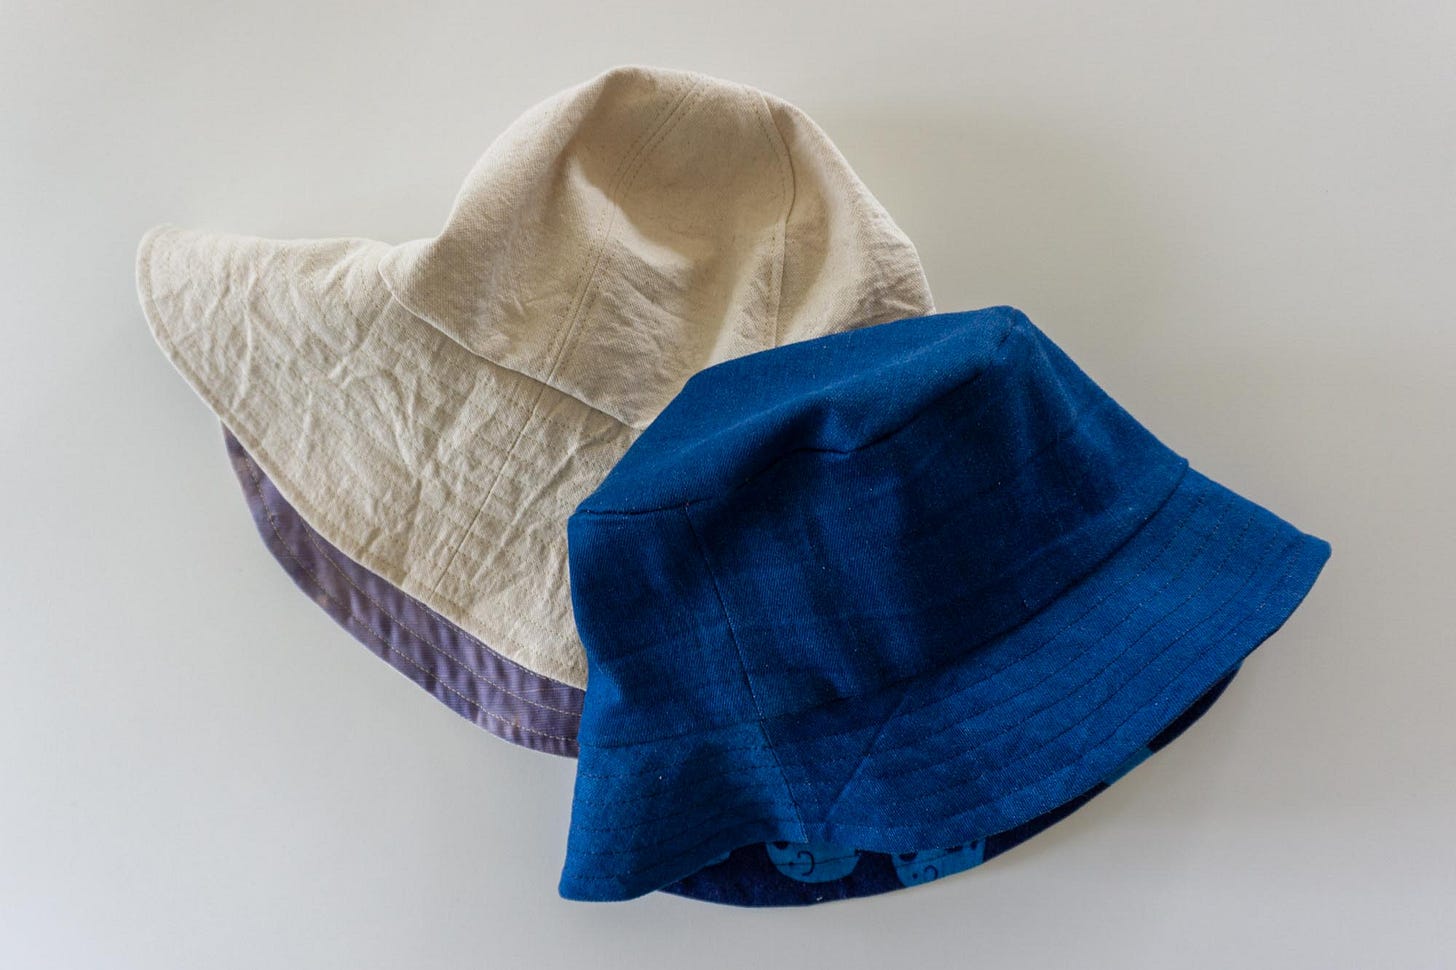
Today, I’m sharing my first two samples of the bucket hat and the rounded crown sun hat patterns.
A little bts pre-amble
First off, thank you so much for following along with my mathy sewing project. I had originally planned to post this on Friday but life got in the way. (I'm sure you can understand how that goes.) I had a busy week with client work, which is great. But I had a bad week of migraines, which is really not great. I've been living with chronic migraine for three years and I'm still actively trying to find a treatment program that works well enough to take me out of this chronic state.
So, despite my best efforts, sometimes I need to delay. If things go well this week, I will kick off the next project on Friday which is a shirred raglan baby doll dress (or longer dress, if you prefer). I'm pretty excited about it. :) But first, let’s wrap up this project on hats.
These hats aren’t perfect but that's ok. It's all part of the design process. Designing patterns is a lot of trial and error, of testing, adjusting and tweaking until you find what works best.
If you missed any of the earlier posts in the series, you can click here to read them.
Update 02/2025: The tutorials in this series are now archived for paid subscribers. If you are interested in this project you can upgrade to a paid subscription. Or, you can purchase a pdf version of this project in my shop.
The Bucket Hat
If you missed it check out my tutorial for how to draft a bucket hat at the link below.
DRAFTING
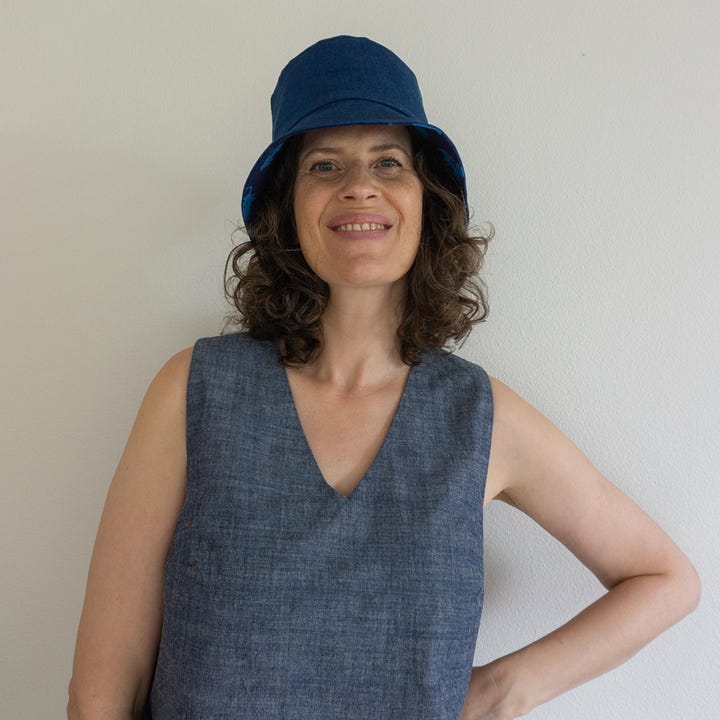
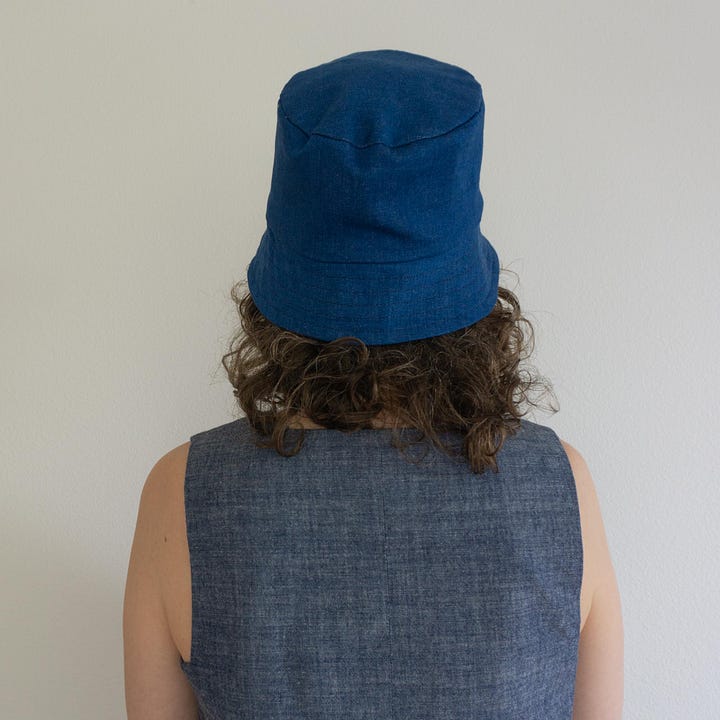
For this hat, I used an oval crown with a finished circumference of 22.75", crown depth of 3.875", and brim radius of 2.375". My head circumference is 22" so this is a generous .75" of ease. The fit of the bucket works for my head size. Because of my migraines, I'm pretty sensitive to anything tight on my head and I feel like this is a good amount of ease. I also have a lot of hair and this size works with my hair down.
I do think that the sides are too tall and I even considered unpicking and resewing it. I'm also thinking about making the oval at the top slightly smaller so that the sides angle a little towards the crown.
I'm not really a bucket hat gal but I think there is potential here. I really want to make a scalloped edge variation. I fell in love with the drawings I did of the scallop edged bucket hat so it will need to be a reality at some point.
FABRIC & SUPPLIES
The only supplies needed are fabric and thread. If you want to make your hat thicker, you can also use interfacing. I used stash fabric (because it is abundant). The exterior solid fabric is a stretch denim that I got in a remnant bundle from LA Finch Fabrics. The lining fabric is an elephant print canvas that I bought in Japan in (I think) 2018. These fabrics are both pretty thick so I didn't feel the need to use interfacing. I don't really recommend working with stretch denim but it was worked fine. I think it's probably harder to top stitch because of the stretch. But, it might be more comfortable to wear.
CONSTRUCTION
This hat sews up pretty quickly. Here's a quick run down of my approach.
Step 1: Sew the side seams of the brim and sides and press open.
Step 2: Stitch the side to the crown for the exterior, aligning the seams in the sides to the sides of the crown. Repeat for the lining. Trim and clip the seam allowances. (I used pinking shears and it seemed to work fine but next time I'll try clipping out wedges and grading. I also wonder if topstitching the seam allowance to the crown would look good or if it would get sloppy and have wrinkles.)
Step 3: With the brim and brim lining right sides together, stitch the outer brim seam. Clip and grade the seam allowance.
Step 4: Stitch the exterior inner brim to the exterior sides, holding the brim lining out of the way.
Step 5: Stitch the lining inner brim to the lining sides, leaving a 3-4" opening to turn the hat right side out.
Step 6: Grade the seam allowances. Turn right side out. Press.
Step 7: Top stitch the brim and hand stitch the opening closed.
A couple of notes:
I clipped the seam allowances but did not grade and in retrospect that was a mistake. The seam allowances do create a bump that would be more subtle if I had graded.
When this becomes a real pattern, I need to find a better way to describe steps 5 and 6. If you've sewn a lined bag before, this is a similar process.
The Rounded Crown Sun Hat
Check out the link below for the tutorial on drafting this hat.
DRAFTING
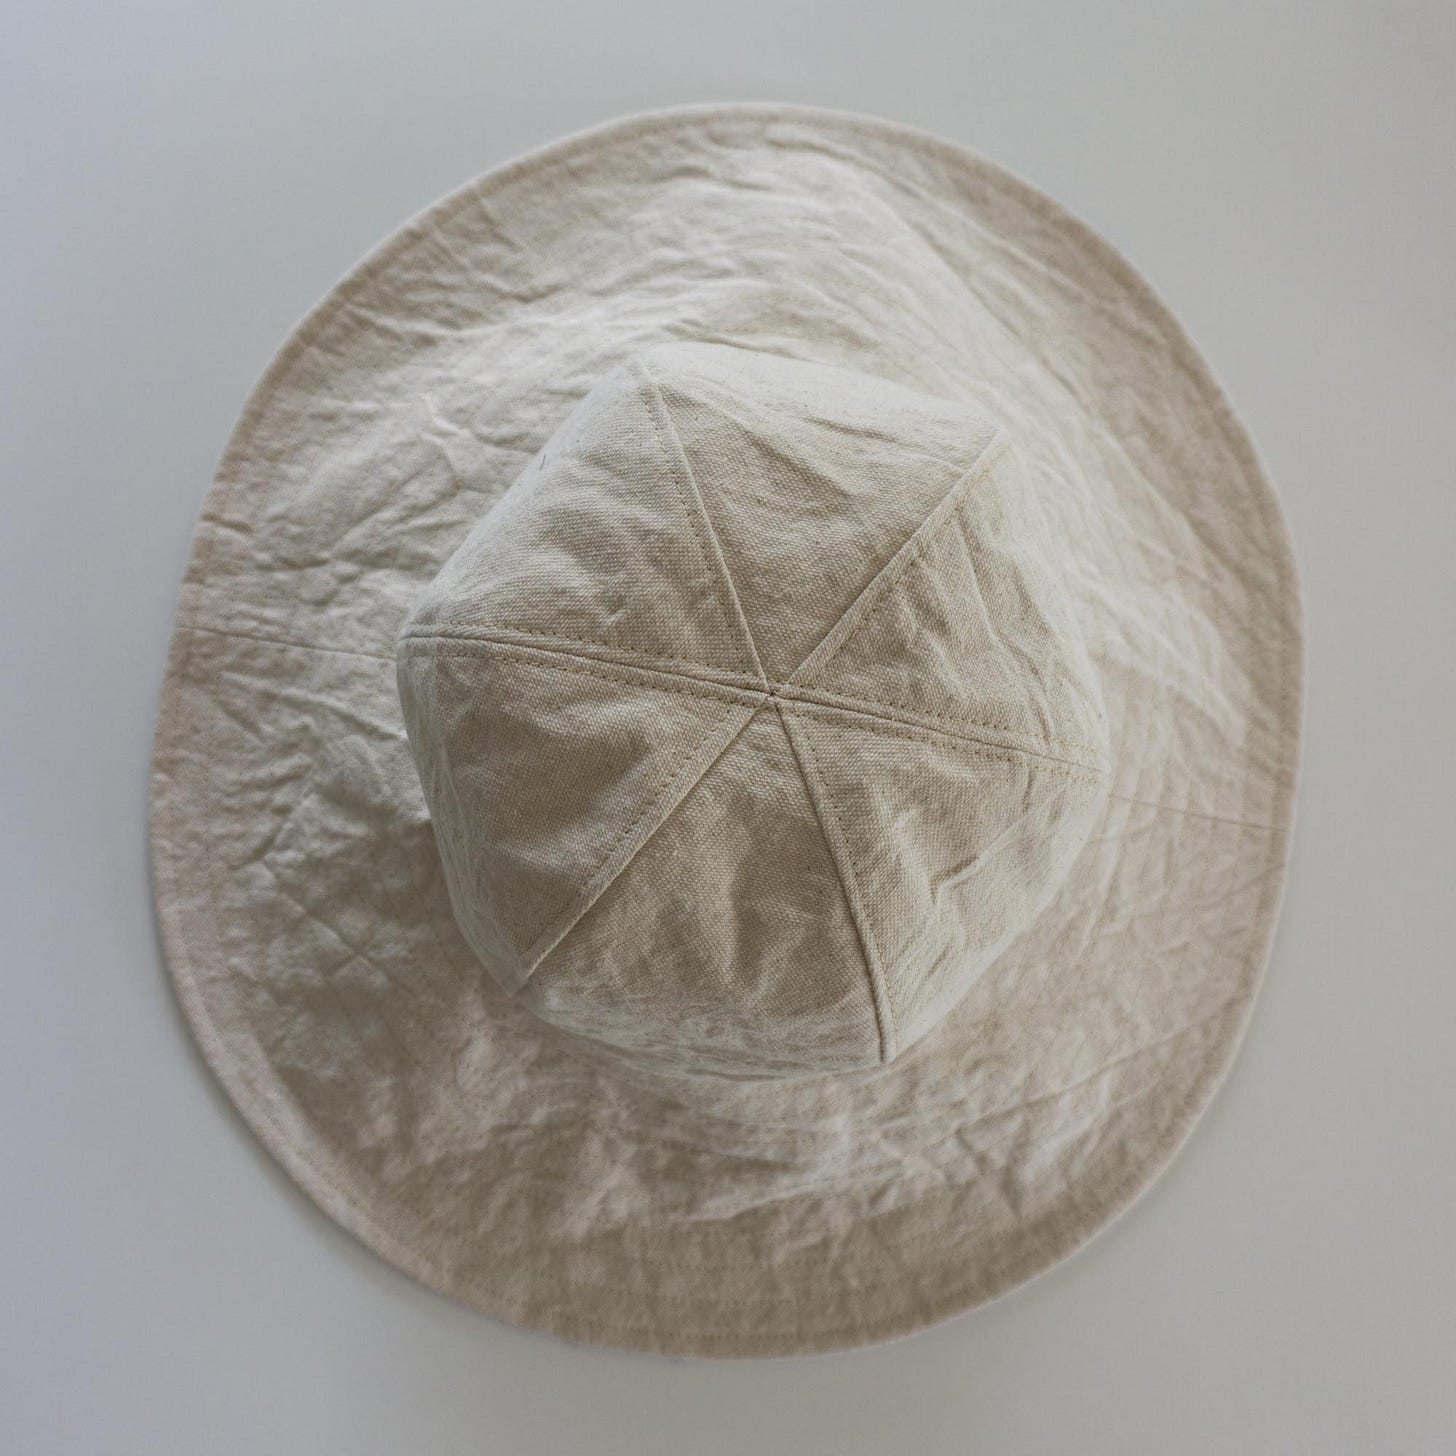
My ear to ear measurement is 12.5” and I added 1” of ease to the height of the hat. I also used 1” of ease to the circumference. I made a quick muslin of the rounded crown before cutting out my fabric. When I tried it on, I thought that the curve of the petal needed a little tweaking. It was pooching out at the rounded section of the curve, so I shaved off 1/8" on each side.
I also think that the curve at the bottom should be adjusted for a smoother edge between the petals. I’ll need to do a little experimenting on that.
FABRIC
Again, I used stash fabric for this hat. The exterior is a heavy canvas fabric that I bought yards of a few years ago with the intention of making bags. The lining fabric more random. I believe I inherited the fabric from my grandmother, so it's very old. Maybe even 50 years old. It was an off-white color, is a medium weight and has a nubby texture. I honestly don't know how to best describe it. A few years ago I was playing around with tie-dyeing and dyed the fabric. I think the tie-dye is a lot more fun than the original.
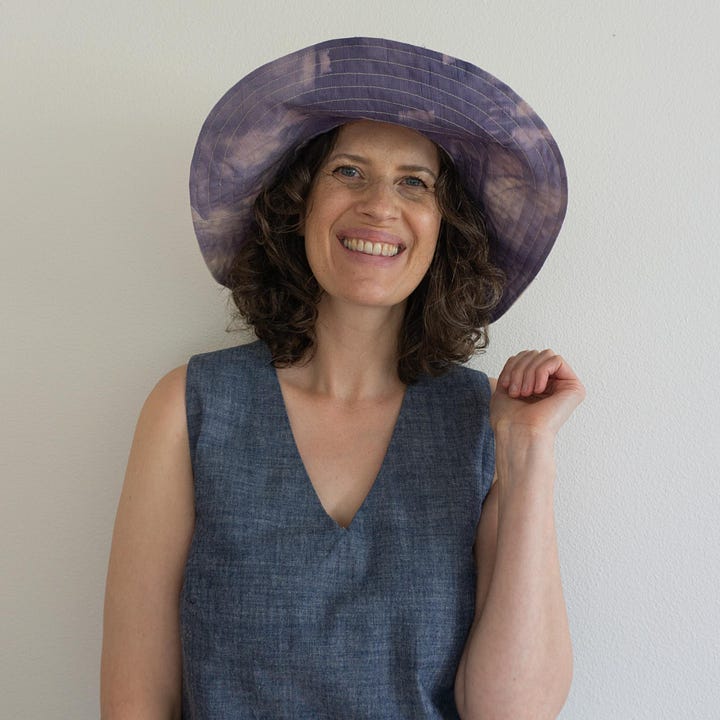
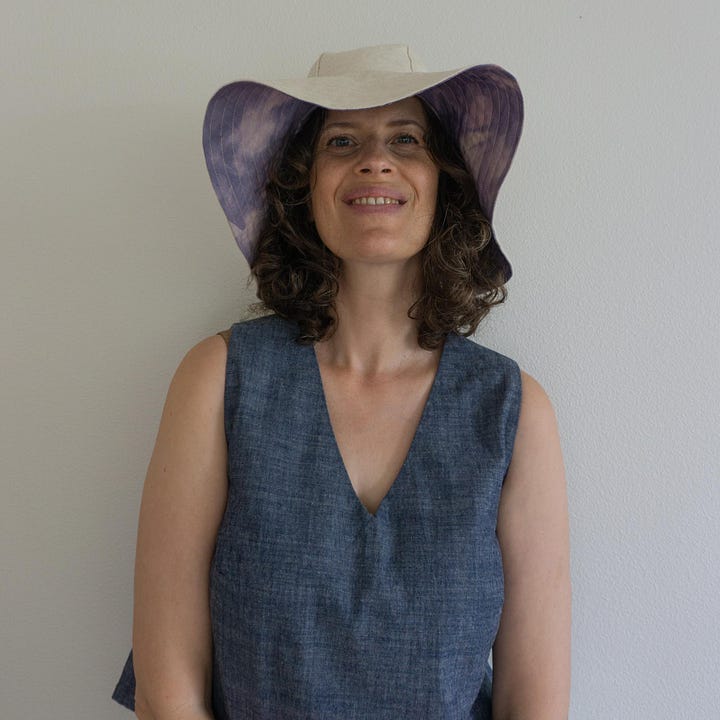
I did not use interfacing and probably should have for the brim. Because the brim is so much bigger than the bucket hat, it is pretty floppy. I have to flip the brim up Blossom-style so that it doesn’t get in my eyes. (See above for the brim flipped up and flopping.) When I make it again, I will use interfacing as well as a thicker lining fabric. I would also like to try adding milliners wire to the outer edge of the brim for additional structure.
CONSTRUCTION
The construction of this hat is a little more involved because there are more seams and lots of curves. But, I didn't think it was hard and actually had a lot of fun. I do recommend grading and clipping seams as you go to reduce bulk. Here's a quick rundown of the steps I took to sew the hat.
(Note: I assembled the crowns into two sections of three petals and then sewed those two sections together. I think this creates a cleaner finish than sewing each petal consecutively (which I did for my muslin).
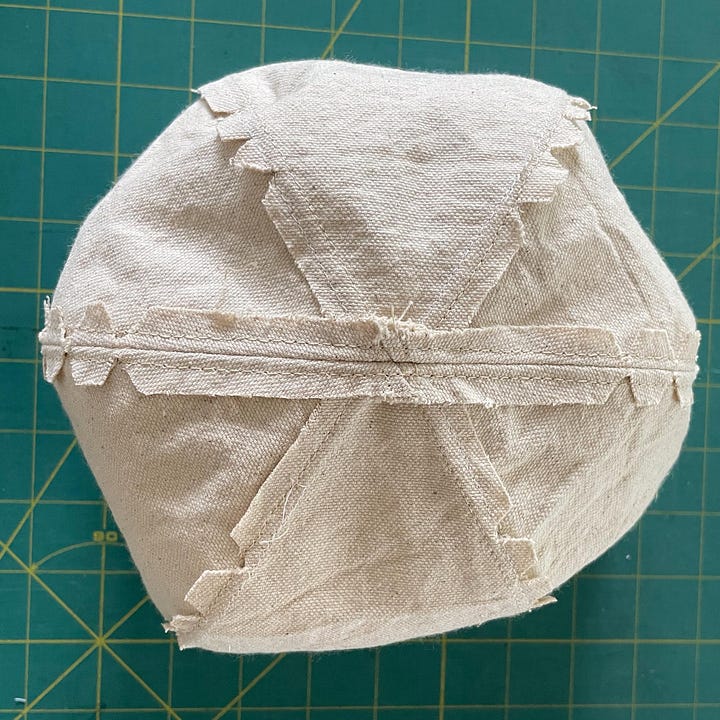
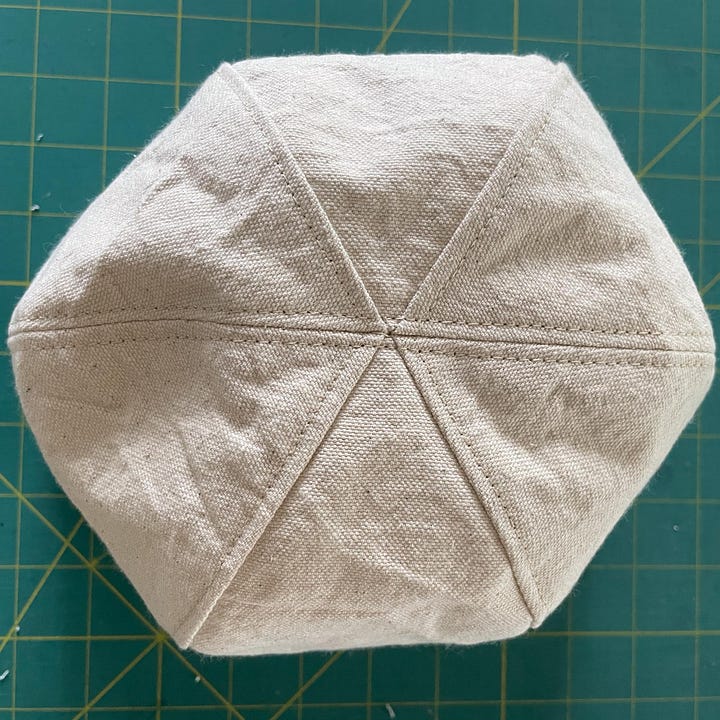
STEP 1: Stitch petal 1 to petal 2 along one long side. Grade the seam, clip the curve and press to the side. Topstitch if desired.
Stitch petal 3 to petal 2 along one long side. Grade, clip and press to the side. Topstitch if desired. Set these three aside. Repeat for the three remaining petals.
STEP 2: Stitch the two units together. Press the seams open. Top stitch if desired. (I did topstitch this seam and it was a little tricky but doable.
Repeat steps 1 and 2 for the lining petals.
STEP 3: Stitch the side seams of the brim. Repeat for the lining. Trim the seam allowance of the lining.
STEP 4: With the brim and brim lining right sides together, stitch the outer brim seam. Clip and grade the seam allowance. Turn right side out and press.
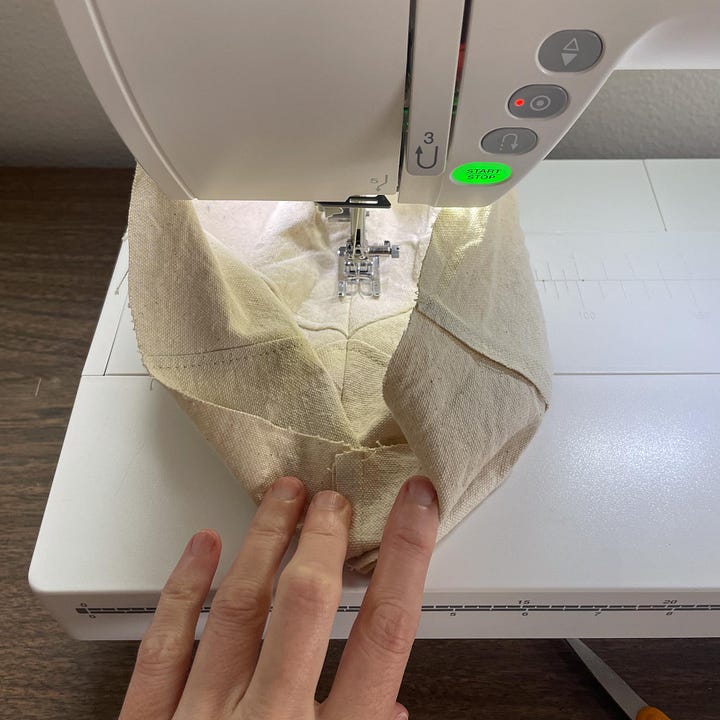
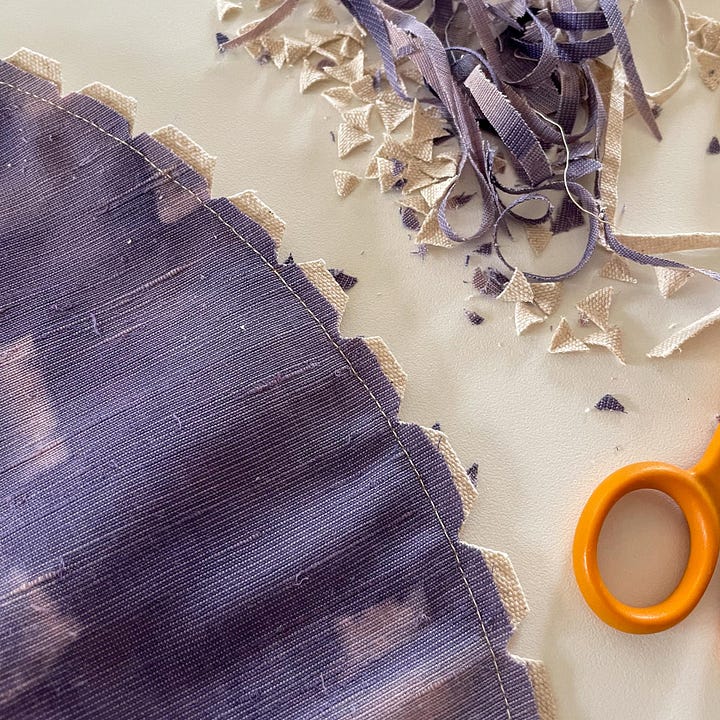
STEP 5: Stitch the exterior inner brim to the exterior crown, holding the brim lining out of the way.
STEP 6: Stitch the lining inner brim to the lining crown, leaving a 3-4" opening to turn the hat right side out.
STEP 7: Grade and clip the seam allowances. Turn right side out. Press.
STEP 8: Top stitch the brim and hand stitch the opening closed.
FINAL THOUGHTS
I’m both sad and excited that this is the last post for Project 2: Sun Hats. I think I’ll get some wear and use out of these hats but mostly they will serve as tests for the pattern. This has been a fun project for me to explore. It didn't go the way that I expected but that actually made it a fun challenge. And, I’m not planning to abandon these hat patterns. I'm hoping that next year I can release them as full pdf patterns under my line Sew DIY patterns. That would involve perfecting the design, drafting multiple sizes and creating illustrated instructions. Oh, and the marketing.
I hope that you’ve enjoyed this series. Please let me know in the comments if you have any questions. And, stay tuned for my next drafting project!
Happy mathing!
Beth
You can support this newsletter by subscribing, liking and sharing or check out the links below.
Visit me elsewhere on the web:
Pattern Shop | Improv Quilting E-Course | Instagram | YouTube


