How to Draft a Funnel Collar and Placket
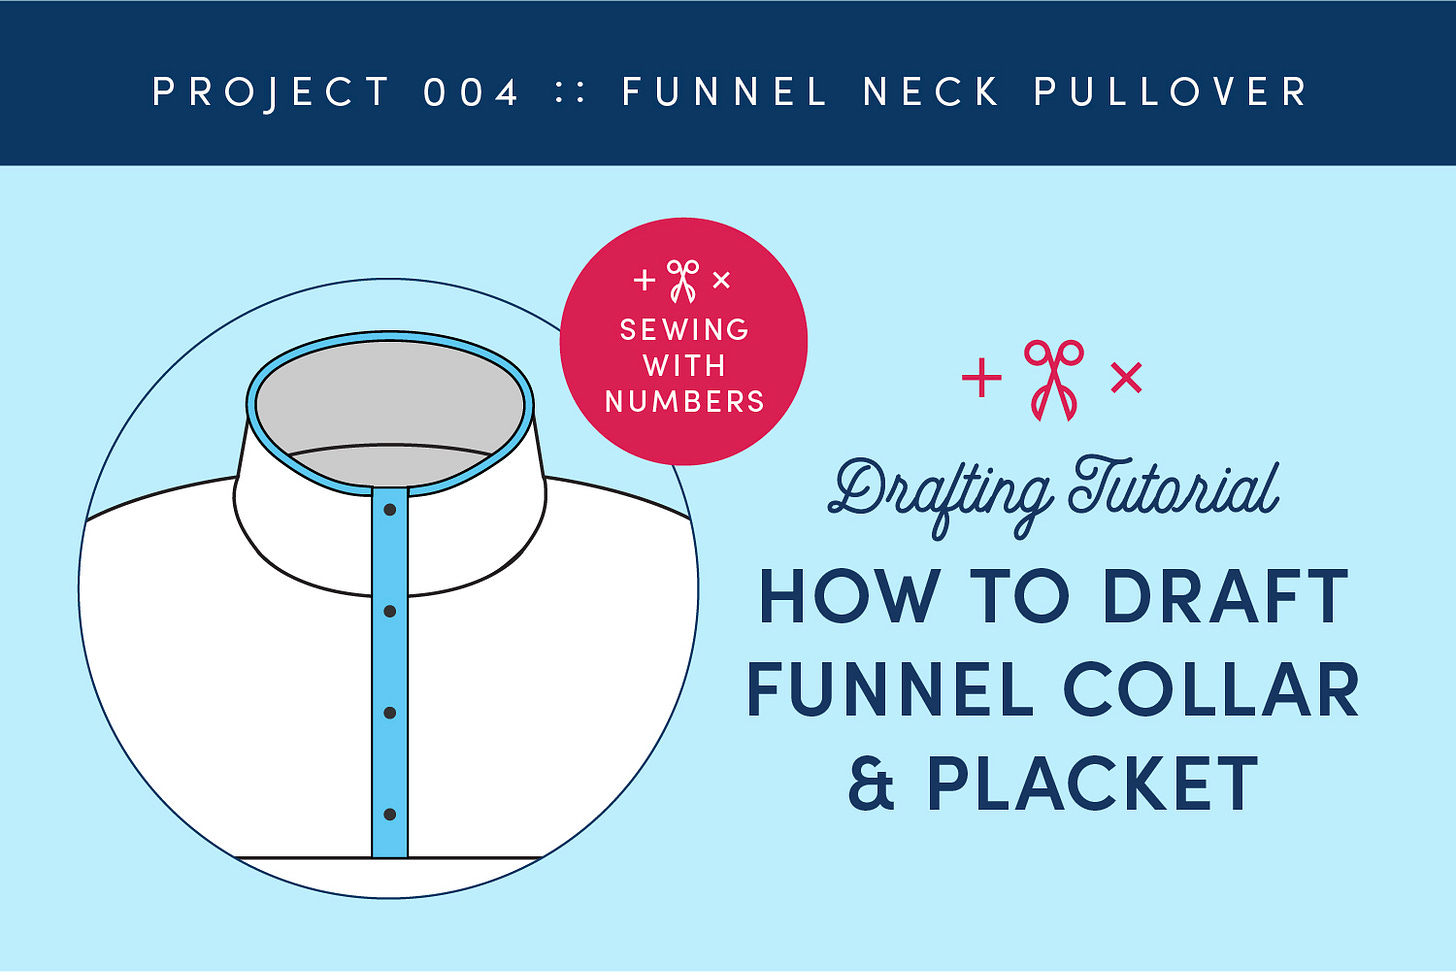
Today, we are taking a deep dive into placket drafting with illustrations from all angles. We'll also be drafting the Funnel Collar and completing the pattern for our Funnel Neck Pullover project.
Welcome to Sewing With Numbers, a newsletter about sewing, math, design and how to draft your own sewing patterns. Through simple pattern drafting exercises, I'll show you how fun, useful and empowering math can be. ✂️ Every 6 to 8 weeks, I feature a different drafting project, with each lesson building upon the learnings from previous ones.
Hello my mathy sewing friends! It’s been a busy week here with client design projects and I’ve been anxious to get this tutorial written and published. Plackets are not that hard to draft but I don’t do it often and it requires concentration and lots of sketches.
Today, we are drafting the final pattern pieces and finishing our Funnel Neck Pullover pattern. We are going to adjust the Front Yoke pattern piece to work with our chosen placket size, then draft the Snap Placket and the Funnel Collar. (If you missed the first drafting tutorial for this project, click below.)
Click here to catch up on all the posts in this series.
The good news for today’s tutorial is that these pattern pieces are rectangles. The “bad” news is that we need to alter the front yoke to fit the placket. I don’t like that we have to go back and adjust something. But, I’m always hitting the length limit for a Substack post and didn’t want to make last week’s lesson too long. That said, the front yoke works as-is if you want to use a concealed zipper as the front closure. So, don’t throw away that pattern piece.
I really debated the order in which to present today’s drafting lesson. Ultimately, I decided that we’ll start by altering the Front Yoke to fit our Placket. Then, using measurements from the Front Yoke, we’ll draft the placket and finally the Funnel Collar. Let’s get started!
Understanding the Placket Pattern Piece
I know we wear garments with plackets all the time, but we don’t think very hard about how they work. They are there doing their placket thing. But now that we need to draft our own, I think it’s helpful to analyze how they are layered.
The placket is made from two overlapping pieces of fabric that finish the raw edge of the front yoke and funnel collar. The center of the placket pieces are aligned with the Center Front of the garment.
To be honest, I find drafting a placket to be a little tricky to wrap my head around. I think it’s because there isn’t a seam line at the center front of the garment. Instead, our center front is in the middle of the placket. And the snaps or buttons should be placed on that center front line. To help myself visualize how the heck the placket works, I like to make a cross section drawing of how the plackets overlap.
In the above illustration, you can see the cross section of a placket after it has been attached to the yoke/collar. The placket has a fold in the center plus folds where it is sewn to the yoke/collar. The centers of the two finished plackets need to meet in the center front of the garment, shown above with a red dashed line and red dots.
(Btw, for this exercise, we are calling the Finished Placket width E. That means that when it’s all folded up and assembled it is E wide.)
In the bottom left, is an example Placket pattern piece. The dashed green line is where the pattern piece is folded. The red dashed line (equidistant from the seam line and fold line) represents the center front of the garment and where the snaps should be placed.
Part One: Gather Information
I always like to start off gathering all the info we need for drafting. BUT, measurements A and D will need to be taken AFTER we adjust the Front Yoke in Part Two. As I alluded to just a few moments ago, this process is not as linear as I would like. But, if you follow the steps, I think it will all make sense.
A Front Yoke Neckline Measure the curve of the neckline seam. IMPORTANT » Take this measurement AFTER adjusting the front yoke for the placket in Part 2 of today’s lesson. (This is technically half of the front neckline. We’ll multiply by 2 later.)
B Back Yoke Neckline Using the back yoke pattern, measure the curve of the back neckline. (This is technically half of the back neck. We’ll multiply by 2 later.)
To measure A and B, see the illustration in Part 4 for reference.
C Collar Height This is drafter’s choice. Our inspiration garment has a 2.75” collar height.
D Yoke Front Length Using the Front Yoke pattern piece, measure the center front of the pattern piece from the neckline edge to the bottom. IMPORTANT » Take this measurement AFTER Part Two of today’s lesson. See Part 2, Step 3 for an illustration.
E Finished Placket Width This is drafter’s choice. Our inspiration garment has a 1” wide placket with 3/8” wide snaps.
F Seam Allowance Maker's choice!
Part Two: Adjust the Front Yoke
In our last lesson, we cut the block down the center front and added a seam allowance to make our yoke. But, we are not actually done with that pattern piece yet. When the placket is attached to the yoke it will replace part of the front body.
If we don’t correct our front yoke, the yoke + placket will be bigger than the bottom half of the sweatshirt and our pattern pieces won’t fit together. To avoid this problem, we will trim down the center front of the Yoke Front. (We didn’t do this adjustment last time because we hadn’t decided on the Placket Width yet.)
In the above illustration, the blue dashed lines represent the seam lines of the yoke and collar when assembled. The dashed red line represents the Center Front of the garment and the current location of the seamline in the Yoke Front pattern piece. The light blue box represents the finished Placket.
To correct the Yoke Front pattern piece, we need to subtract HALF the width of the finished placket from the center front. We only subtract half of E because our pattern piece is half of the front.
How to Adjust the Front Yoke to fit the placket.
STEP 1: Draw a line half of E Finished Placket Width from the Center Front seam line (CF shown in red). (When marking this line, disregard the seam allowance and measure from the seam line.) Cut along the new line.
STEP 2: Add F Seam Allowance to the cut edge. We cut off our seam allowance and now we need to add it back.
STEP 3: Measure A Front Neckline, which is used when drafting the Collar. Measure D Front Yoke Length, which is used to draft the Placket. Make sure to measure the seam lines, not the cut lines.
(The measurements A and D are a little different than before the adjustment. And the bigger the placket, the more different it’s likely to be.)
Part Three: Draft the Placket
(If you skipped the “Understanding the Placket” section above, go back and read it now.) Drafting the placket is pretty straightforward as it’s just a rectangle with some markings. The width is determined by our chosen finished placket width E, times 2 for the fold and seam allowance added. The length is the sum of the collar height and the front yoke opening plus the seam allowance.
STEP 1: Calculate the placket width by adding 2 times E Finished Placket Width and 2 times S Seam Allowance. (Remember, we need to multiple the finished width by two, because it’s folded in half.)
Placket Width = 2*E + 2*S
STEP 2: Calculate the placket height by adding C Collar Height and D Front Yoke Length plus seam allowance.
Placket Length = C + D + 4*S
I would add at least 4 times the seam allowance depending on your construction method. At the bottom edge you’ll probably use the same seam allowance as the bottom Front Yoke seam. At the top edge, I’ve added 3 times the seam allowance so that I can fold this edge over like a hem. On my inspiration pullover, the collar is finished with binding before the placket is attached. The top of the placket is then folded to the wrong and stitched down, kind of like a hem. You could even cut this piece extra long, just to make sure you have enough to work with.
STEP 3: Mark the Fold in the center of the pattern piece and mark the placement of the snaps. The snaps will be placed at the center front which is marked with a light green line. This line is equidistant from the Fold line and the Seam line, or E/2 away from the Seam Line.
Part Four: Draft the Collar
Last but not least, we’ll draft the collar. The Funnel Collar is probably the easiest style of collar to draft because it’s just a rectangle. It can seem counter intuitive to attach a rectangle to a curve but we do it all the time. For example, the Bucket Hat we drafted or something like a bolster.
STEP 1: Measure the curved neck seam line of each yoke. We’re calling the Front Yoke Neckline A (shown in red) and the Back Yoke Neckline B (shown in light blue).
STEP 2: Calculate Total Neckline edge by adding A+B, then multiply by 2.
Collar Width = (A+B)*2
In the illustration for Step 2, you can see the outline of the total neckline. The dots are at the center front, center back and shoulder seams.
STEP 3: Draw a rectangle with a width equal to the Total Neckline edge (A+B)*2 and length equal to C Collar Length. When sewn together, the red dots will be matched to the neck edge of the Front Yoke. The Navy dots will match with the shoulder seams and the light blue dot will be at the center back.
STEP 4: Add the seam allowance. (Our inspiration garment has the top edge of the collar finished with binding, so I did not include a seam allowance there.) Draw notches at the center back and shoulder points to help with construction.
That’s it for today! Let me know in the comments if you have any questions. I hope that you enjoyed this post and the deep dive into plackets. The same approach can be taken when drafting a button placket, either one that is sewn separately or an extension. Next, I’ll be sharing some ideas for design variations and then my own version of the pullover.
Let me know in the comments if you have any questions. And if you enjoyed this post, you can tap the "heart" at the top or bottom to help other people find it.
Happy mathing!
Beth
You can support this newsletter by subscribing and sharing or check out the links below.
Visit me elsewhere on the web:
Pattern Shop | Improv Quilting E-Course | Instagram | YouTube