
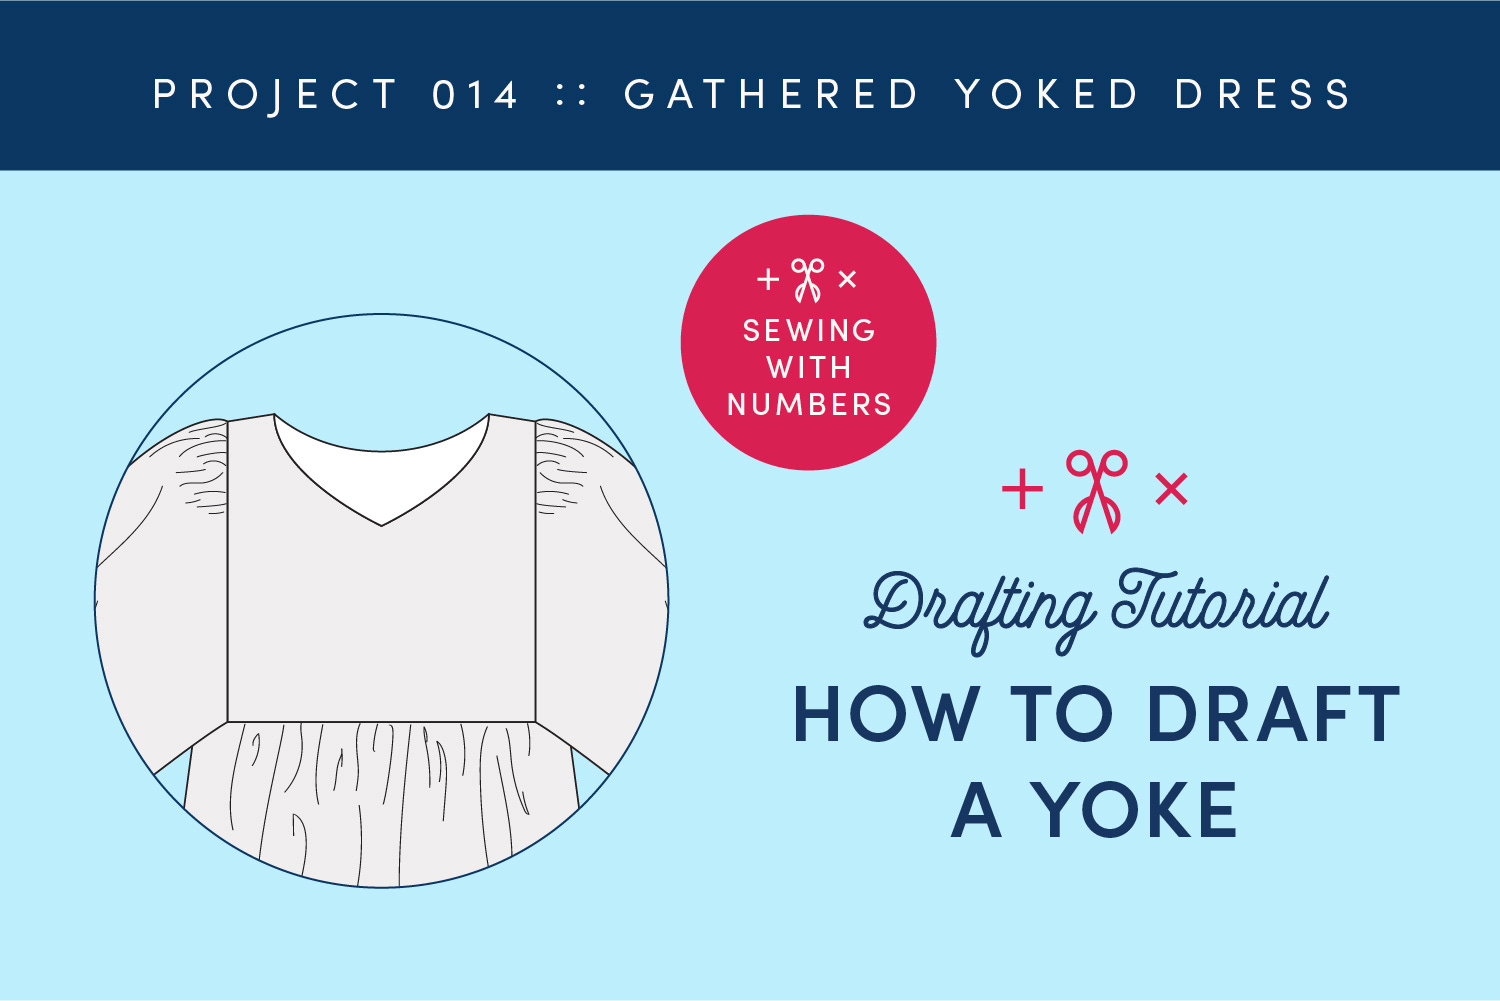
How to draft a yoke
Learn how to draft the yoke for our gathered yoked dress—designed to your own style and fit.

Welcome to Sewing With Numbers, a newsletter about sewing, math, design and how to draft your own sewing patterns. Through simple pattern drafting exercises, I’ll show you how fun, useful and empowering math can be. ✂️ Posts older than 3 months are archived for paid subscribers. But if subscriptions aren’t your thing, I also have PDF Booklets for older projects in my shop.
Hello my mathy friends! Today we are going to start drafting our Gathered Yoked Dress. We’ll be drafting from the top down and starting with the most fitted part of the garment—the yoke.
Before we get started, I want to let you know that I’m hosting a nearly storewide sale for the month of May that includes the Sewing With Numbers pdf manuals. Use code MMM2026 at checkout. (Valid for single pdf patterns, printables and drafting manuals. Sale ends May 31, 2026. Only at sewdiy.com.)
This style of garment is really only fitted at the shoulders while the sleeves, body and skirt are loose and oversized. The yoke is the main structure of this garment and sits on the shoulders with everything else attached and hanging from the yoke. It’s the star of the show!
In this tutorial, we’ll draft a yoke to your personal measurements and then look at some alternate designs for the yoke. Because we’re not trying to fit the fabric closely to the body, this is a relatively easy drafting project (which I love!).
Notes for drafting the yoke
For this tutorial, we’ll be using mostly finished measurements. The numbers needed for the yoke are more of a designer’s choice than a strict body measurement. You really get to make the yoke exactly how you want it to look.
A Finished Shoulder Width This starts at the edge of the neck and ends where the sleeve starts. Because the yoke is often a thicker (interfaced) fabric, I recommend making the yoke slightly shorter than the shoulder. Then the sleeve can drape over the end of the shoulder.
B Finished Yoke Length This is designer’s choice. Starting at the inner neck edge, measure vertically down to where you want the yoke to end. You may want to look at RTW inspiration or clothes you already have in your closet to help decide this length.
Measurements C and D help us draw the opening for the neck. If you are NOT including an opening (such as a zipper or button placket), you will need to make sure that the neck opening is big enough for your head to fit through. You may also want to measure your neck and head circumferences for reference, or measure the opening of a top you like.
C Finished Neck Width Measure horizontally across the front of the neck and add a little ease, about .5 inch or more if you like a looser neck.
D Front Neck Depth Measure vertically down from the side of the neck to just below the collar bone.
E Shoulder Angle This is the angle of your shoulder in relation to the floor. Anytime I have a seam line on the shoulders, I make sure that the angle of the shoulders matches my own. This ensures that the garment hangs nicely on the body. If you’re making a strappy tank, this doesn’t matter very much but the longer the shoulder seam, the more important the angle becomes.
I have a fairly detailed blog post and video on my other blog that will show you How to Make a Shoulder Slope Adjustment. This is really a fairly easy pattern adjustment and it makes a big difference to the fit. I also recommend this blog post from the Crooked Hem about how to make a shoulder template.
F Seam Allowance Maker’s choice!
How to draft a yoke
This yoke is drafted on the fold because it’s easier to create a symmetrical neckline this way. When fitting, you may want to draw the yoke flat so that you can customize each shoulder to your body. Drawing the yoke flat on paper is also a good way to visualize the final shape without cutting any fabric.
STEP 1: Draw a rectangle with a width of A Finished Shoulder Width plus one-half C Finished Neck Width, or A+C/2 for short, and has a length of B Finished Yoke Length. The right side of the rectangle is the fold line and the center front/back.
STEP 2: Trace a copy for the Back Yoke.
STEP 3: On the right side, mark a point on the right side D Front Neck Depth down from the top corner. Draw desired neckline shape from shoulder to center point.
STEP 4: For the Back Yoke, draw a rounded neckline about .75” deep, or to your desired depth and shape.
STEP 5: Pivot the shoulder line to match Shoulder Angle E. If you don’t know your shoulder angle, you can keep this line straight and then pinch out the excess during fitting.
STEP 6: If desired, you can adjust the shape of the side and bottom of the yokes. In the graphic above, I angled the side of the yoke towards the center and shortened the back yoke.
STEP 7: You’ll want to true the seams and check that the transitions across the center line and front to back are smooth. See graphic below. Finally, add Seam Allowance F to all seams except the center front and center back (the right side of each yoke).
Fitting the yoke
Now that you have the first draft of your yoke, I recommend making a muslin to test the fit before proceeding with additional drafting. This is especially important if you’re not sure of the angle of your shoulders. During fitting, you’ll be able to pinch away any excess fabric at the shoulder and also see if you need different adjustments for each shoulder.
You can “tissue fit” the yoke with paper or with fabric. When cutting out the fabric for a muslin, I would remove or fold back the seam allowance for the sides and bottom of the yoke, so that you can see what it would look like finished.
When fitting, you can decide if you like the width and length of the yoke and test that you can easily fit the yoke over your head.
Design Variations for the Yoke
The best part of a yoke might be how much opportunity there is to play with the design. You get to choose the front and back necklines as well as the shape and length of the yokes. And when finished with a facing, it’s relatively easy to sew some unusual shapes.
Below are a few ideas to get your creative juices flowing.
If you want to add a button placket to your yoke, this tutorial will teach you how:

Thank you so much for reading! Let me know in the comments if you have any questions. There are lots of ways to support this free content. You can tap the “heart” at the top or bottom, share or “restack” the post to help other people find it. Become a paid subscriber or, visit one of the links below.
Sewing With Numbers Drafting Manuals are available for purchase.
Pattern Shop | Improv Quilting E-Course | Ko-Fi | YouTube
Happy mathing!
Beth
