
Project 013: How to draft full length plackets
In this exercise, I'll show you how to draft two different kinds of full length plackets: grown-on and separate.

Welcome to Sewing With Numbers, a newsletter about sewing, math, design and how to draft your own sewing patterns. Through simple pattern drafting exercises, I’ll show you how fun, useful and empowering math can be. ✂️ Posts older than 3 months are archived for paid subscribers. But if subscriptions aren’t your thing, I also have PDF Booklets for older projects in my shop.
Hello my mathy friends! I hope that you are doing well. In this installment of Project 13, we’re going to be exploring how to draft two styles of full length placket—grown-on and separate.
These are the easiest plackets to sew because they run the entire length of the seam, for example a button placket at the front of a shirt or jacket. These can be grown-on as an extension of the pattern piece, or they can be separate. You’ll usually find this style of placket along the center front of a shirt, jacket or skirt. (I will call this style a “full” placket for this lesson.)
In our next lesson, we’ll look at how to draft a “partial placket” which is inserted where there is no seam (for example at the center front of a shirt or at the end of a sleeve).
Below are links to the previous posts in this series as well as a tutorial from Project 4 where we made a snap placket.
RELATED READING


Notes for drafting plackets
In both of the drafting examples below, we’ll be using the same letters throughout the formulas. When drafting your own placket, you can enter the dimensions of your choosing.
IMPORTANT NOTE: For the following examples, I reference the center front as the location of the placket. But remember that you can add the button placket anywhere you wish. It may help to imagine that you are drafting a shirt or skirt with a button band running the entire length of the center front.
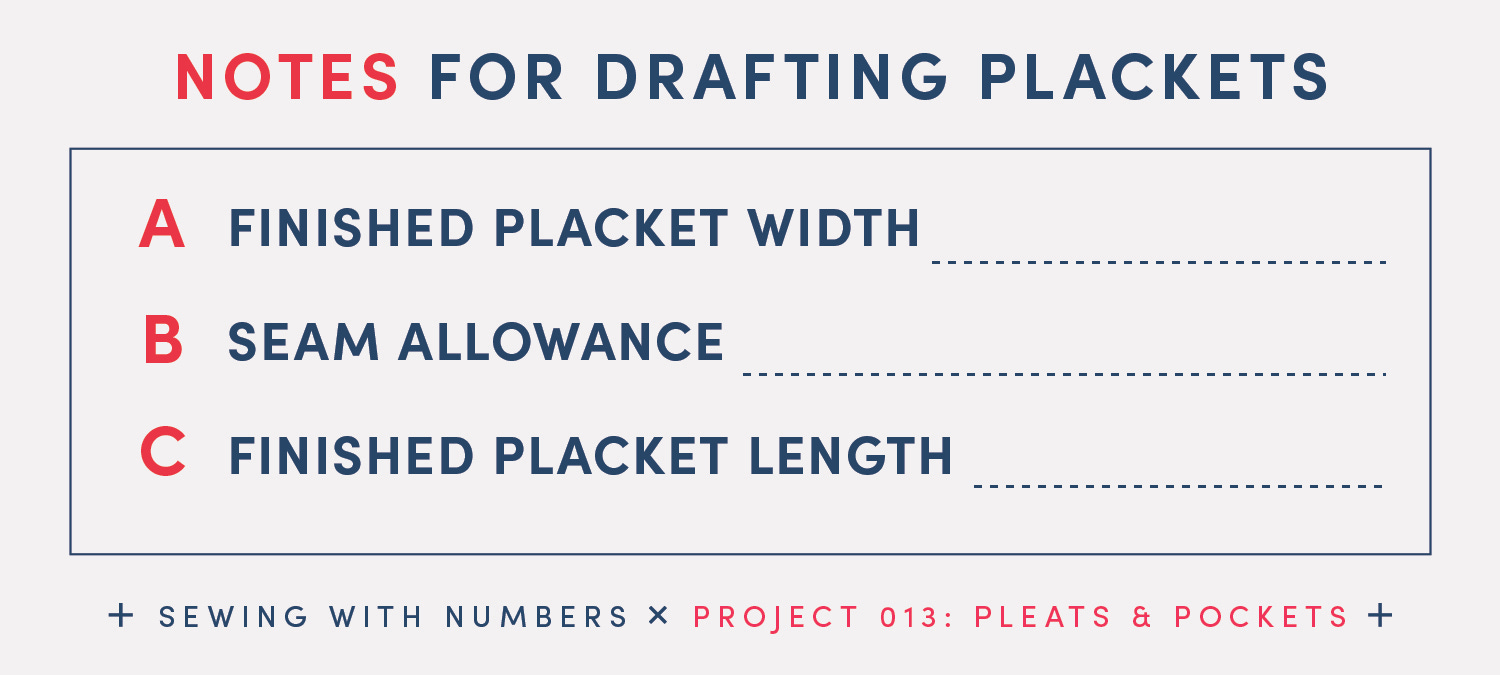
A Finished Placket Width This is how wide you want the finished width to be and is often determined by the width of the button or snap.
B Seam Allowance Maker's choice!
C Finished Placket Length This is the length of the placket opening. For example, if you’re making a button down shirt, the center front of the shirt from the neck to the hem equals the finished placket length.
Example 1: How to Draft a Grown-On Placket
First, let’s start with the simplest placket to design and sew—the grown-on placket. “Grown on” means that the center front of the shirt (or skirt) is folded to create a placket—i.e. no separate pattern piece. To adapt the pattern block to include a grown-on placket, we need to extend the center front seam of the garment. When the plackets overlap and the buttons are closed, the circumference of the garment should be the same as it was before the placket was added. To figure out how much fabric to add, I like to look at a drawing to visualize how the placket works.
In the illustration above, you can see the cross section of a placket after it has been folded into place. The raw edge of the fabric is folded back once equal to Seam Allowance B and a second time equal to Placket Width A. The centers of the two finished plackets need to meet in the center front of the garment, shown above with a red dashed line and red dots.
The light blue line above shows the garment before the seam was created for the placket opening. To make the overlap of the placket we need to extend the center front half of the Placket Width A, plus the full placket width (this section is folded to the wrong side and the Seam Allowance B.
When we add this up we need to add the following width to the center front seam:
A/2 + A + B = 1.5A + B
For this example, I’m showing the center front of shirt. You can use the same technique for any part of a garment.
STEP 1: Start with the Front pattern piece, without the seam allowance included. We’ll be adding the placket to the center front seam line (on the right side of the pattern piece in the illustration above).
STEP 2: Extend the center front seam 1.5 times the Placket Width A. This extension is shown with a red dashed line in the graphic above.
STEP 3: Mark the foldline for the placket Placket Width A to the left of the new extension. This line is shown with a blue dashed line in the graphic above.
STEP 4: Add the Seam Allowance B to all sides, including the placket extension. If desired, mark the button placement along the Center Front line.
Example 2: How to Draft a Separate Pattern Piece
The separate placket pattern piece is a little bit more complicated to draft but sometimes, it’s the look you’re going for. A grown-on placket is great if you want a smoother look and/or less topstitching. The separate placket will create a small ridge which defines the style lines and is great for topstitching.
To draft this style of placket, we’ll need to subtract some of the main body of the garment and draft new placket pattern pieces. Let’s take a look at some drawings for how this works.
In the above illustration, you can see the cross section of a separate placket piece after they have been attached to the garment. The placket has a fold in the center plus folds where it is sewn to the garment. The centers of the two finished plackets need to meet in the center front of the garment, shown above with a red dashed line and red dots.
To ensure that the body circumference remains the same after sewing on the plackets, you’ll need to subtract half of Placket Width A from the center front seam line.
Let’s take a look at another example. For Project 004: Funnel Neck Pullover, we drafted a snap placket that went from the collar to the base of the Front Yoke. The above illustrations are adapted from that project. At the top of the graphic, I overlayed plackets of different widths to show how a wider placket replaces more of the body of the garment. The dashed red line represents the Center Front of the garment and when the placket with width A is centered on top, we can see that it replaces A/2 on each side of the center line.
In the lower part of the graphic above, I show how to adjust the Front Yoke pattern for the placket.
STEP 1: Draw a line half of A Finished Placket Width (or A/2) from the Center Front seam line (CF shown in blue). (When marking this line, disregard the seam allowance and measure from the seam line.) Cut along the new line.
STEP 2: Add B Seam Allowance to the cut edge. (We cut off our seam allowance and now we need to add it back.)
The Yoke or Front pattern piece is now ready. Next we need to draft the Placket and add back in the width that we removed from the Front.
Drafting the placket is pretty straightforward as it’s just a rectangle with some markings. The width is determined by our chosen finished placket width E, times 2 for the fold and seam allowance added. The length is the length of the front opening plus the seam allowance.
STEP 1: Calculate the placket width by adding 2 times A Finished Placket Width and 2 times B Seam Allowance. (Remember, we need to multiple the finished width by two, because it’s folded in half.)
Placket Width = 2*A + 2*B
STEP 2: Calculate the placket height by measuring the Finished Placket Length C of the Front pattern piece plus seam allowance B. Note, you may also need to add Hem Allowance at the bottom depending on the style of garment.
Placket Length = C + 2*B
That’s all for today! I hope that you enjoyed this post. Next, we’ll take a look at drafting partial plackets. In the meantime, please let me know in the comments if you have any questions.
There are lots of ways to support this free content. You can tap the “heart” at the top or bottom, share or “restack” the post to help other people find it. Become a paid subscriber or, visit one of the links below.
Sewing With Numbers Drafting Manuals are now available for purchase.
Pattern Shop | Improv Quilting E-Course | Ko-Fi | YouTube
Happy mathing!
Beth
