

Project Journal: Drafting and Sewing Two Styles of Undies
In today’s post, I’ll share the details on drafting and sewing my own bikini and high cut undies.

Welcome to Sewing With Numbers, a newsletter about sewing, math, design and how to draft your own sewing patterns. Through simple pattern drafting exercises, I'll show you how fun, useful and empowering math can be. ✂️ Posts older than 3 months are archived for paid subscribers. But if subscriptions aren’t your thing, I also have PDF Booklets for older projects in my shop.
Hello my mathy-sewist friends! Today, I'm sharing my own version of the Bikini Briefs and the High Waist Briefs. I'm using the tutorials that I've shared as part of Project 008—Undies and I'll give you all of my personal drafting details and insights.
I've sewn a few different underwear patterns in the past and sometimes they've worked and sometimes they just don't. When it comes to underwear fit, I think personal preference is an even bigger issue than with regular (non-underwear) clothing. Underwear is the closest thing to your body after all. The fit has to be tight so that it stays up. And, our torsos are three-D curvy shapes. It's tricky!
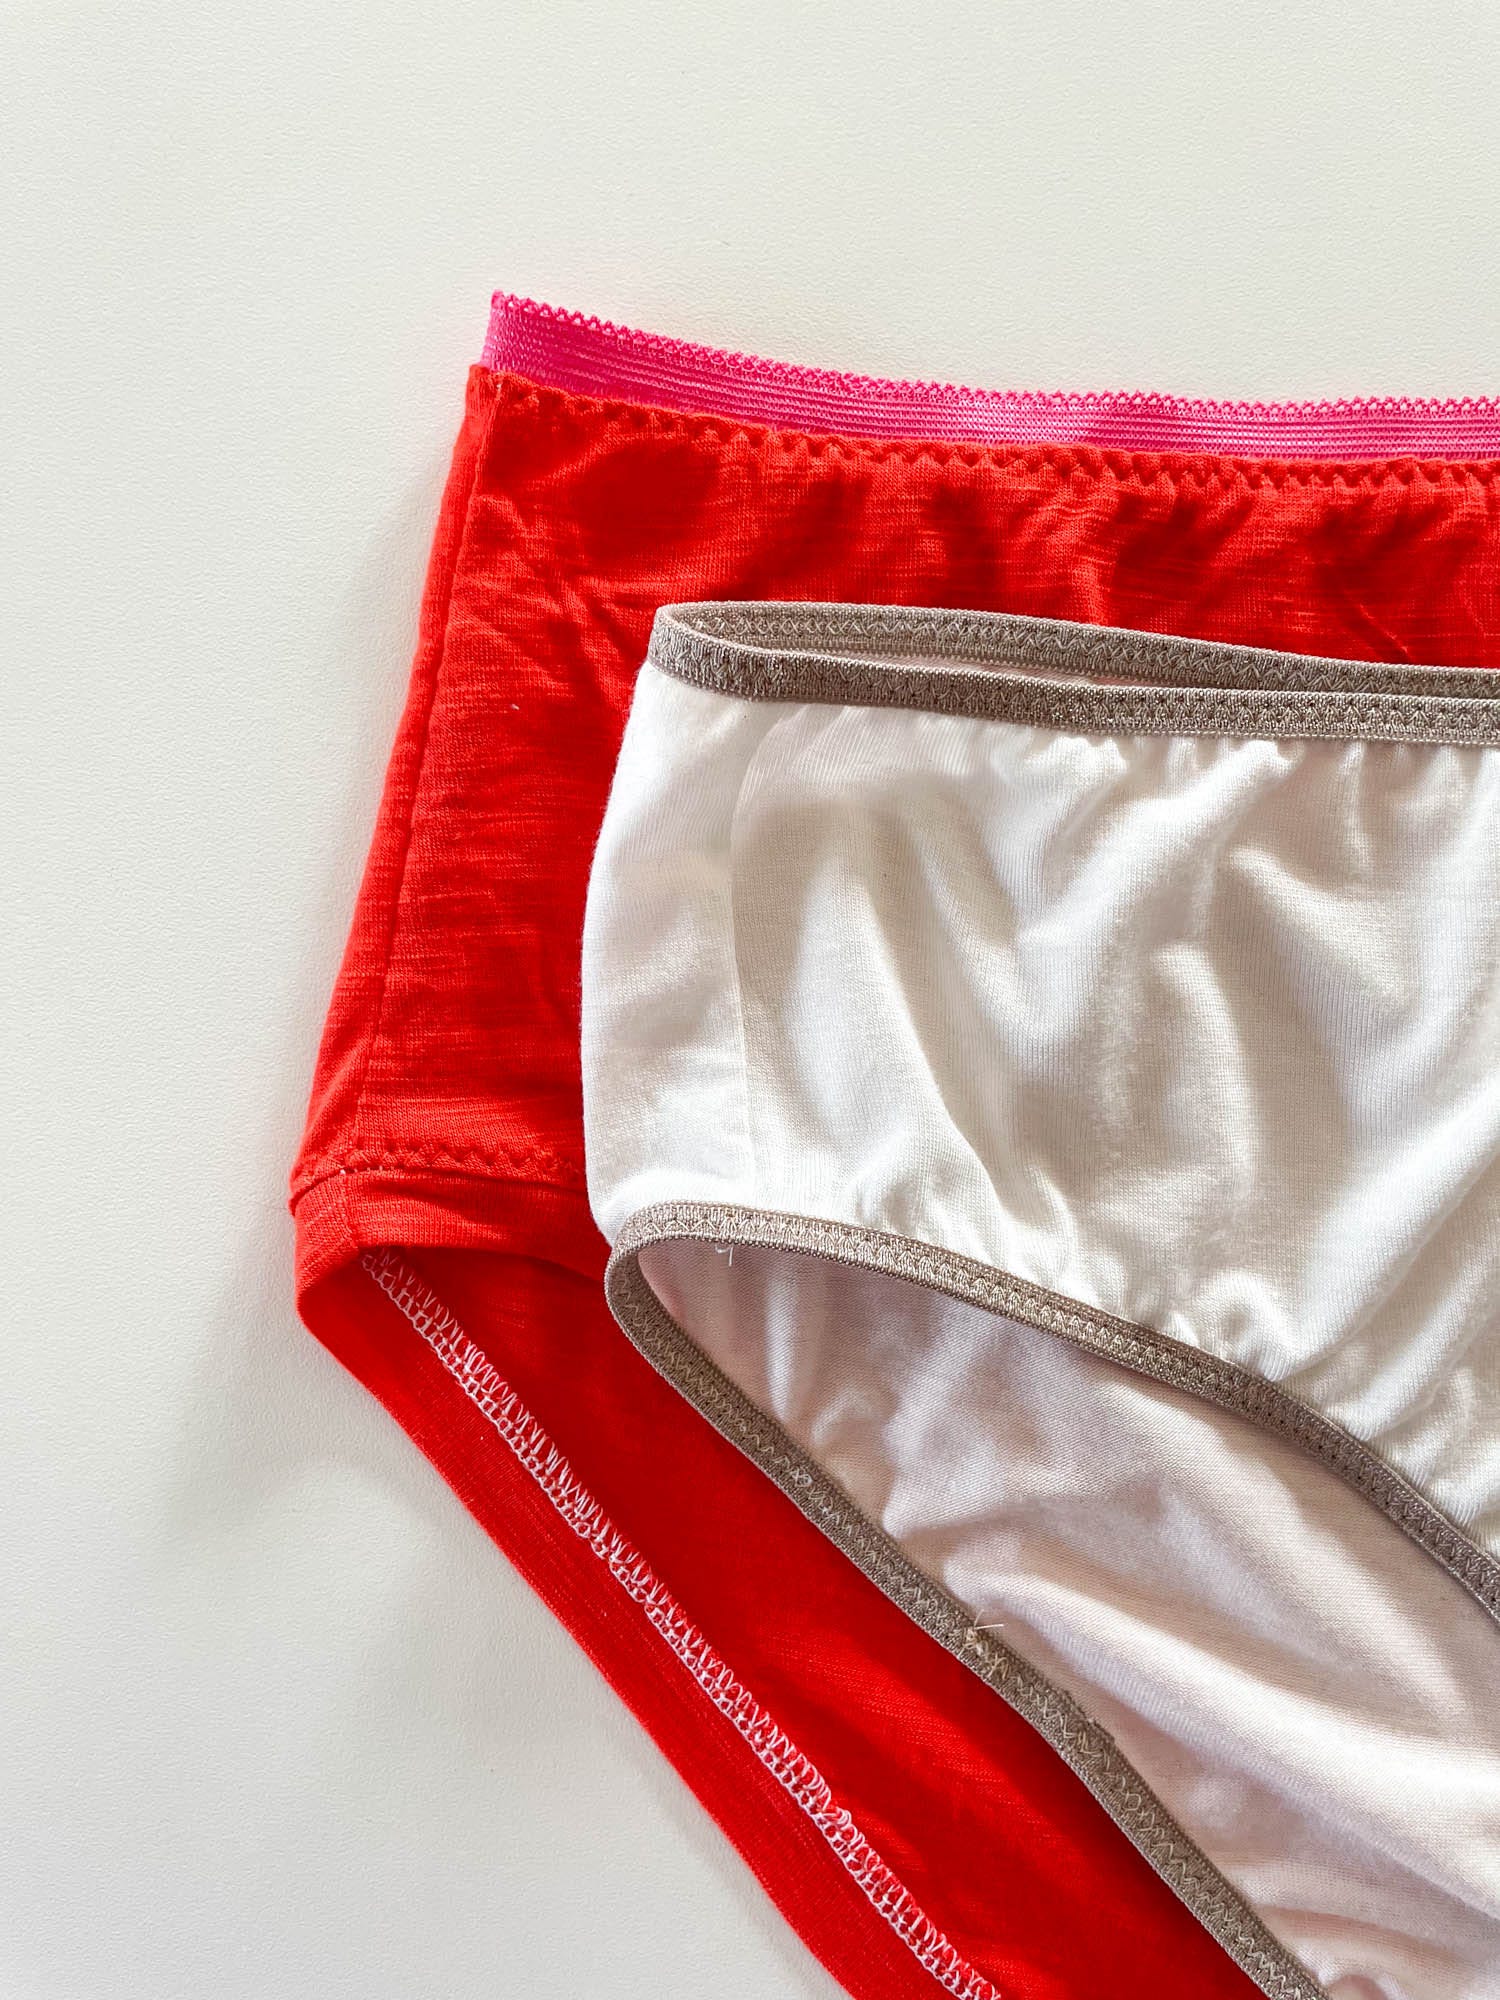
Before I started drafting my own patterns, I took some measurements of RTW underwear that I own and wear frequently. I don't think either pair is a perfect fit but they are perfectly fine. I think the elastic digs in a little too much creating lumps. (But honestly, it's so hard to find that balance between underwear that stays up and underwear that doesn't create lines. For me, staying up is a much higher priority than lines. Pick your battles!)
The two pairs that I used as reference are the Amazon Essentials Bikini Brief and Hanes Women's Ribbed Cotton Briefs (affiliate links). I like the gusset width and the general rise of these pairs so I thought it would be helpful. One big takeaway from these two pairs is that the back piece is wider than the front by about an inch.
I was also curious about the amount of Negative Ease and the Fabric Stretch Percentage used in the RTW underwear. The Hanes have 75% fabric stretch and, on me, 11” of negative ease at the hips. This equals a Negative Ease Multiplier of about 70%. The Amazon Essentials pair has 50% fabric stretch, and the same negative ease as the other pair. In conclusion, there’s a LOT of negative ease in these RTW undies.
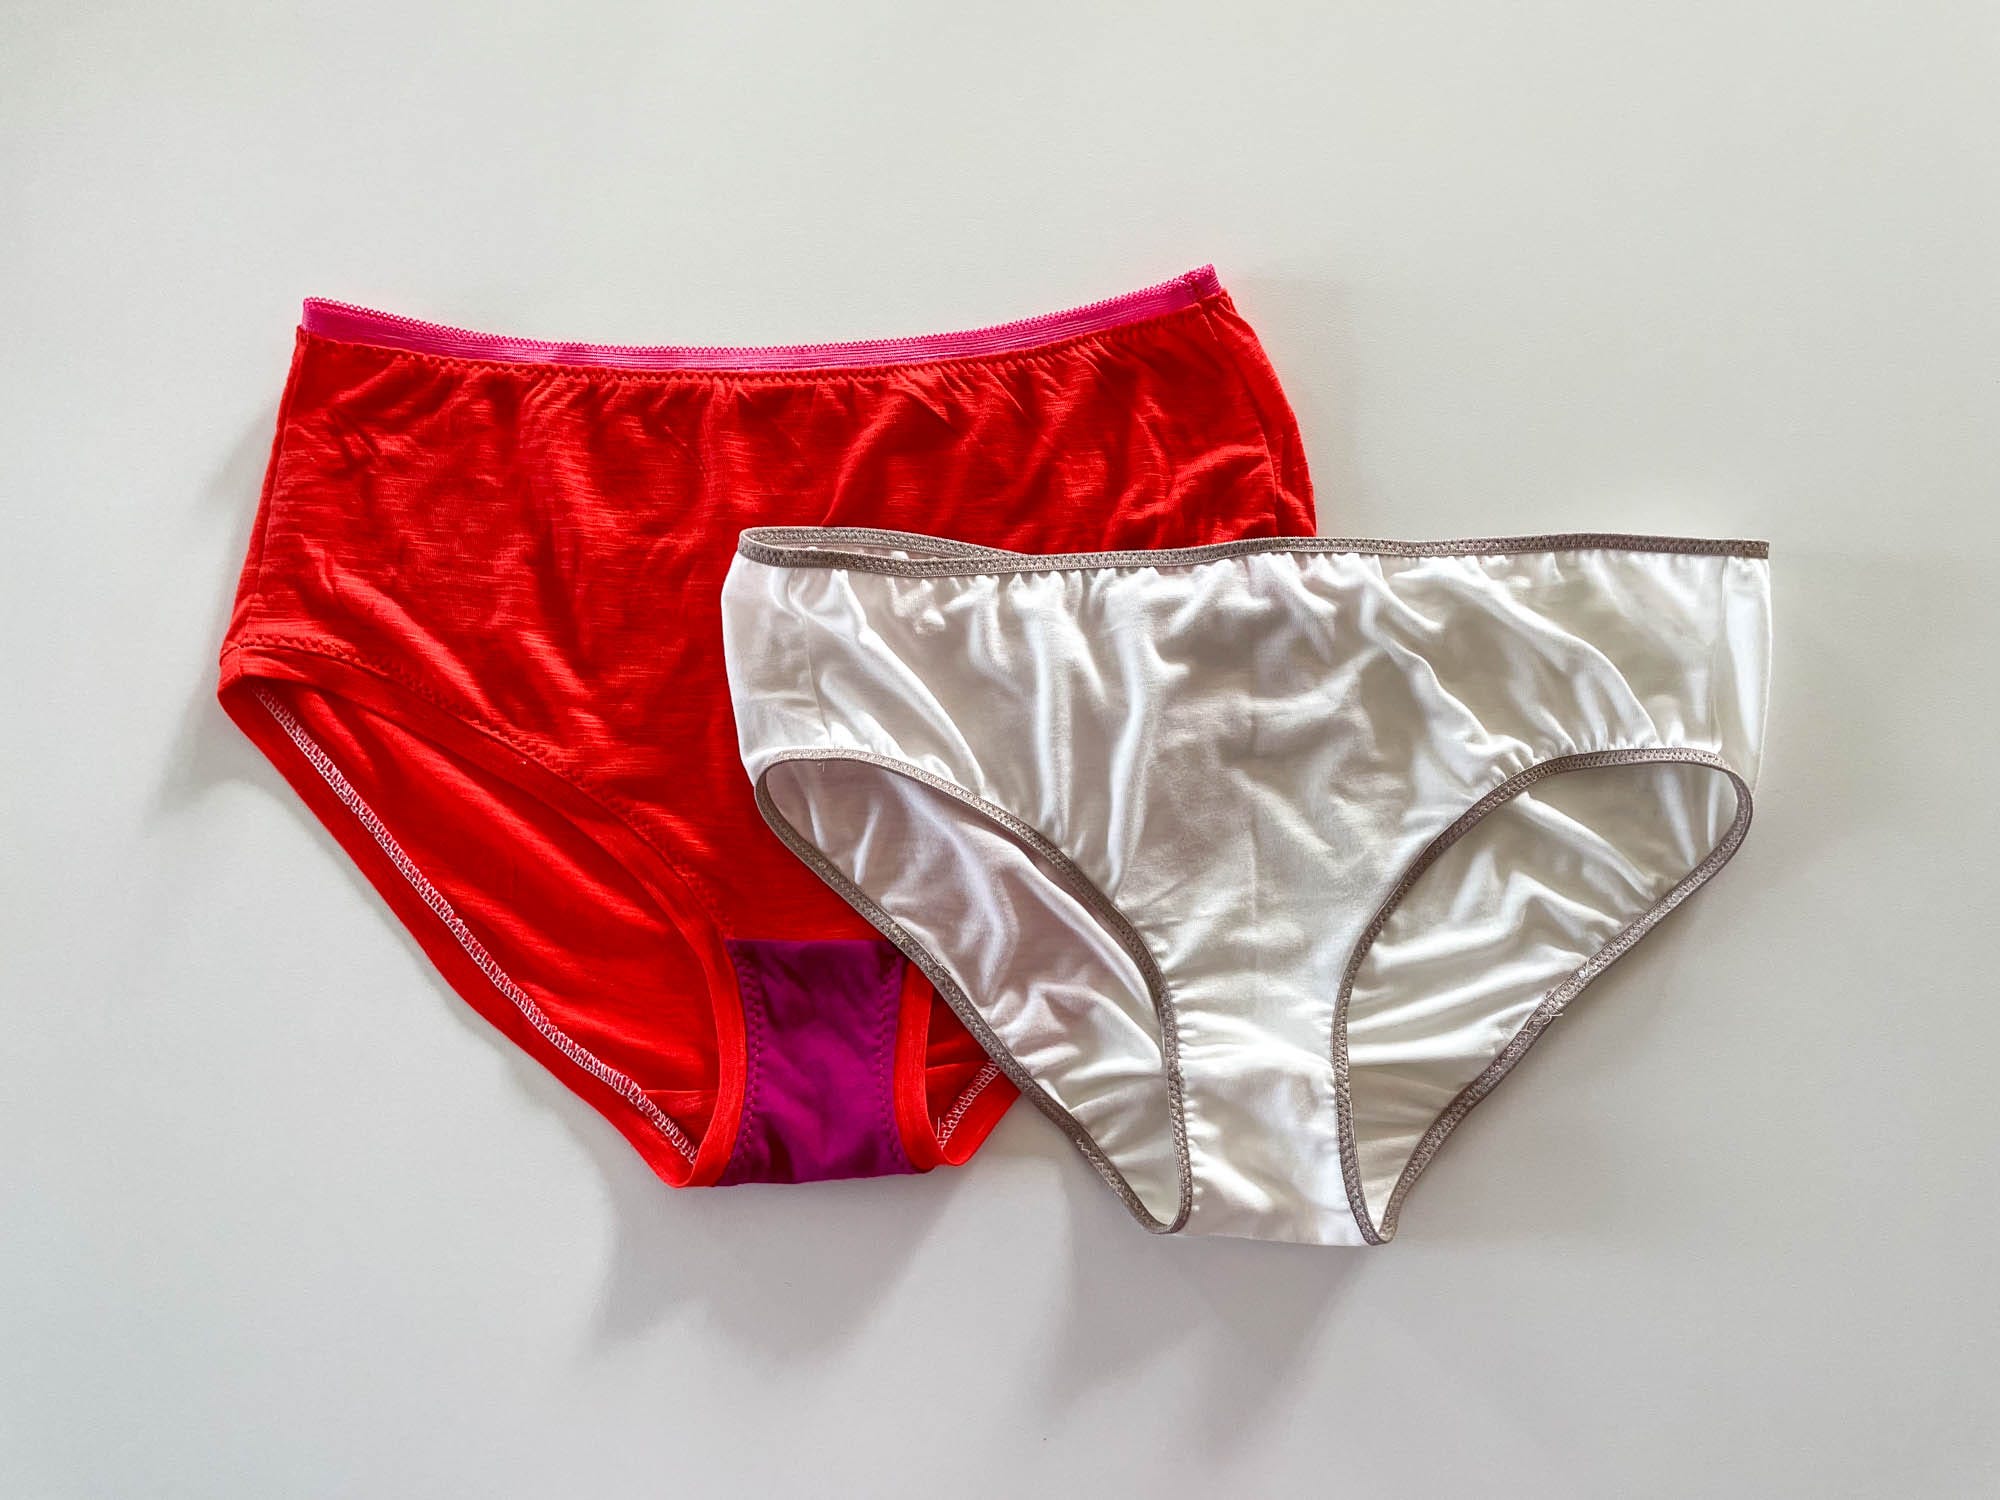
Here are my finished undies! I used scraps of knit fabric for the muslins and the finished pairs. Read on for more details on sizing and finishing.
If you need to catch up on the How to Draft Undies series, links are below.


PROJECT ONE—Bikini Brief
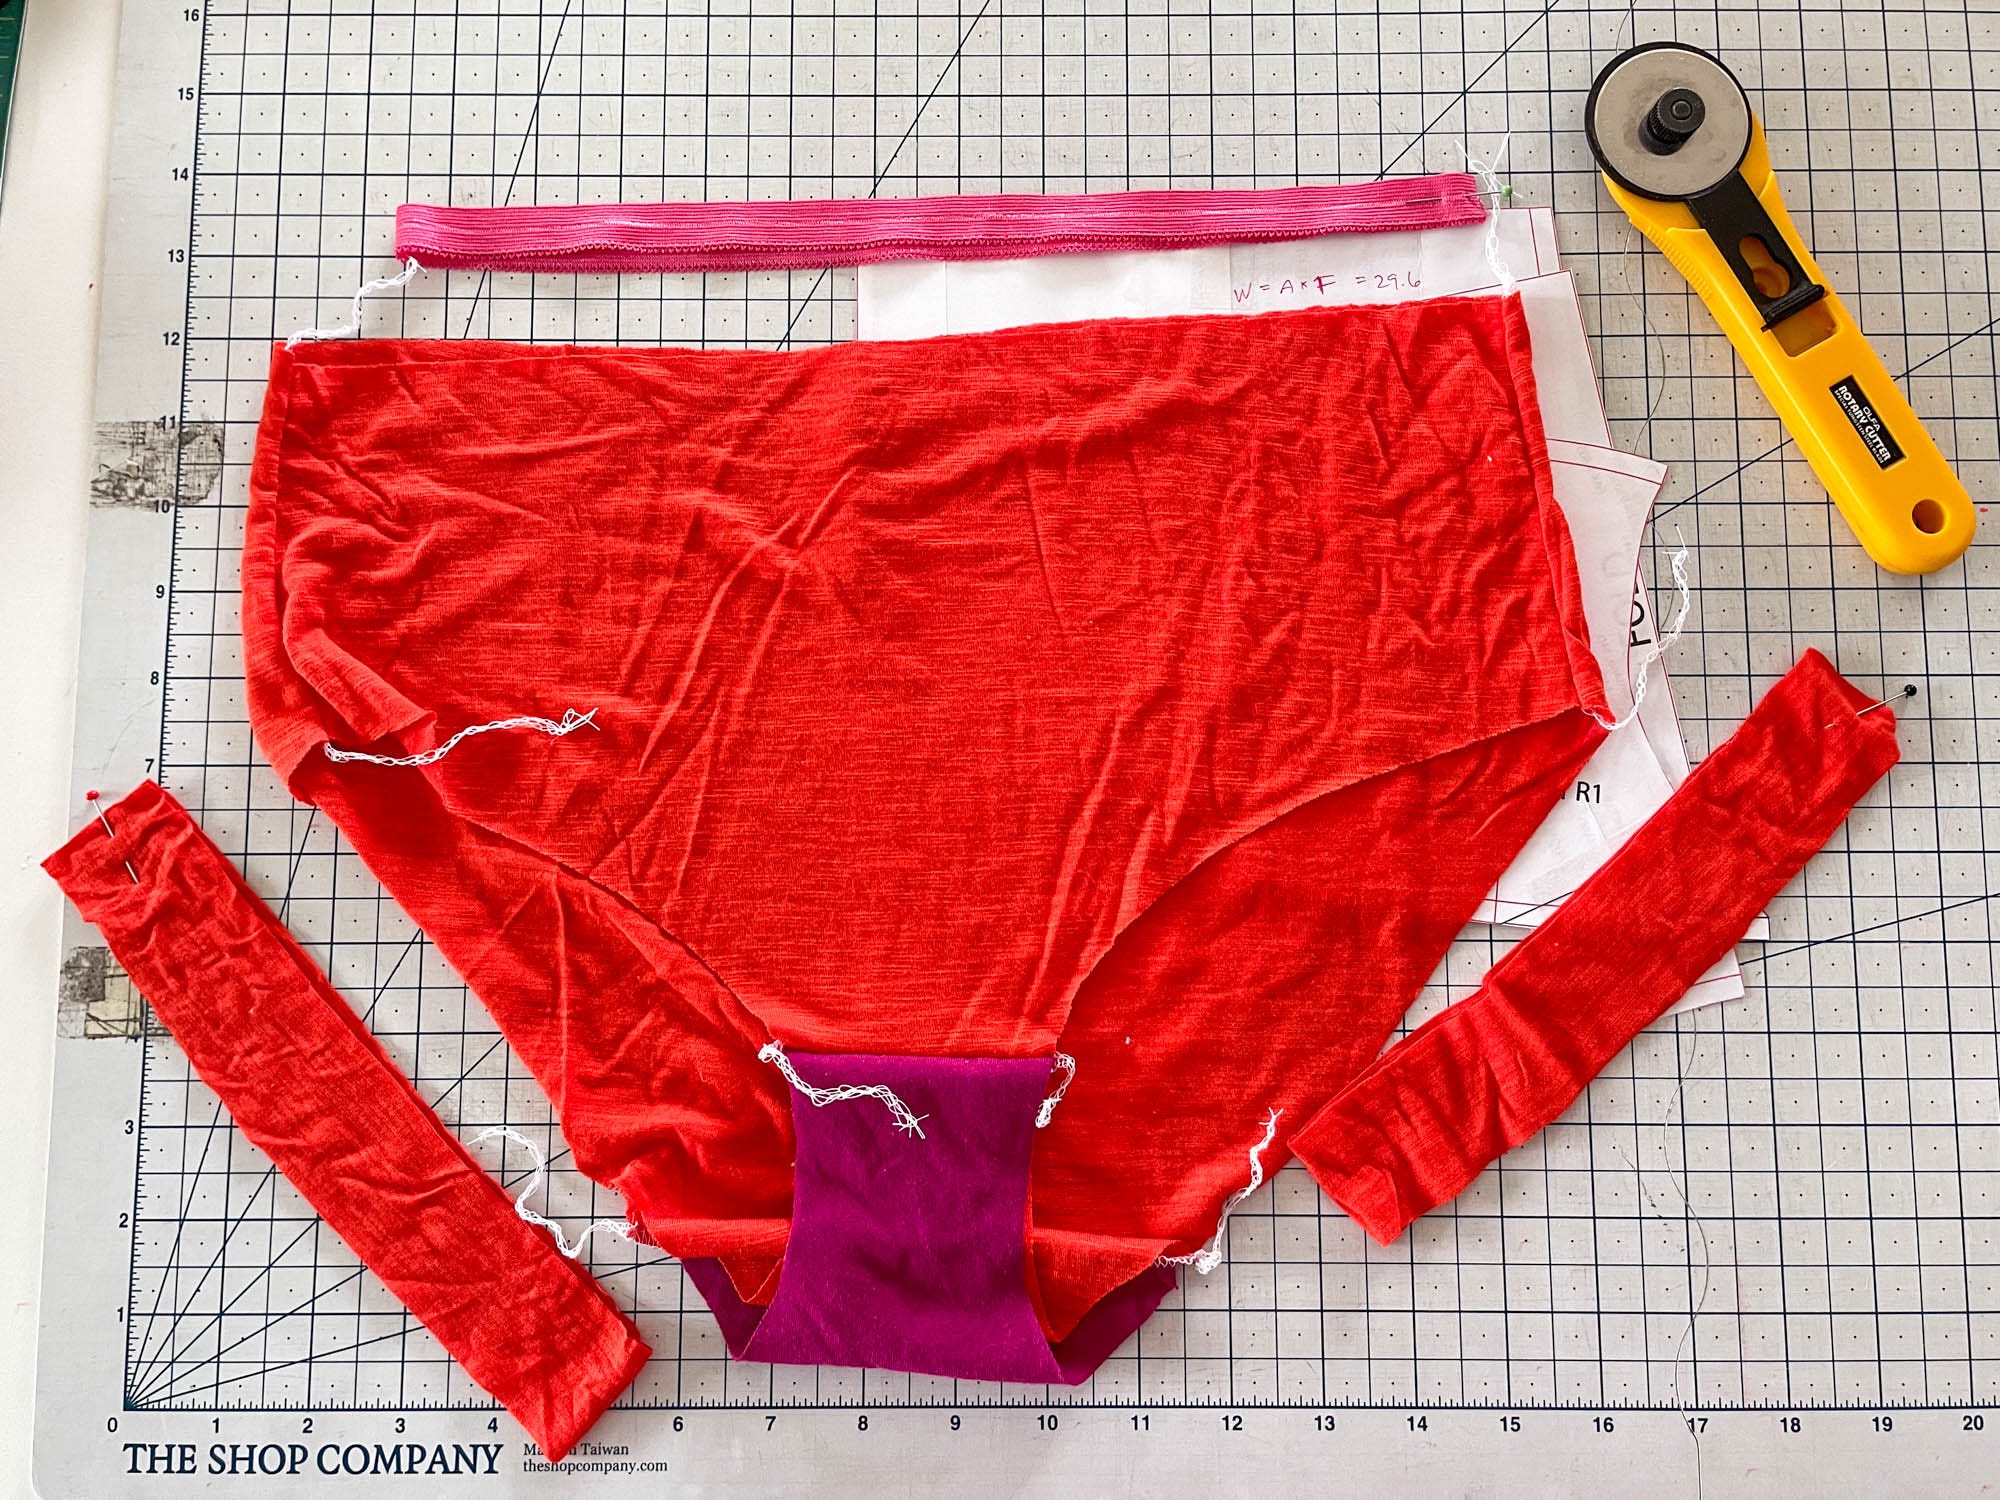
For this drafting project, I decided to draft on paper which worked fine but was not fast, especially adding the seam allowance. I followed the tutorial as written except that I cheated the side seam to the front. I started by moving the side seam .5" (so the back is 1" larger than the front). For the final draft, I moved the side seam an additional 1/4”. I also increased the width of the gusset in the back when I added more coverage in the back.
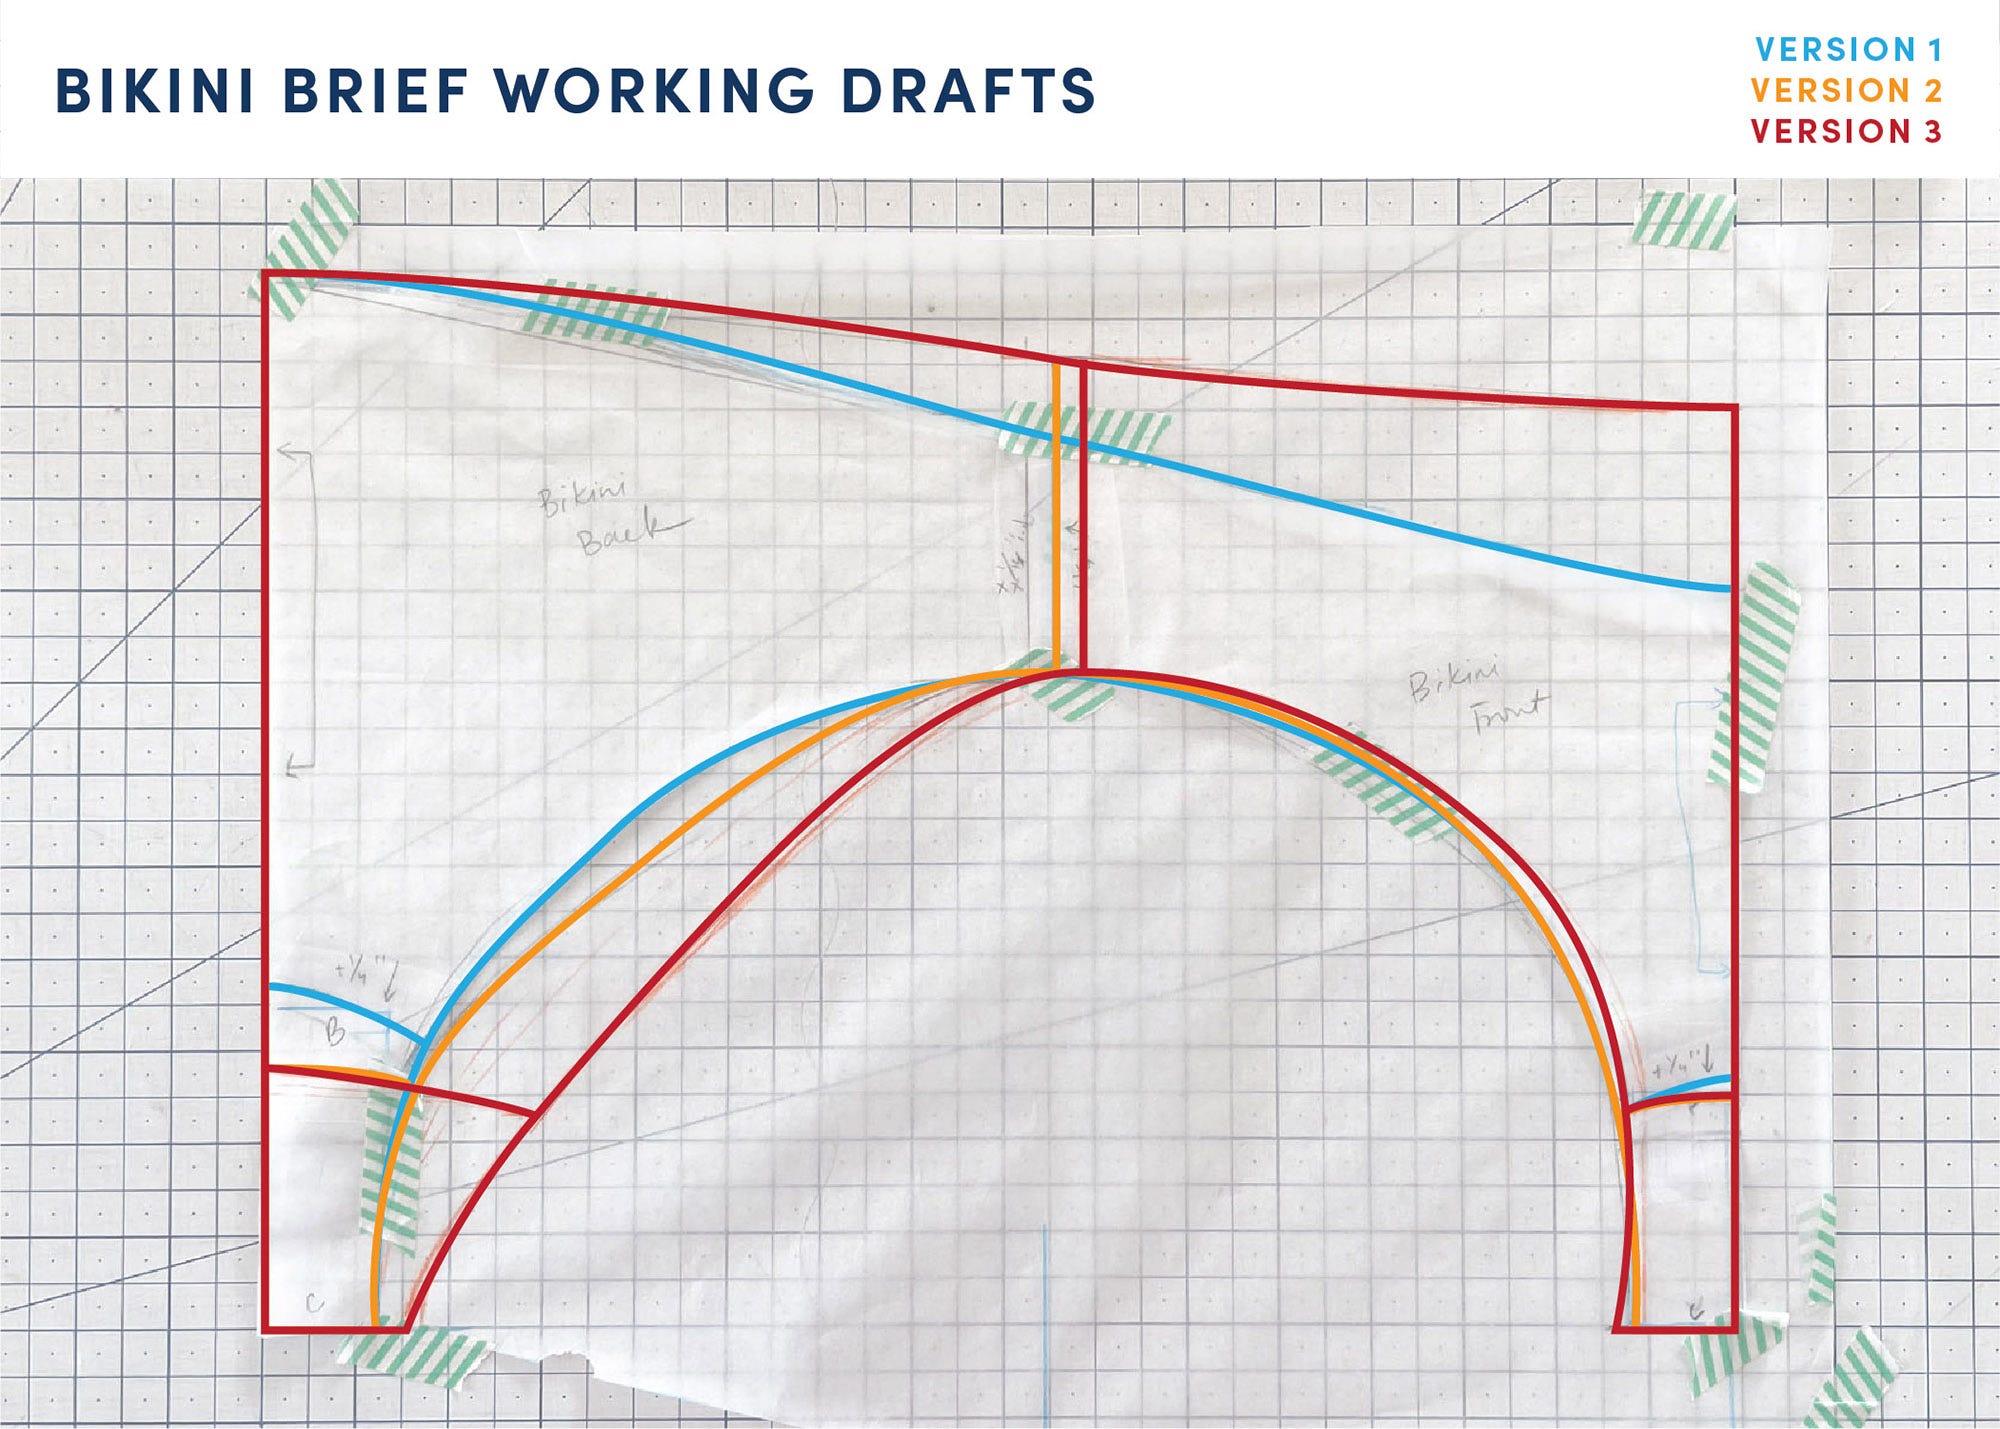
I ended up making three muslins for the this draft before I was happy with the fit. (Fortunately, sewing the muslins is very quick because I don’t bother sewing on the elastic to check the fit because I’m looking more at the general shape.) In the graphic above, I drew in the different versions. Mostly, I was adjusting the gusset and leg curve to my liking. Interestingly, I think I liked the first draft more than the second draft. It was kind of a "cheeky" fit but not bad at all. The final draft has a lot more coverage in the back.
A couple of drafting tips:
When adding a curve to the top and bottom of the gusset, make it very subtle. A more exaggerated curve is harder to sew.
Consider making the back of the gusset wider than the front gusset.
The leg curve doesn’t need to be a perfect upside down “U”. It can have more wave over the bum for additional coverage.
For my pattern I used the following numbers/measurements:
A Hip circumference 39.5"
B Negative Ease Multiplier .80
C Front Crotch 10" (started with 8” and lengthened it in later drafts)
D Back Crotch 11.5"
E Gusset Width 2.5"
F Gusset Length 6"
G Side Seam Length 2.5"
H Seam allowance .25
Calculating the elastic lengths
I finished the waistband and leg openings using Fold Over Elastic. The elastic is cut smaller than the openings to help the undies stay on the body. I would aim to cut the elastic 80-90% of the length of the fabric.
Years ago, I sewed 10+ pairs of undies and at that time, I decided that I liked to cut the waistband elastic 85% of the length of the fabric and the leg opening cut to 83%. So, that’s what I did here. You can experiment to find what you like.
To calculate the elastic length you need to measure the finished waist circumference (front + back) and finished leg opening circumference (front + gusset + back). Remember, the finished circumference does NOT include seam allowance.
Then multiply the opening circumference by 85% and add a seam allowance. For example, my leg opening is 21.375” and I used a .25” seam allowance. I cut the elastic 21.375×.83+.25”×2= 18.25”.
Sewing the Bikini Briefs
Because I’ve sewn undies a bunch of times before, I didn’t follow a pattern for instructions. If you haven’t sewn any before, I’d follow this tutorial. That said, I am planning on filming a tutorial for my own YouTube, later this month.
UPDATE 5/14/25 I now have a sewing tutorial and video on my other blog where I show all the steps of sewing this style of underwear. I show how to sandwich and burrito the gusset to have all of the raw edges enclosed. And also how to sew fold over elastic to enclose the raw edge. Click here to read the post and watch the video.
PROJECT TWO—High Cut Briefs
For this draft, I decided to use Adobe Illustrator. It was a good test of whether paper or computer would be faster. For me, the computer was a lot faster, even including the printing/taping time. Plus, I feel like it’s easier for me to draw nice curves in Illustrator. (I should caveat this to say that I have been using Illustrator for 20+ years and would consider myself an expert level in the software.)
I drafted the pattern in about 20 minutes, printed it out, cut out a muslin and I was so happy with the fit that I decided to use the muslin as my final pair. No notes! It was a relief after the three versions of the bikini briefs.
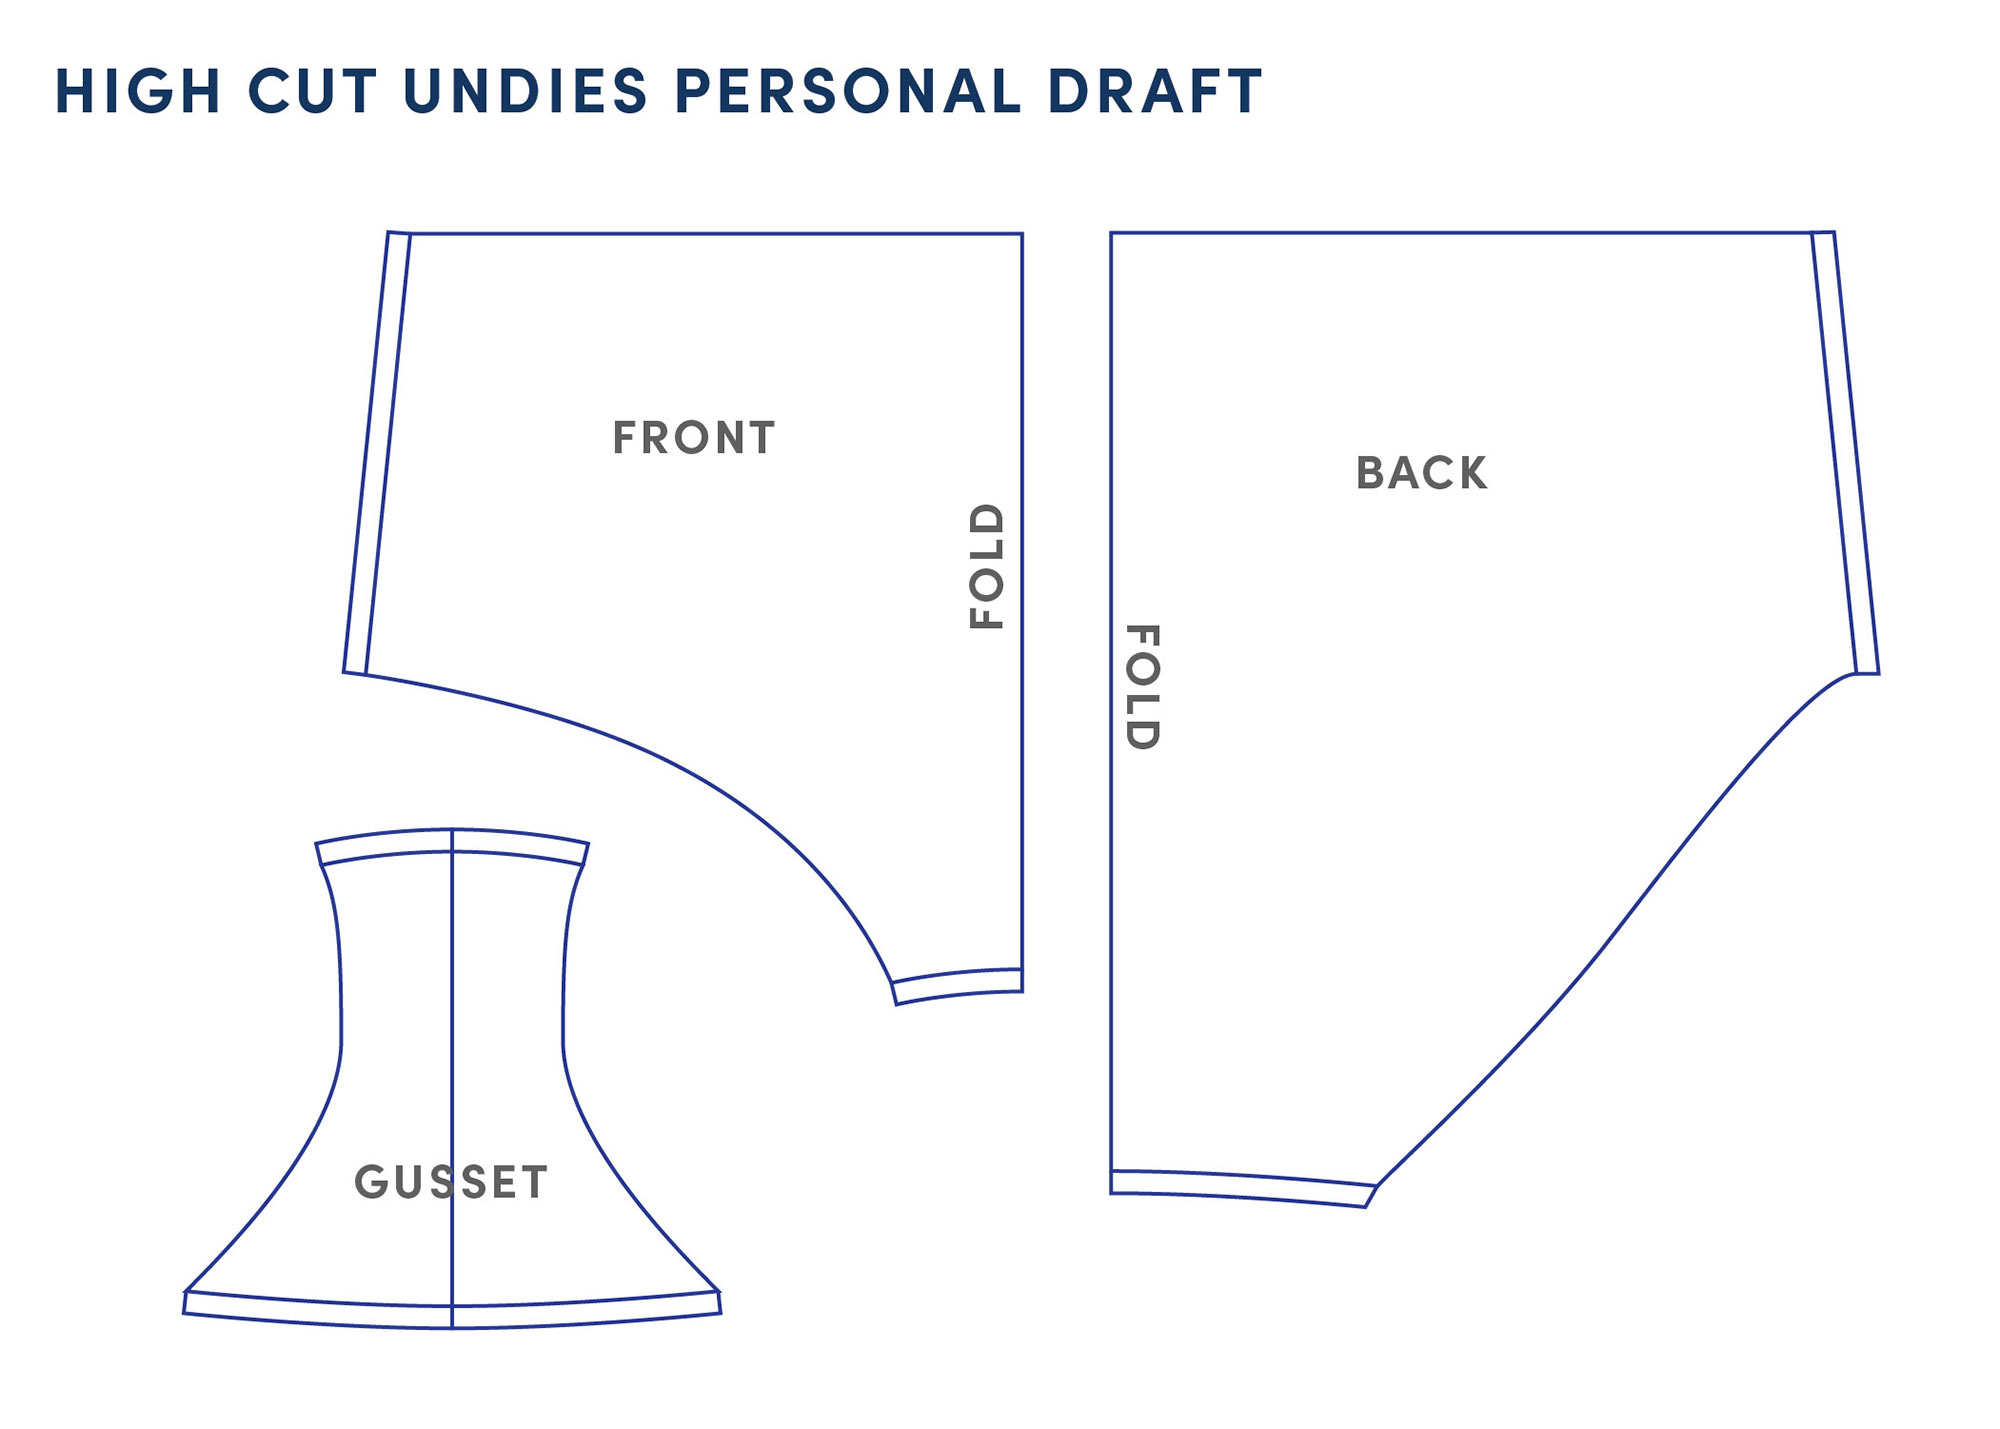
Drafting the High Cut Undies
I drafted these undies using the tutorial as written except that I shaped the gusset more. In my final draft, the gusset is more narrow in the front than in the back.
A Waist* Circumference 37”
B Hip Circumference 39.5”
C Side Seam Length 5:”
D Front Crotch 11”
E Back Crotch 13”
F Negative Ease Multiplier 80%
G Gusset Width 2.5”
H Gusset Length 4.5”
I Seam allowance .25”
Sewing the High Waist Briefs
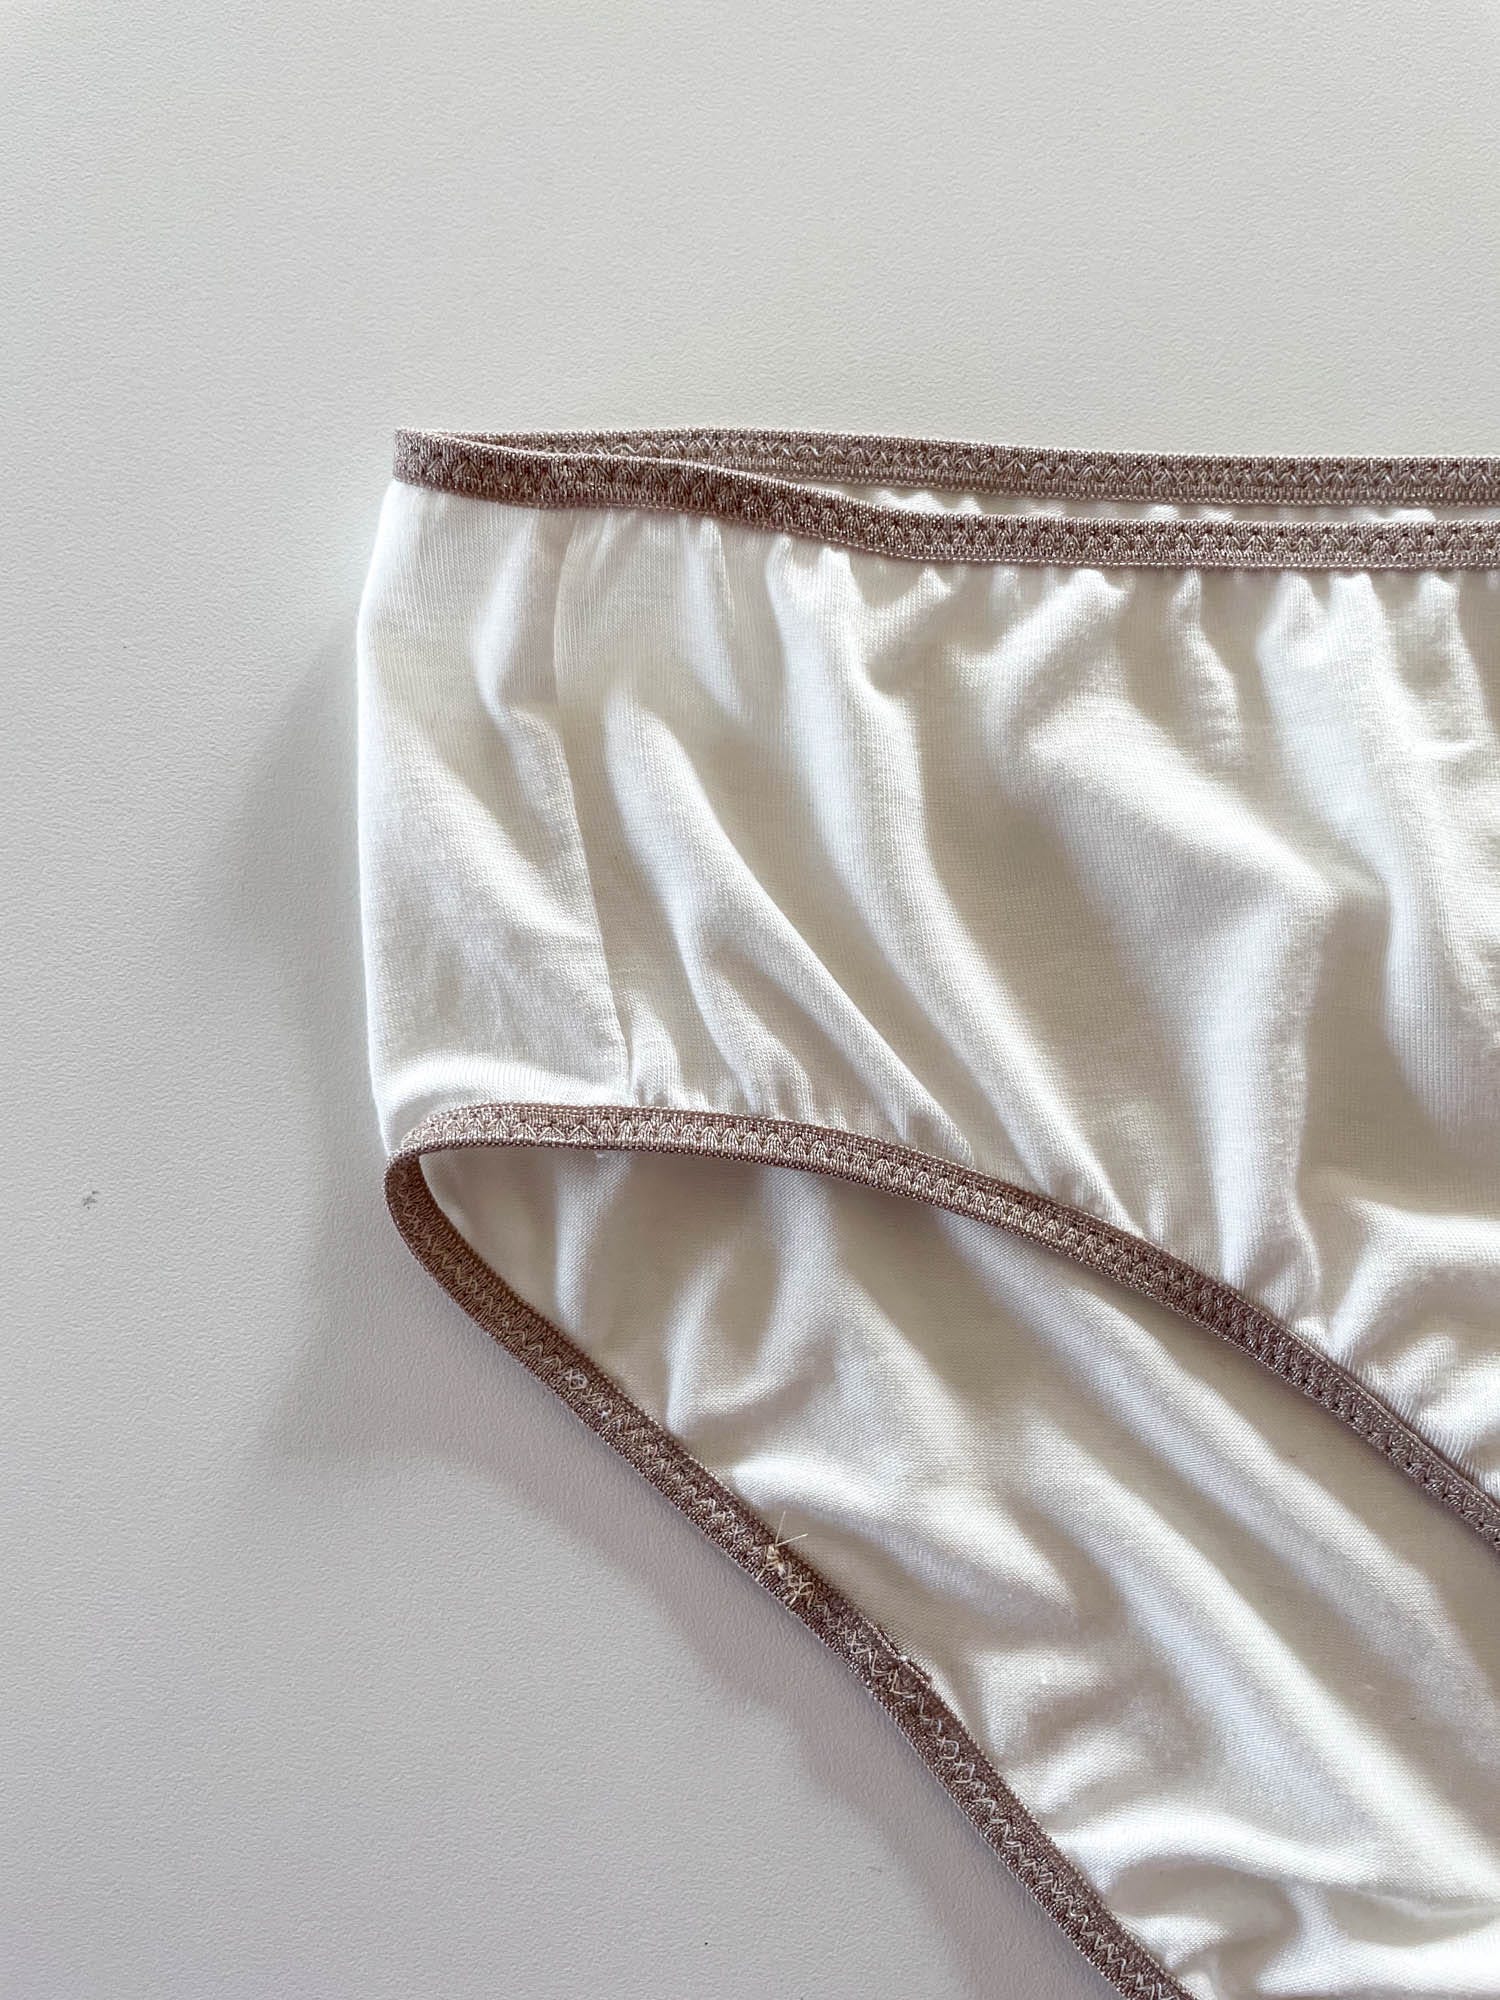
For this pair, I used a picot edge fold over elastic for the waistband and knit fabric bands for the leg openings. I wanted the picot edge to visible so I first stitched the elastic to the waist with right sides together and picot edge pointing down. Then I folded the elastic to reveal the right side and have the picot edge pointing up.
I haven’t used fabric bands on undies before so I’m curious to see if I’ll like wearing them. I drafted the bands and elastic the same way as for the briefs. I cut the bands 1.5” wide and folded them wrong sides together before attaching to the undies. I attached the bands with a serger and topstitched everything using a zig zag stitch on my conventional machine.
FINAL THOUGHTS
I’m very pleased with how these undies turned out and I’m hopeful that I’ll like the fit. It will definitely take some trial and wear-time to see. If I like the fit, I’ll definitely make more. I really like being able to use leftover knit fabric for undies. It’s such a good use of scraps! Let me know in the comments if you have any questions on the drafting or sewing.
I hope that you enjoy this series. There are lots of ways to support this free content. You can tap the "heart" at the top or bottom, share or “restack” the post to help other people find it. Become a paid subscriber or, visit one of the links below.
Sewing With Numbers Drafting Manuals are now available for purchase
Pattern Shop | Improv Quilting E-Course | Ko-Fi | YouTube
Happy mathing!
Beth
Wow, they’re beautiful!
These project journals are so interesting and very helpful, thanks Beth.